
Looking for instructions for using the calendar in OWA? You can find them here.
Separate instructions for Outlook settings (such as language settings) are available here
Quick help
Detailed help
Changing calendar settings
To change calendar settings,do as follows:
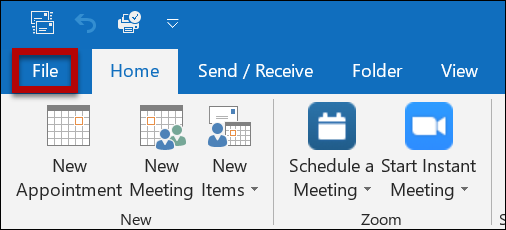
- Click FILE.
- Click Options.
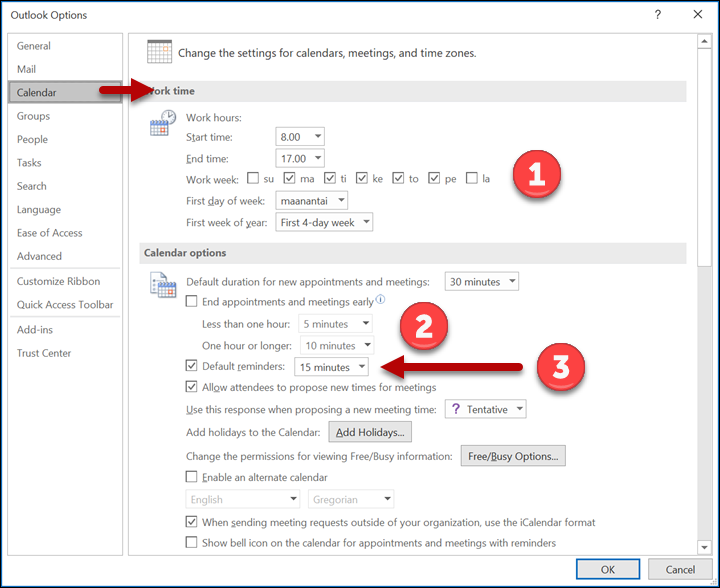
- Click Calendar.
- By default, the work week is from Monday to Friday, and working hours are from 8.00 a.m. to 5.00 p.m. (1).
- If you check End appointments and meetings early (2), the defined amount of time will be automatically deducted from the end of meetings. This allows you to easily leave a small break in between meetings.
- You can change the reminder time in the drop-down menu (3).
By default, attendees can propose a new time for the meeting (Allow attendees to propose new times for meeting). - Use Add holidays to add national holidays into the calendar.
- Choose the time zone in (4).
- By default, the top of the calendar shows weather information. To disable this, remove the tick mark at Show weather on the calendar (5)

Making a private calendar entry
You can create two types of calendar entries in Outlook. An Appointment is a private entry which is not sent to other users. A Meeting is a meeting to which other participants are invited. Please note, that by installing Outlook plugins from the Software Center you can also create, for example, Zoom meeting invitations directly from Outlook (see the section “Sending an invitation” of the detailed instructions).
To create a calendar entry, do as follows:
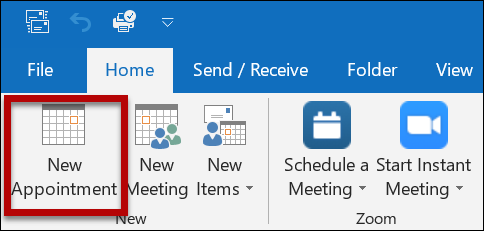
- Open the HOME tab.
- Click New Appointment.
- Fill in the information for the event: subject (1), location (2), start and end date (3), and duration (4). Remove the tick mark from All day event to specify a start and end time for the event. Item (5) shows how your presence status is shown to others when someone views your shared calendar or tries to book a meeting.
- Save the event in (6) when you have filled in all the necessary information..

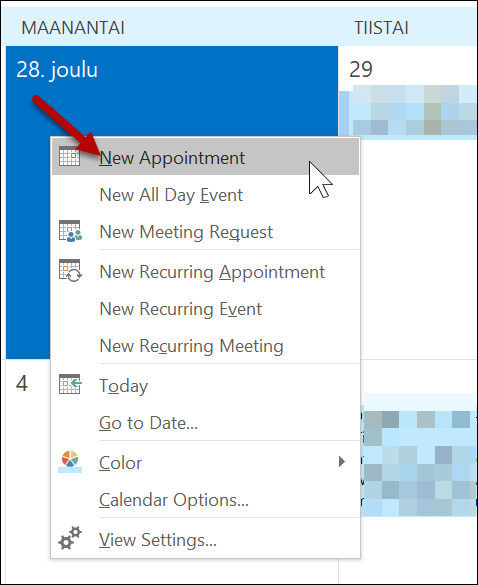
An alternative method to create calendar entries is to right-click a suitable time or date in the calendar.
- Select New Appointment.
- Fill in the details.
Sharing a calendar
The university's calendar system contains default settings which allow all users to see the availability information of other users. In practice, this means that others can see whether your calendar has a "free", "busy", "tentative" or "out of office" status for a given time. If you want to grant more permissions to others, follow these instructions.
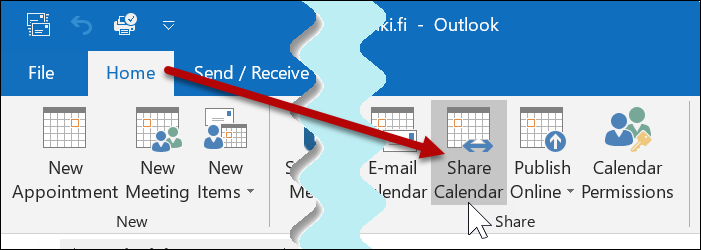
- Open the HOME tab.
- Click Share Calendar.
- This opens a new window.
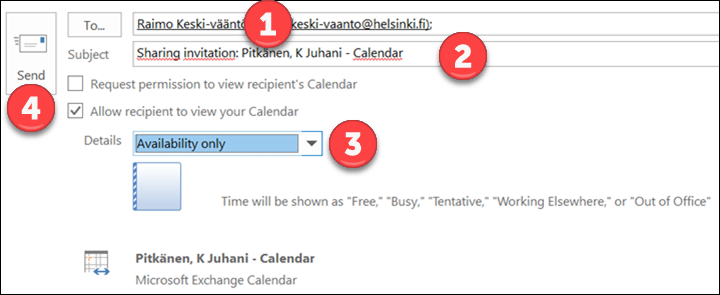
- In the To field, enter the persons to whom you want to grant the permission to view your calendar.
- The Subject field shows a predefined invitation to share the calendar. You can also replace it with your own invitation.
- You can specify how much details you want to share. The default setting is Availability only (3), which only shows the other party whether you are free, busy, tentatively busy, working elsewhere or out of office.
- Click Send to send the invitation (4).
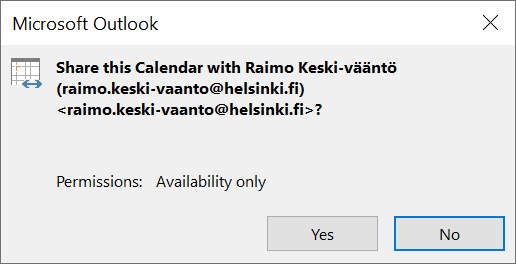
- Click Yes.
The recipients get a notification of your willingness to share your calendar by e-mail, and can share their calendars with you if they want to.
Viewing other calendars
The university’s calendar system contains default settings which allow all users to see the availability information of other users, i.e., information on whether a person is free or busy at a certain time. To use other people’s calendars, see Basic information in these instructions. If someone shares more permissions to their calendar to you, do as is explained in Extended information.
Basic information
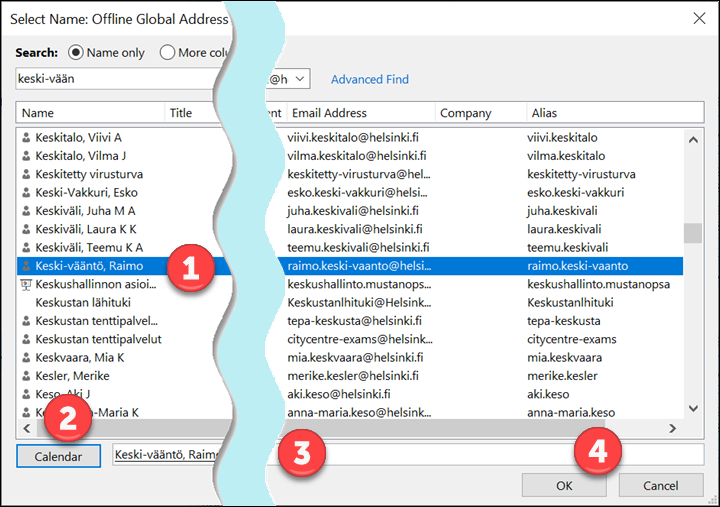
- Open Open Calendar in the top bar.
- Choose From Address Book.
- This opens the address book.
- Choose the person whose calendar you want to see (1).
- Click Calendar (2).
- The person's name is shown in (3).
- Click OK (4).
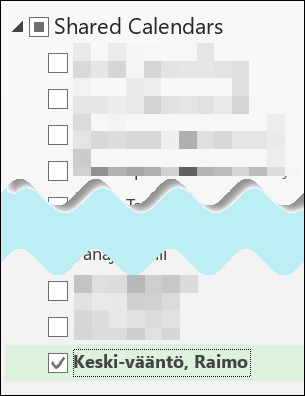
- The new calendar is shown in the list on the left, under Shared Calendars.

Extended information
If someone grants you permissions to their calendar exceeding the basic permissions, do the following:
When someone else wants to share their calendar with you, you will get a notification by e-mail:
• According to the default settings, the message subject is Sharing invitation: sender of the invitation.
• Click Open this Calendar to accept the request.

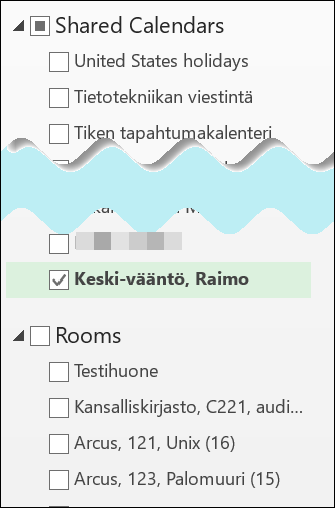
- The calendars of other people are shown on the left side of the calendar view under your own calendar.
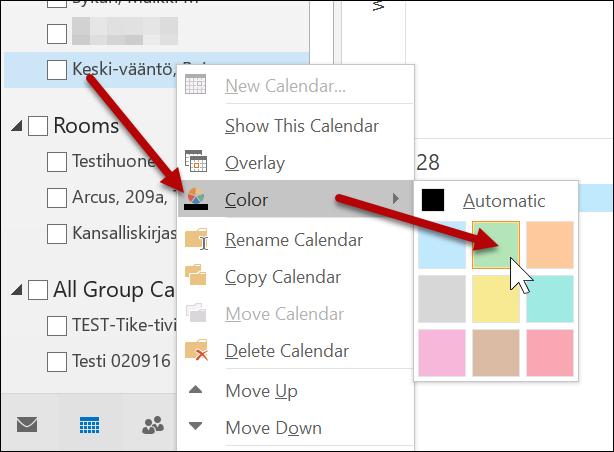
- Managing various calendars is easier if you specify colours for the calendars.
- Right-click the calendar.
- Select Color and choose a colour.
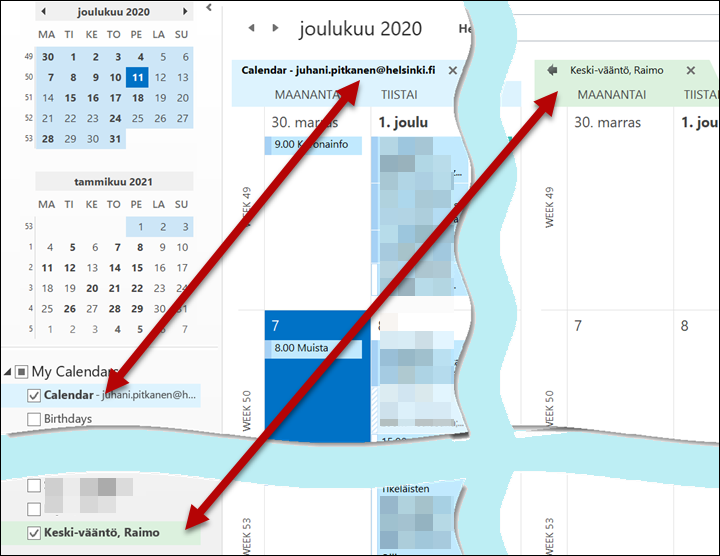
- You can show the calendars side by side. The colour codes show whose calendars they are.
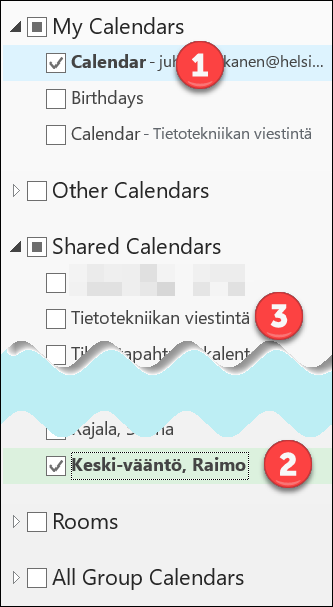
- Click any calendar to temporarily show or hide it. If there is no tick mark by the calendar, the calendar in question is not shown in the calendar view. In the example, the user’s own calendar (1) and that of Raimo Keski-Vääntö (2) are shown. The calendar “Tietotekniikan viestintä” (3) is hidden.
Displaying rooms and other reservable resources on the calendar
You can display meeting rooms and other resources you may reserve on the calendar as follows:
- Open the calendar
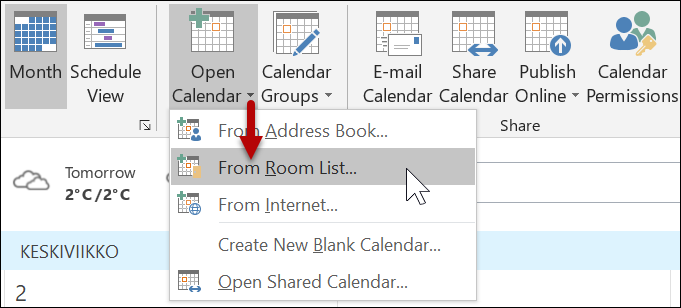
- Click Open Calendar.
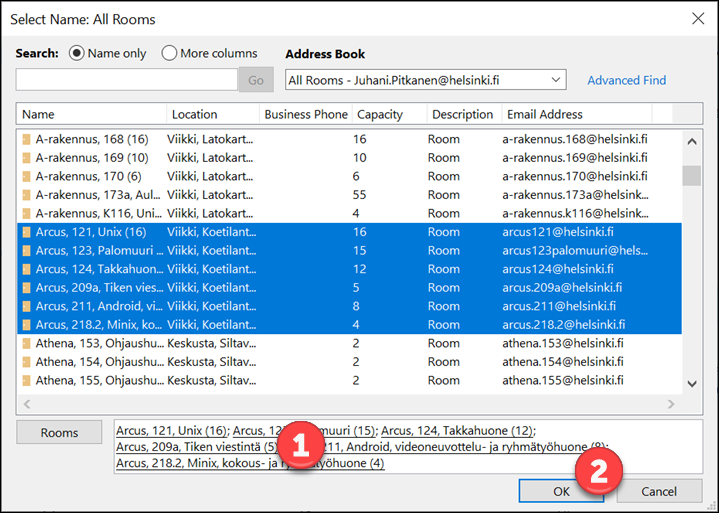
- Select From Room List
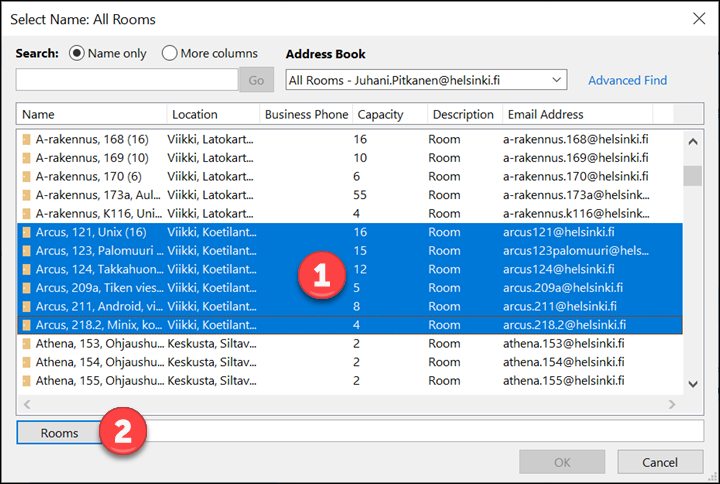
- Select the rooms or resources (1) that you want to display in the calendar view. You can select multiple rooms or resources by holding down the Shift key while selecting the rooms or resources.
- Click Rooms (2).
- The selected rooms/resources are displayed in field (1).
- Click OK (2)..
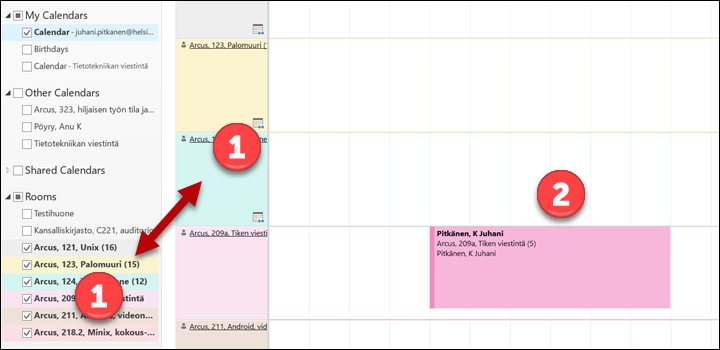
- The rooms/resources are shown in the calendar in (1). The main window (2) will show the booking status of the room/resource.
-
Granting administration permissions to a calendar
You can grant someone else administration permissions to your e-mail and calendar. A director, for example, may grant their secretary the permissions to process e-mail or reply to meeting invitations and edit them. The person granting the permissions may specify the extent of permissions to their delegate.
Permissions may not be granted between persons in the local service and in the cloud service. Both persons also have to be using the same version of Outlook in order to ensure uncomplicated joint use.
Granting administration permissions
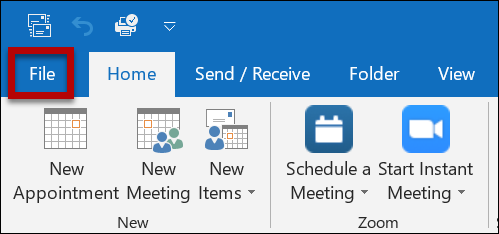
- Open FILE.
-
-
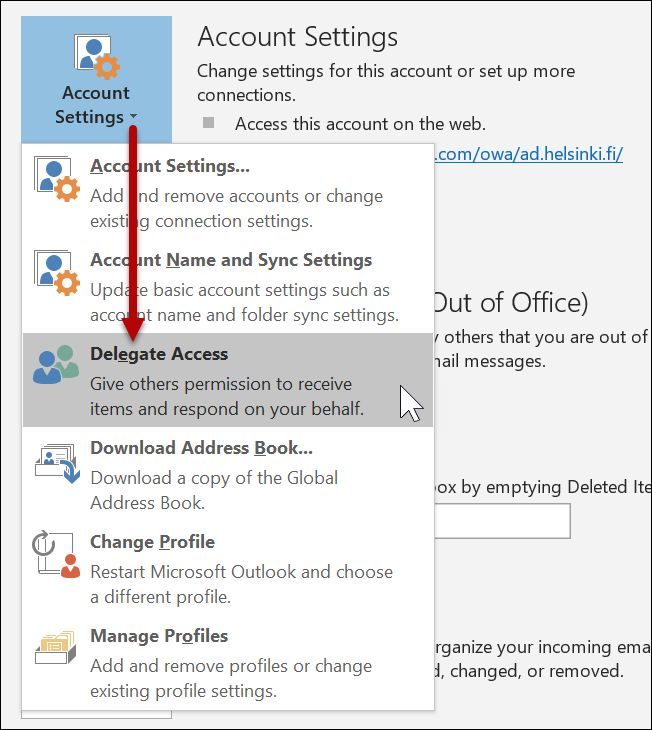
Open Account Settings > Delegate Access.
-
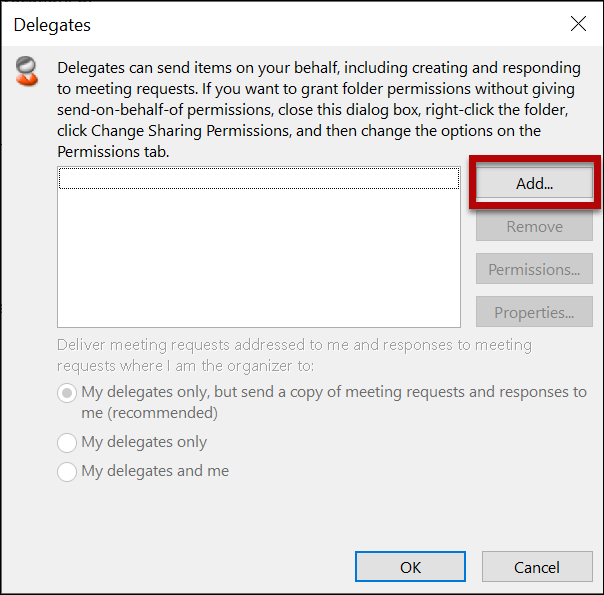
- This opens a new window.
- Click Add.
- Start typing the name in the search field (1).
- The address book proposes suitable persons (2).
- Click Add (3).
- NOTE: You cannot add persons with a prohibition symbol in front of them. Calendars cannot be shared between the local service and the cloud service.
- The selected person is added to the list (4).
- Click OK (5) when you have added all the persons to the list.
-
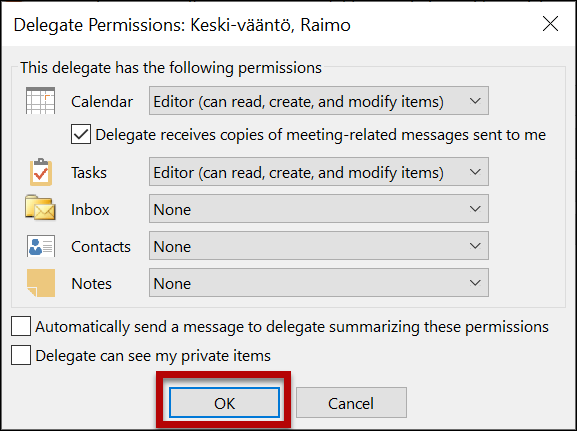
- The default permissions are shown in the image. If you want to grant permissions for processing incoming mail as well, add the permissions in the Inbox menu. Three levels of permissions are available:
- A Reviewer is able to read the items in the folder
- An Author can also create items and edit or remove items which they have created
- An Editor can, in addition to the previous permissions, edit and remove items created by the person who is granting the permissions.
- You should choose Automatically send a message... to send a message to the person receiving the permissions informing them that they have been granted permissions. An example of such a message can be found at the end of these instructions.
- Click OK.

- Click OK.
Modifying and removing permissions
You can modify permissions which you have granted or remove them altogether.
- Open FILE > Account Settings > Delegate Access as above.
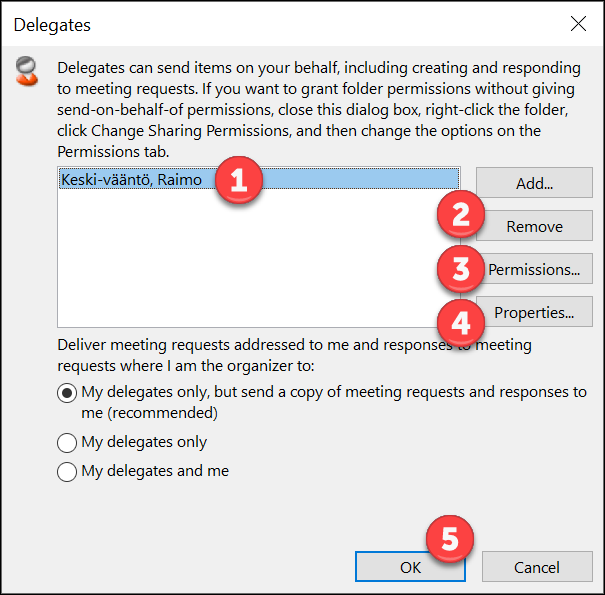
- From the list, select the person whose permissions you want to modify (1).
- If you want to remove the permissions, click Remove (2).
- If you want to modify the permissions, click Permissions (3).
- Click Properties (4) to see the information of the person in question.
- Confirm your changes by clicking OK (5).
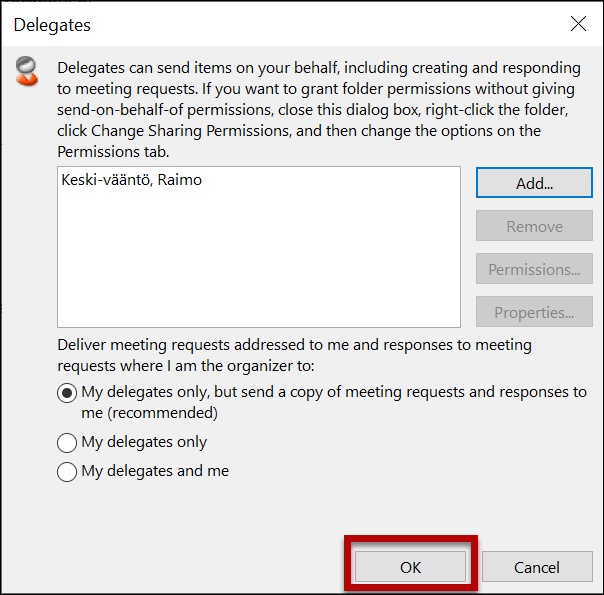
- If you have removed the permissions, the list (1) is empty.
- Click OK (2).
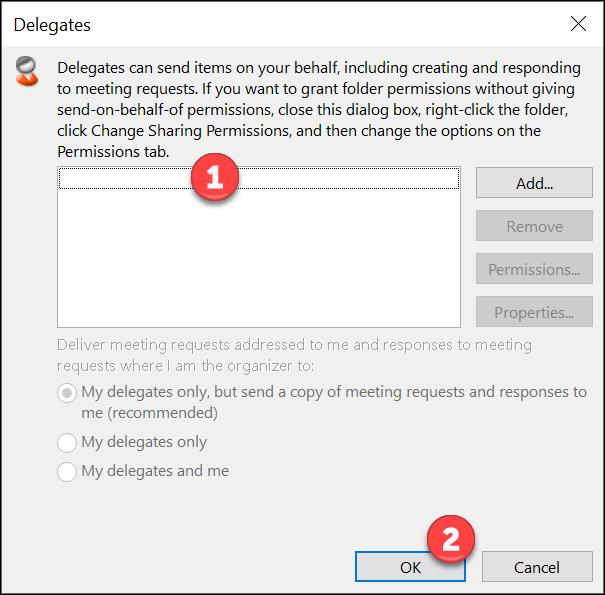
Now, no one has the permission to access your calendar on your behalf.
Organising meetings and booking rooms
Video instruction
Give feedback
The instructions site of the University of Helsinki's IT Helpdesk helps you with IT-related issues related to your work. Let us know how we can improve our instructions. We greatly appreciate your feedback!
How would you improve these instructions?