
These instructions explain how to modify your settings in OWA.
Quick help
Detailed help
OWA’s internal Help function
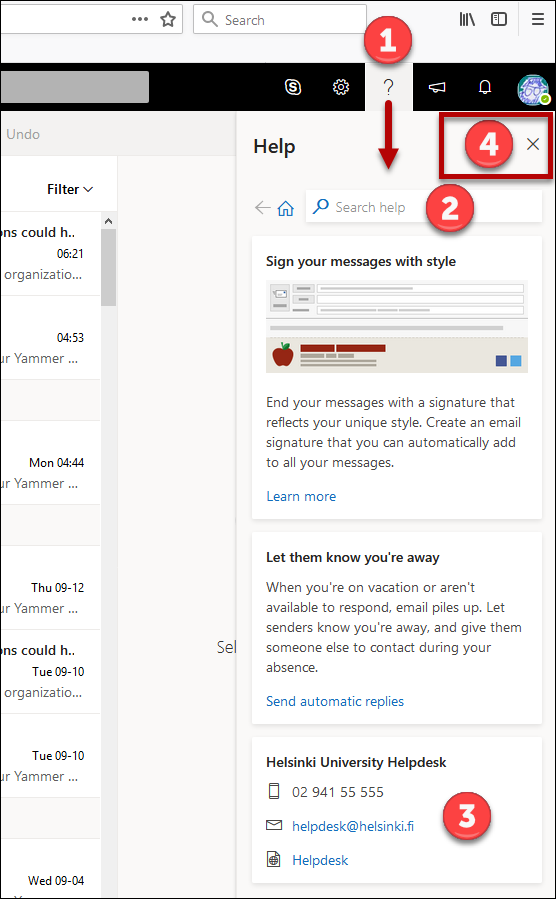
You can use OWA’s internal Help function.
- Click on the question mark at the top right corner (1).
- Use the search field (2) to find what you are looking for in Microsoft’s instructions. Enter the search word and press Enter.
- Below, you will find Helpdesk contact information and a link to the Helpdesk instructions site (3).
- You can close the window by clicking on the cross in the top right corner (4).
Edit settings
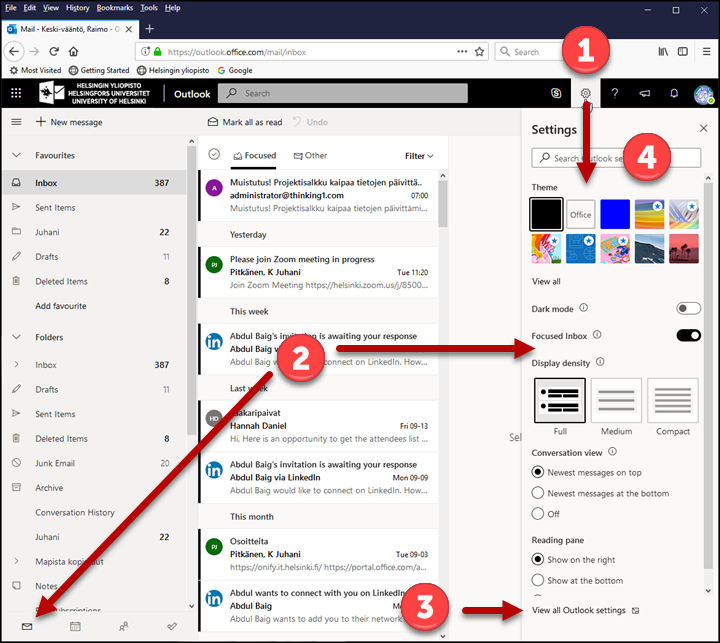
Please note that the content of the setup window varies according to the application you are running. In this example, the e-mail application is running.
- Click on the cog icon (1).
- The setup window is quite similar in all applications. The search field is at the top (4). Under it is a section that depends on the application; you can edit some of the settings in this section. The image displays e-mail settings but you can switch to the calendar view in the bottom left corner, thus changing the selections on the right (2).
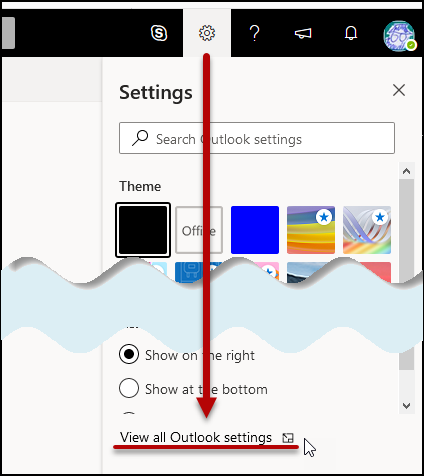
- By clicking the link View all Outlook settings (3) below, you can access all the Outlook settings (see image below).
- You can also use the search option (4). The search results are displayed as links that take you directly to the correct page in the All Outlook settings screen (see image below).
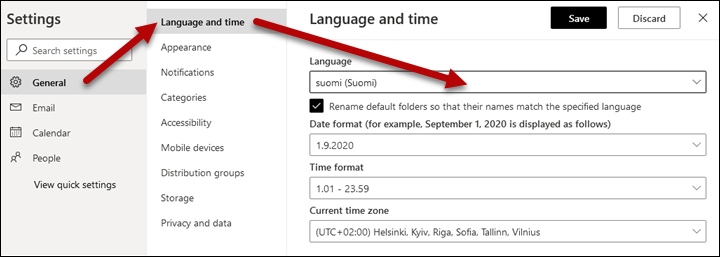
- By clicking View all Outlook settings above, you can edit all the settings. In the new window, the settings are divided into several tabs. In this example, the general OWA settings have been selected on the left-hand side (1). The middle column (2) displays language and time settings. The drop-down menus in the right-hand side column (3) enable you to edit the settings. Remember to save your changes by clicking Save.

Changing the language
Follow these steps to change the language of your OWA user interface:
- Click the cog icon in the top right corner to open the menu.
- Select View all Outlook settings.
- Open General. Select Region and time zone.
- In the Language menu, select the desired language.
- Click Save to save your new settings.
- Close the window by clicking on the cross in the top right corner. Some of the changes will not be implemented until you refresh your view (press F5).
Formatting the app launcher (waffle button)
You can add network services to Office 365’s app launcher, or waffle button, even services other than the O365 services offered by Microsoft. At the time of writing these instructions, the university’s administration has added Flamma, My Studies and My Teaching links to the waffle. Follow these steps to display the applications:
- Click the waffle button.
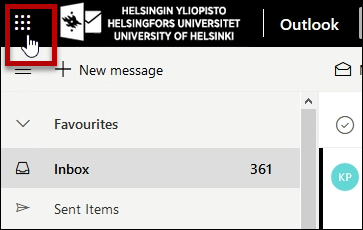
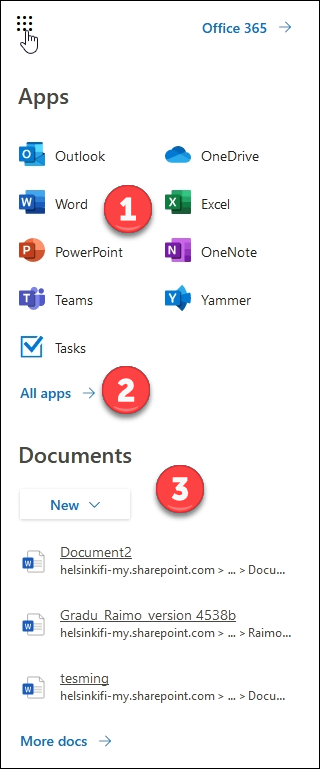
- The top of the list shows some of the most important applications (1). You can select the applications displayed. Next, there is a link to all the applications (2) and, below the link, a list of recently opened documents (3).
- Click All apps (previous image).
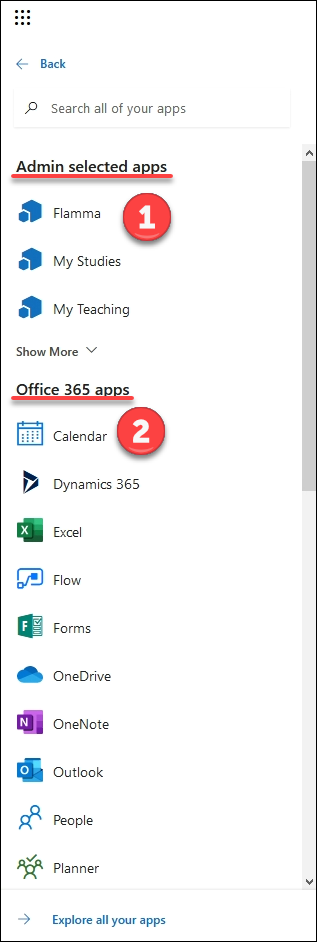
- The top of the list shows applications selected by administration (1) and, below it, a list of all the applications (2).
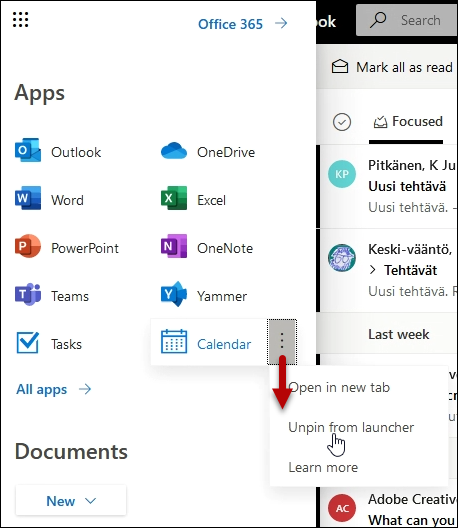
- Click the application name to open it. If you move your cursor over the application, you will see three dots in the right-hand corner. Click those, and you will see a menu where you can open the application in a new tab (Open in new tab) or pin it to the list of the most frequently used applications in the top corner of the waffle (Pin to launcher) to be able to find it easily.
- You can also remove applications from the list of the most frequently used applications by selecting Unpin from launcher.

Changing your profile picture
You can change the profile picture used in Outlook Web App applications. By default, the picture shown is a grey figure.
You can change the picture as follows (NOTE: some steps of these instructions may vary depending on your browser):
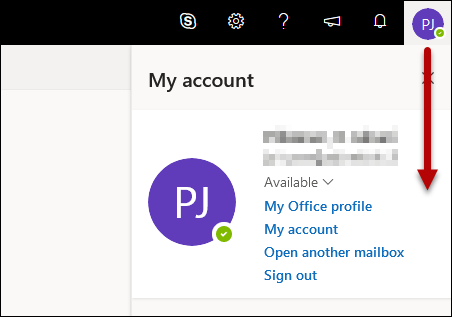
- Click on your profile picture to open the menu.
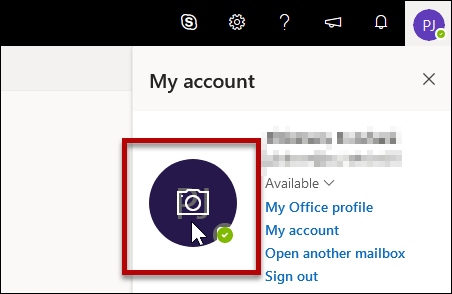
- Click on the profile picture.
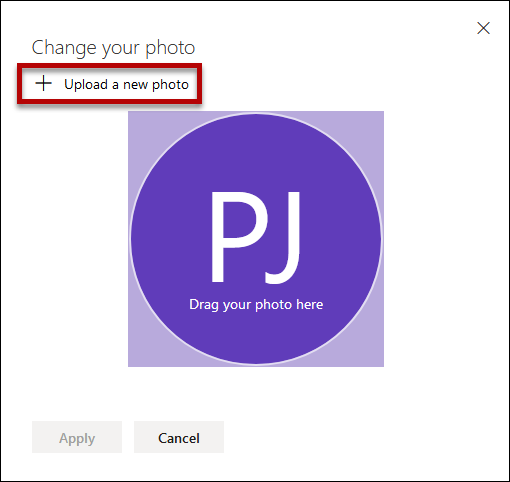
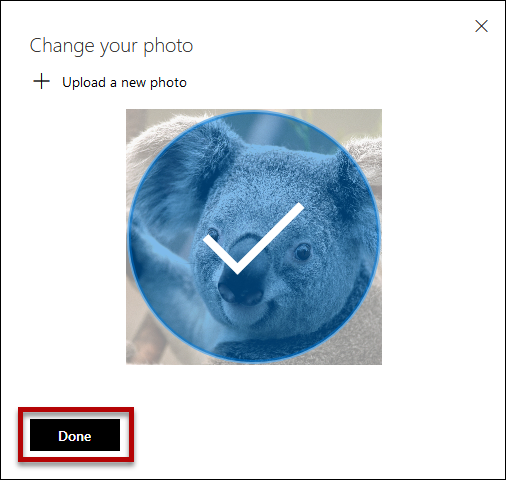
- Click Upload a new photo and browse your files to find the desired photo. Alternatively, you can drag the photo directly onto your profile picture.
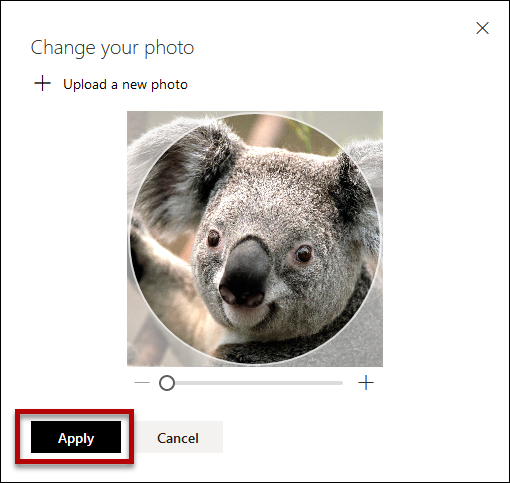
- Click Apply.
- Click Done.
- You can now see your new profile picture in the top right corner of the window.

Changing how your name is presented
If you want to change the way your name is presented in e-mail, for instance from Eric Example
to Eric E Example,
please contact Helpdesk.
Video instruction
Give feedback
The instructions site of the University of Helsinki's IT Helpdesk helps you with IT-related issues related to your work. Let us know how we can improve our instructions. We greatly appreciate your feedback!
How would you improve these instructions?