
The service is in limited pilot use and is still under development. Functionalities and translations may still be missing.
In the MyAccount service you can manage your University of Helsinki user account.
The service is located at https://myaccount.helsinki.fi
Note! Limited user accounts are managed on the Kamu service.
Quick help
You can log in to the service
- with your current University of Helsinki user account.
- Using Suomi.fi.
- If you do not have a Finnish ID, you can also log in with eIDAS or Candour ID using video recognition and a passport or ID card.
If you are unable to use any of these authentication methods, please contact the IT Helpdesk.
The service allows you
- to activate a new user account.
- to change the password for your user account.
- to set a new password if the old password has been forgotten or cleared for security reasons.
Note! Password change on Mac computers in the University's central administration: Change your password using the IT Helpdesk guide (and save yourself a lot of trouble).
The activation process in a nutshell
There are several steps in activation process. Follow the instructions in service:
- Choose a preferred name
- Select the language of service
- Enter an email address
- Choose the user account
- Accept the terms of use
- Set the password and create the user account
Note!
- If your official names have changed or are otherwise displayed incorrectly, please contact the IT Helpdesk.
- Usernames are sent to the IT Centre for verification, and you cannot activate your user account until it has been approved. Approval may take several working days, depending on the IT Centre’s workload.
Detailed help
Authentication to the service
Log in to the MyAccount service at https://myaccount.helsinki.fi.
- If you already have a University of Helsinki user account and remember your password, log in using the University of Helsinki one-time login (1). Read more about using the login service in the separate instructions.
- If you have a Finnish personal identity code, log in using Suomi.fi (2).
If you do not have a Finnish personal identity code, you can use the following methods:
- If you can use the eIDAS login (3) with the identification service of another EU country, use it.
- If you have an internationally recognised passport or ID card and an Android or iOS device, you can authenticate with the Candour ID app (4) using a video image and an official ID document.
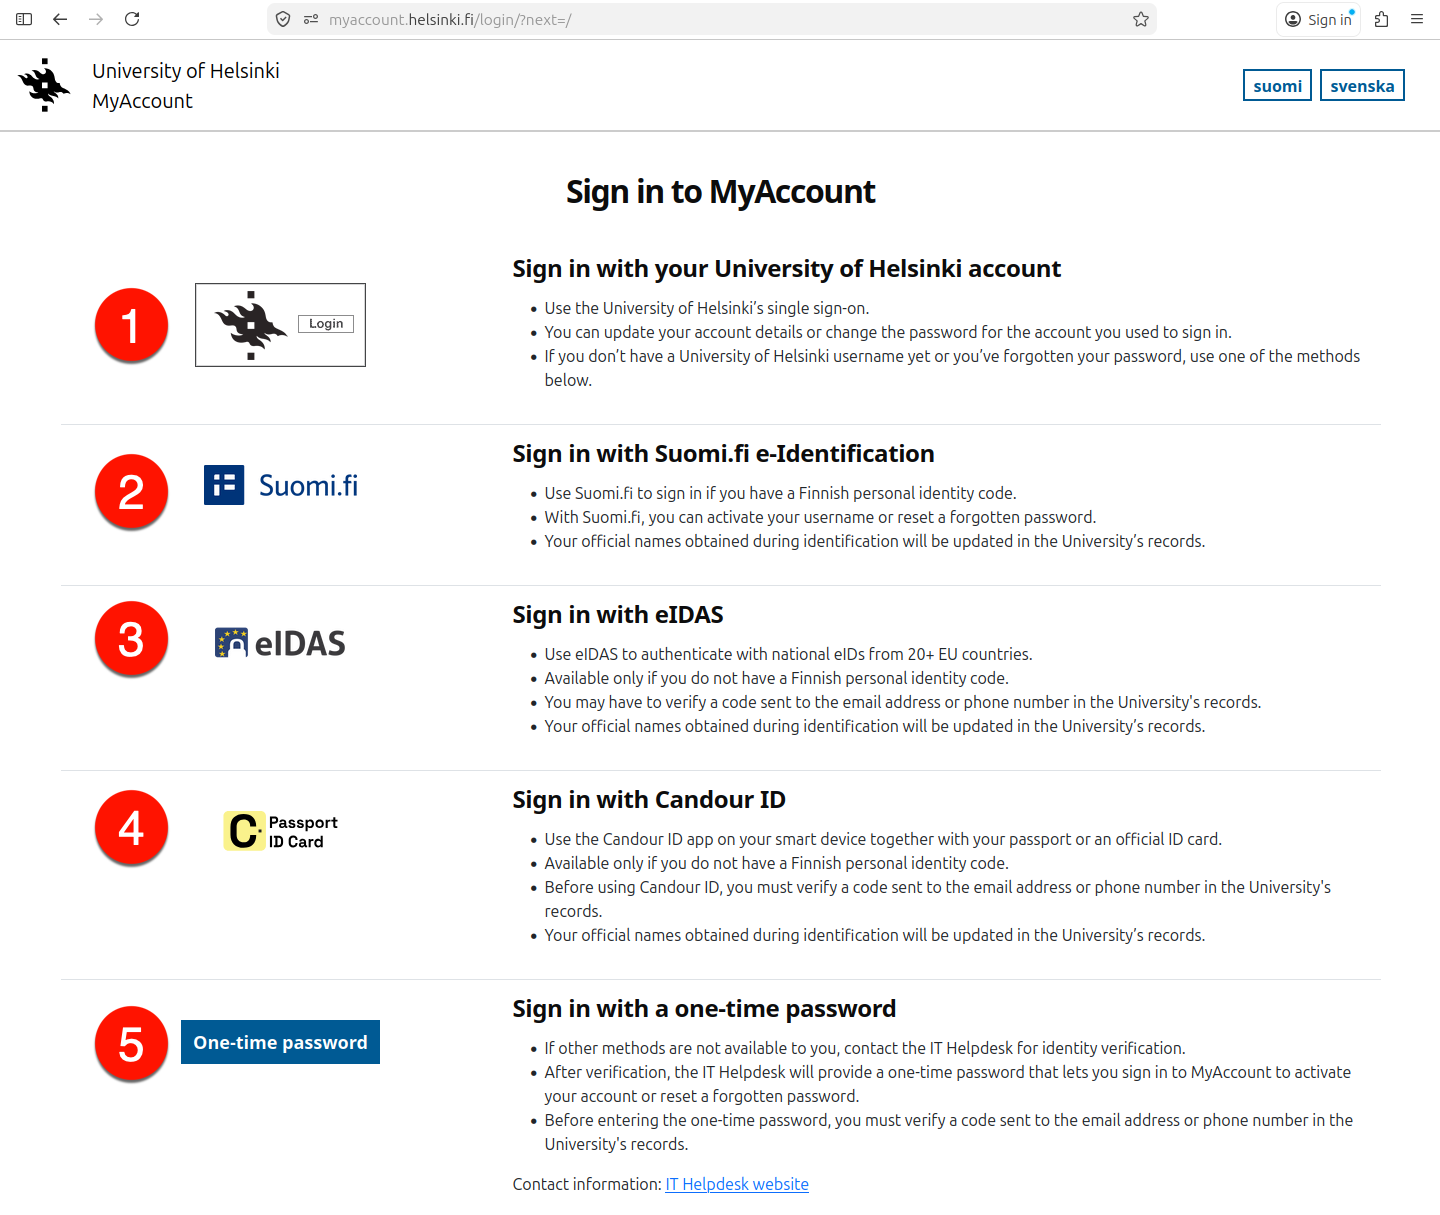
In addition to these, you must be able to receive a verification code at the email address or phone number registered in the university’s system.
If you cannot authenticate using any of the above methods, please contact the IT-Helpdesk, where you will be authenticated by other means and provided with a one-time password (5).
Home page and service functionalities
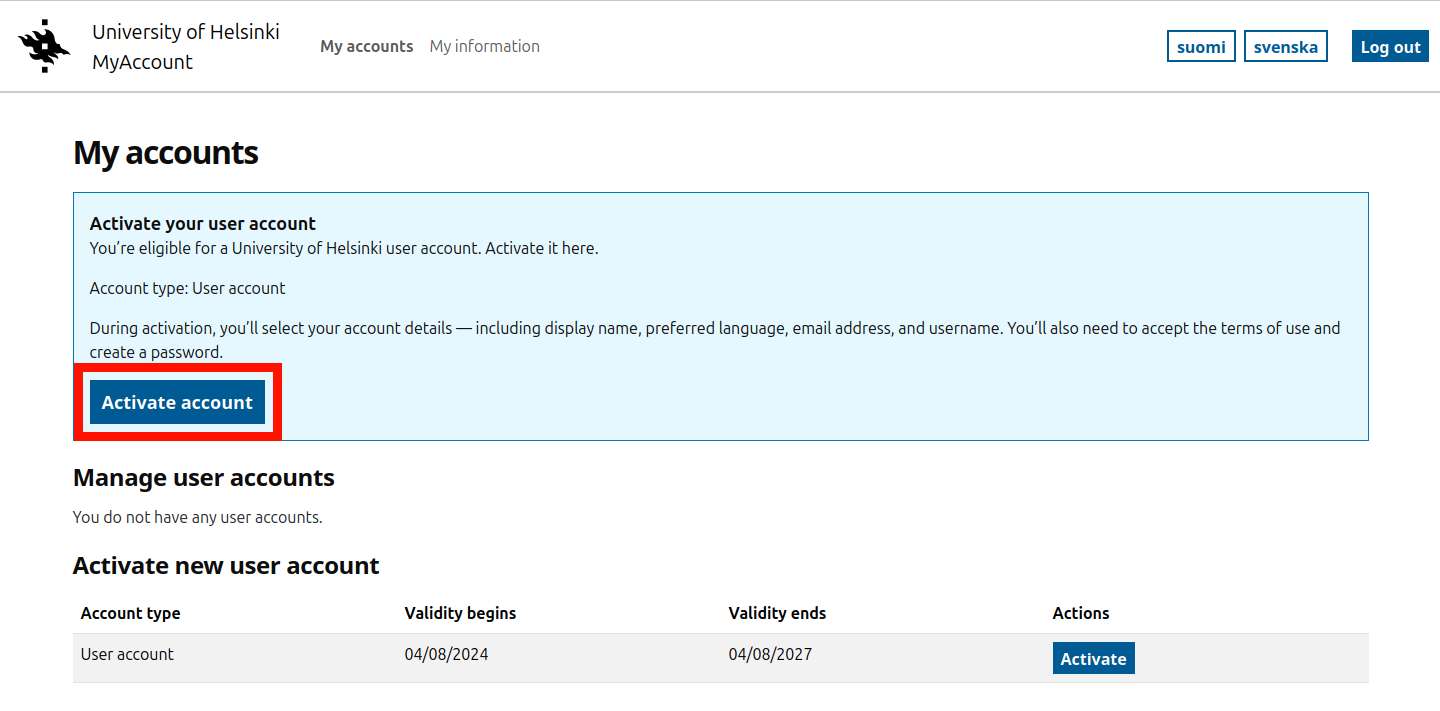
After logging in, you will be redirected to the home page of the service.
If you are about to activate your normal university user account, you can proceed directly to activate your account by selecting Activate account.
You may also have accounts in different stages of creation.
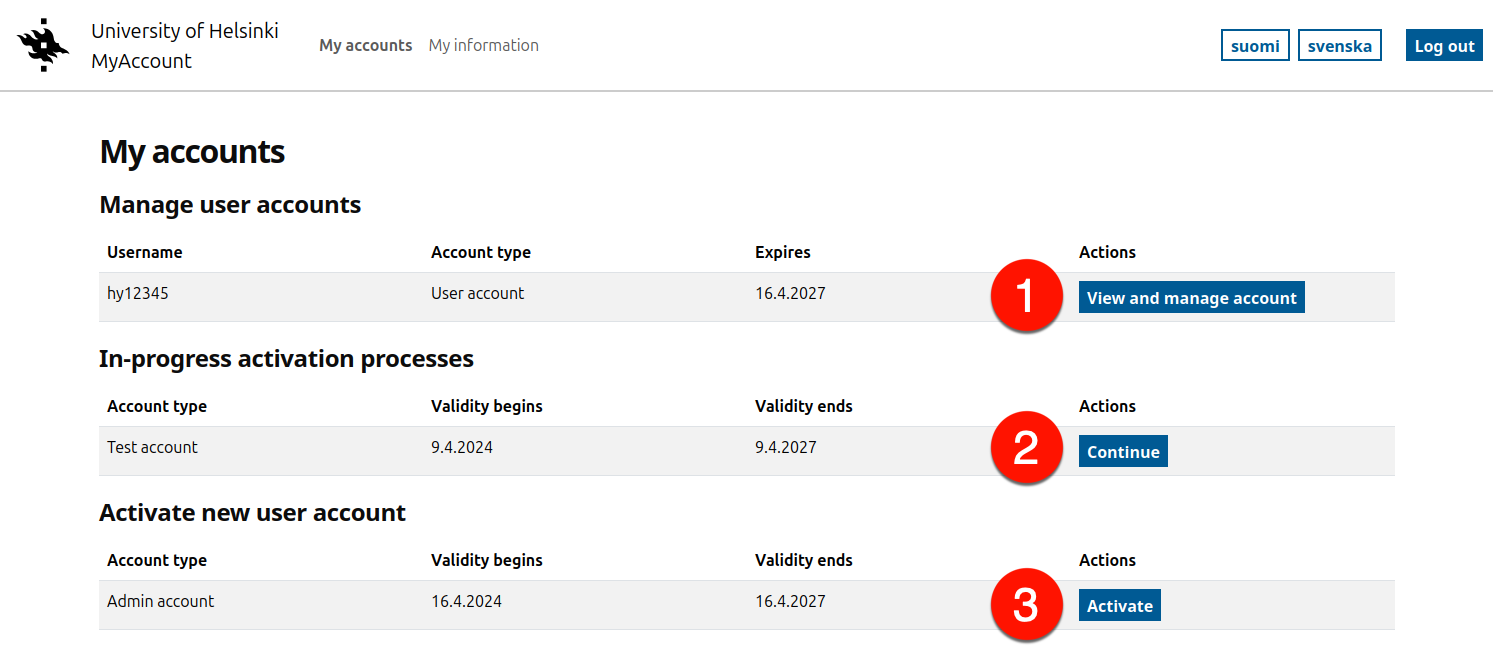
You can change the password of existing accounts by selecting (1) Reset password.
- Note! You can only change the password for the user ID you are logged in with.
If you have used Suomi.fi, eIDAS or Candour ID, you can reset the password for any of your accounts.
You may have pending account activations (2), for example, waiting for a free-choice call name to be accepted. These can be continued by selecting Continue.
You may also have access to different accounts, in which case you can activate a new account by selecting Activate (3).
Most university students are only entitled to a basic form of username. For special needs, such as administrative use, other IDs may be used. Read more about the different IDs in the separate help.
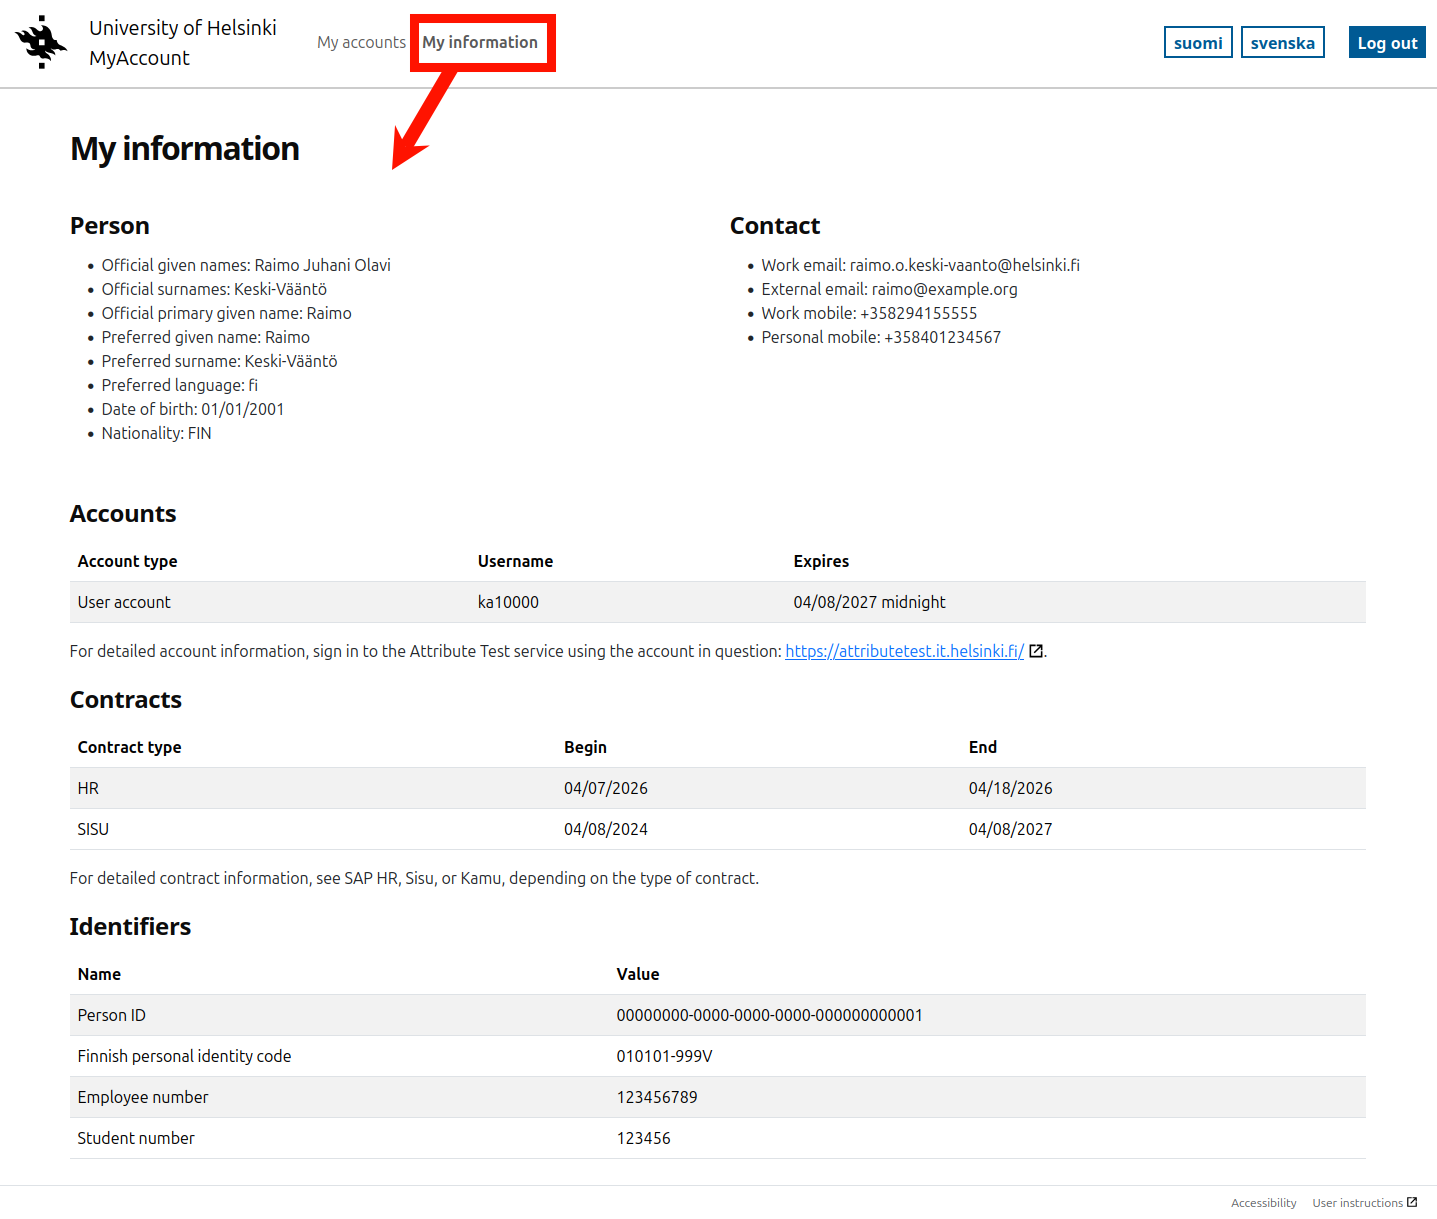
My information
You can view your account information in the My information section of the top menu.
Activating your user account
Start the activation by going to the home page and selecting to activate the desired user account or to continue activation.
There are several steps in the activation process:
- Select preferred name
- Select login language
- Select email address
- Select username
- Accept terms of use
- Set password and create account
1. Preferred name selection
The official name information are updated at the time of user authentication. If your official name has changed or is otherwise displayed incorrectly, please contact the IT Helpdesk. Official names are used for purposes such as certificates, contracts and user identification.
Preferred names are used in day-to-day operations at the University. You can choose to use one of your official names or part of it.
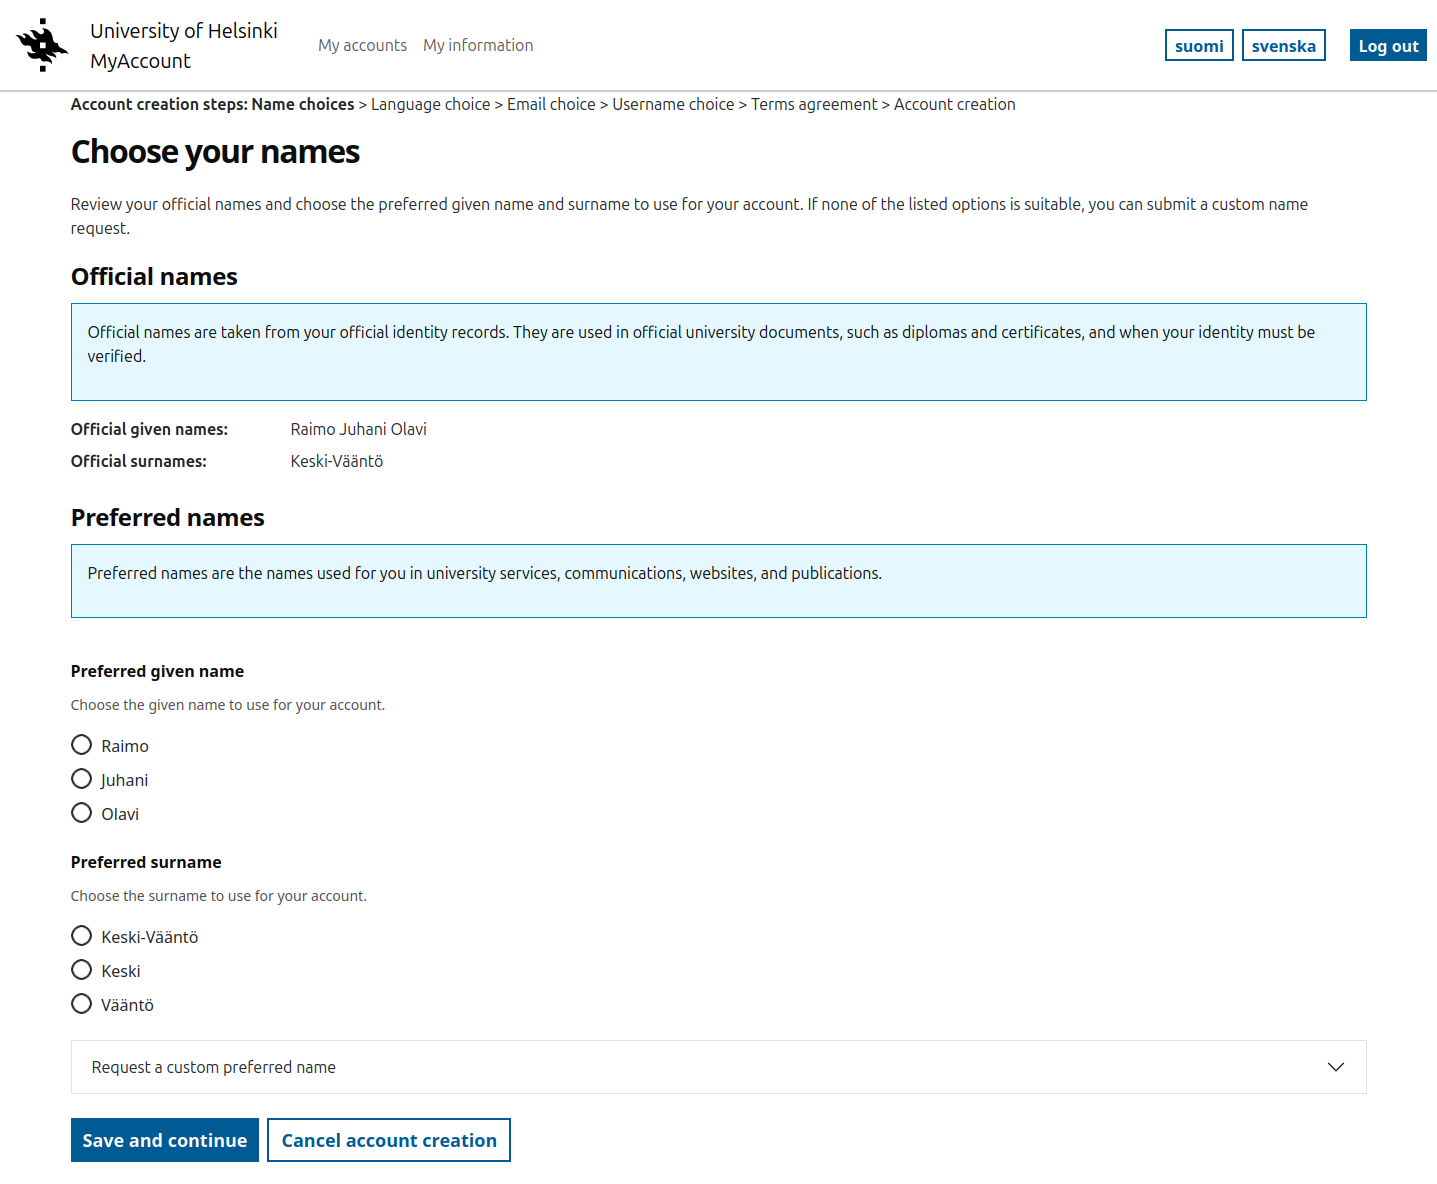
If you use a name in your daily life that is not part of your official name, you can also request to use it for University services.
Note! Preferred names go to the Center for Information Technology for verification and you cannot activate your user account until your username is approved. Approval may take several business days depending on the workload of the Center for Information Technology.
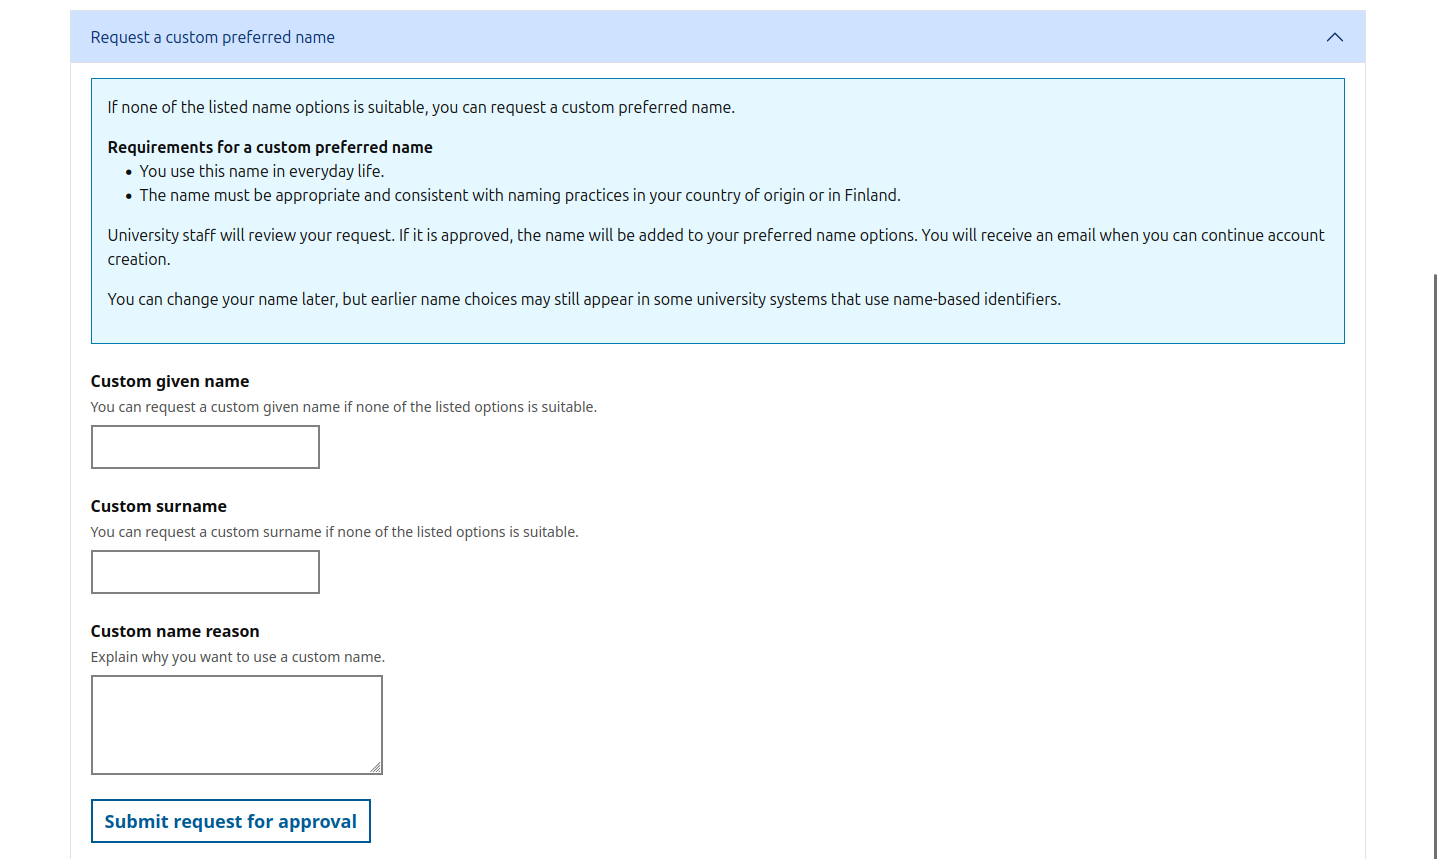
If you would like to choose a different preferred name, please select Request a custom preferred name and provide your preferred username and a free-form justification. Please also read the terms and conditions regarding usernames when choosing one.
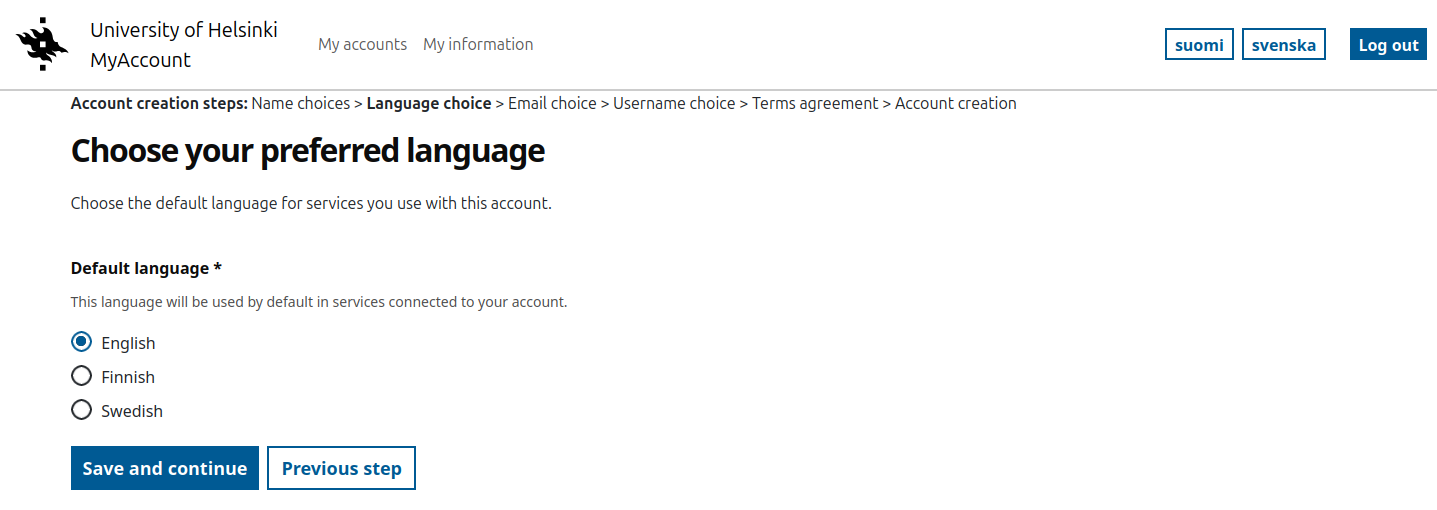
2. Choose your preferred language
Select your preferred language. This selection will be forwarded to the services when you log in.
3. Select email address
Select the email address associated with your account. All new personal email addresses at the University of Helsinki consist of three parts. Some services now use the email address as a unique identifier for the user, which is why email addresses are not circulated as frequently as in the past.
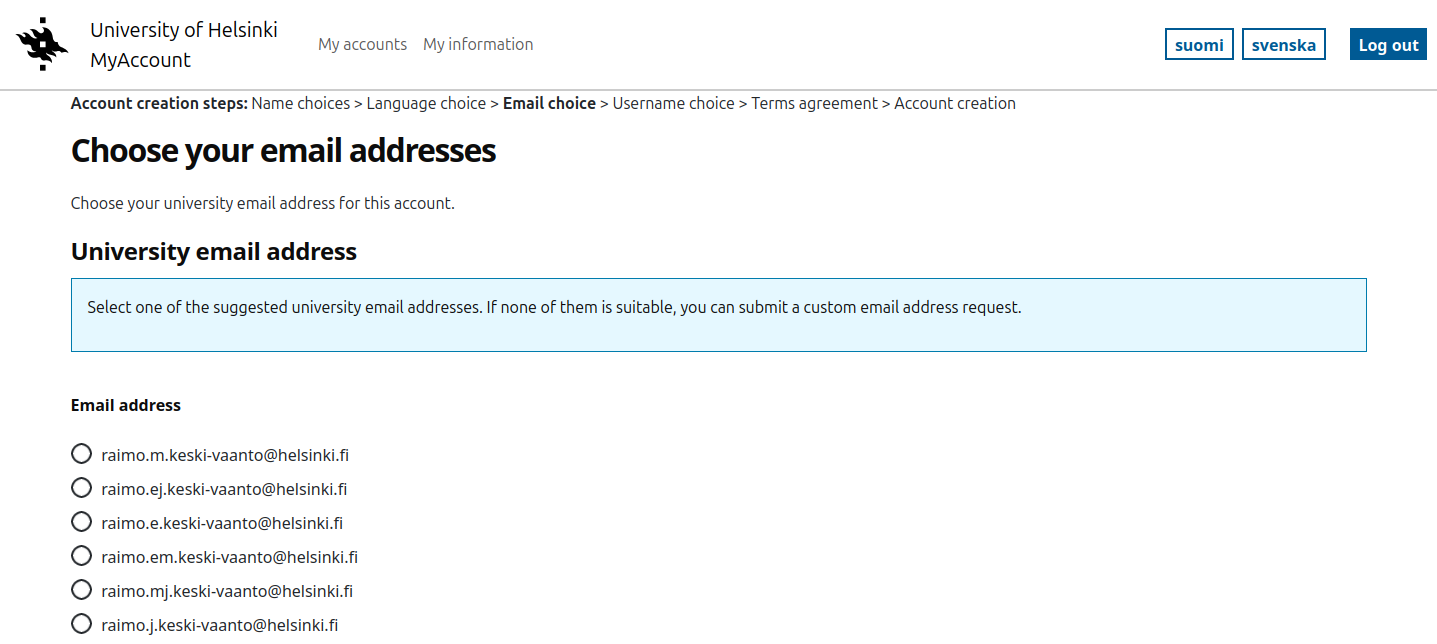
As with the name information, you can also suggest another email address and these suggestions require approval before you can activate the username.
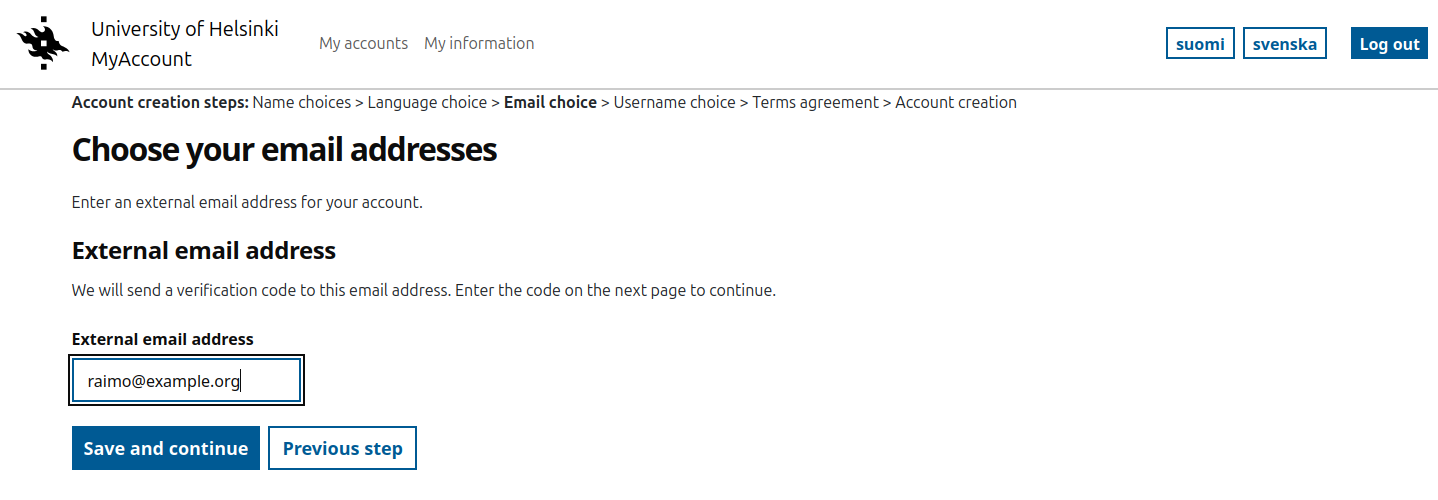
External email address
All accounts do not include the right to a university email address or the address is optional. If you do not or cannot select a university email address, you will need to confirm an external email address to be used in your account information.
If you have already confirmed your email address during the login process, you can continue directly with that address or submit a new address for confirmation.
Enter your external email address.
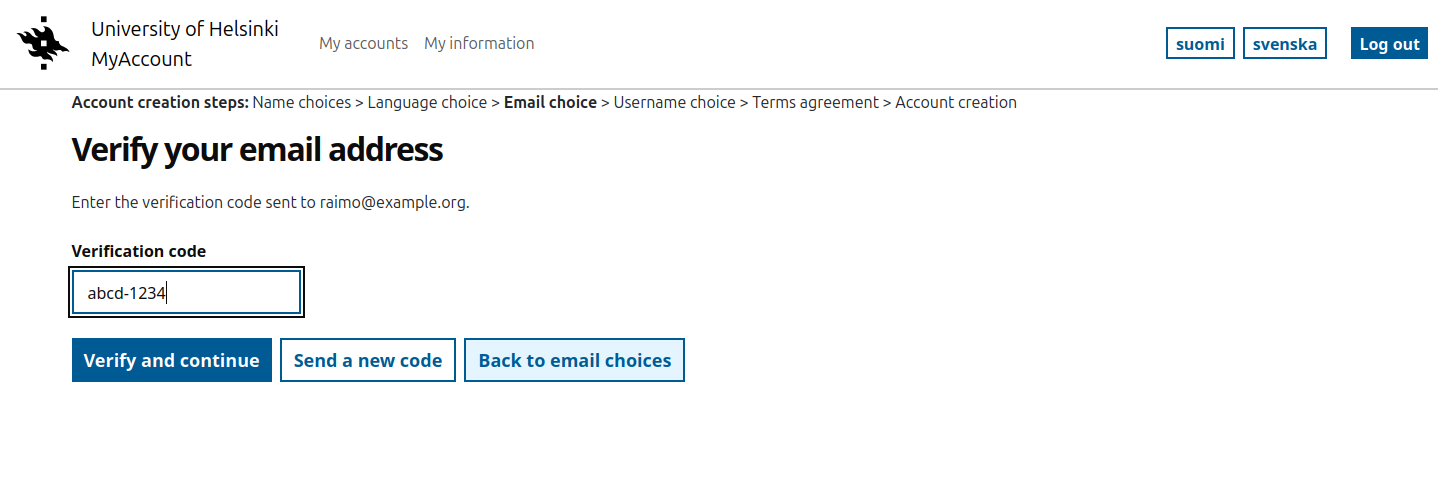
Get the verification code from your email and enter it in the field provided. Select Verify and continue.
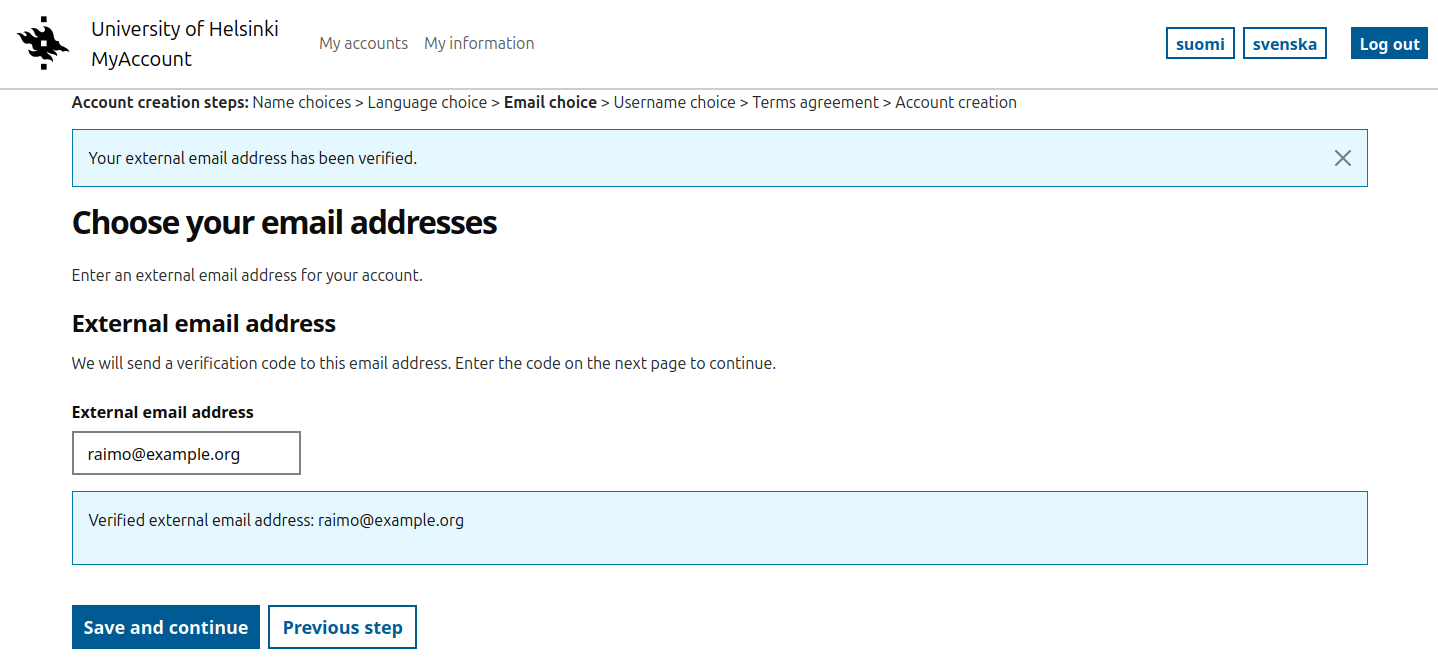
You will receive a message that your address has been verified and you can continue.
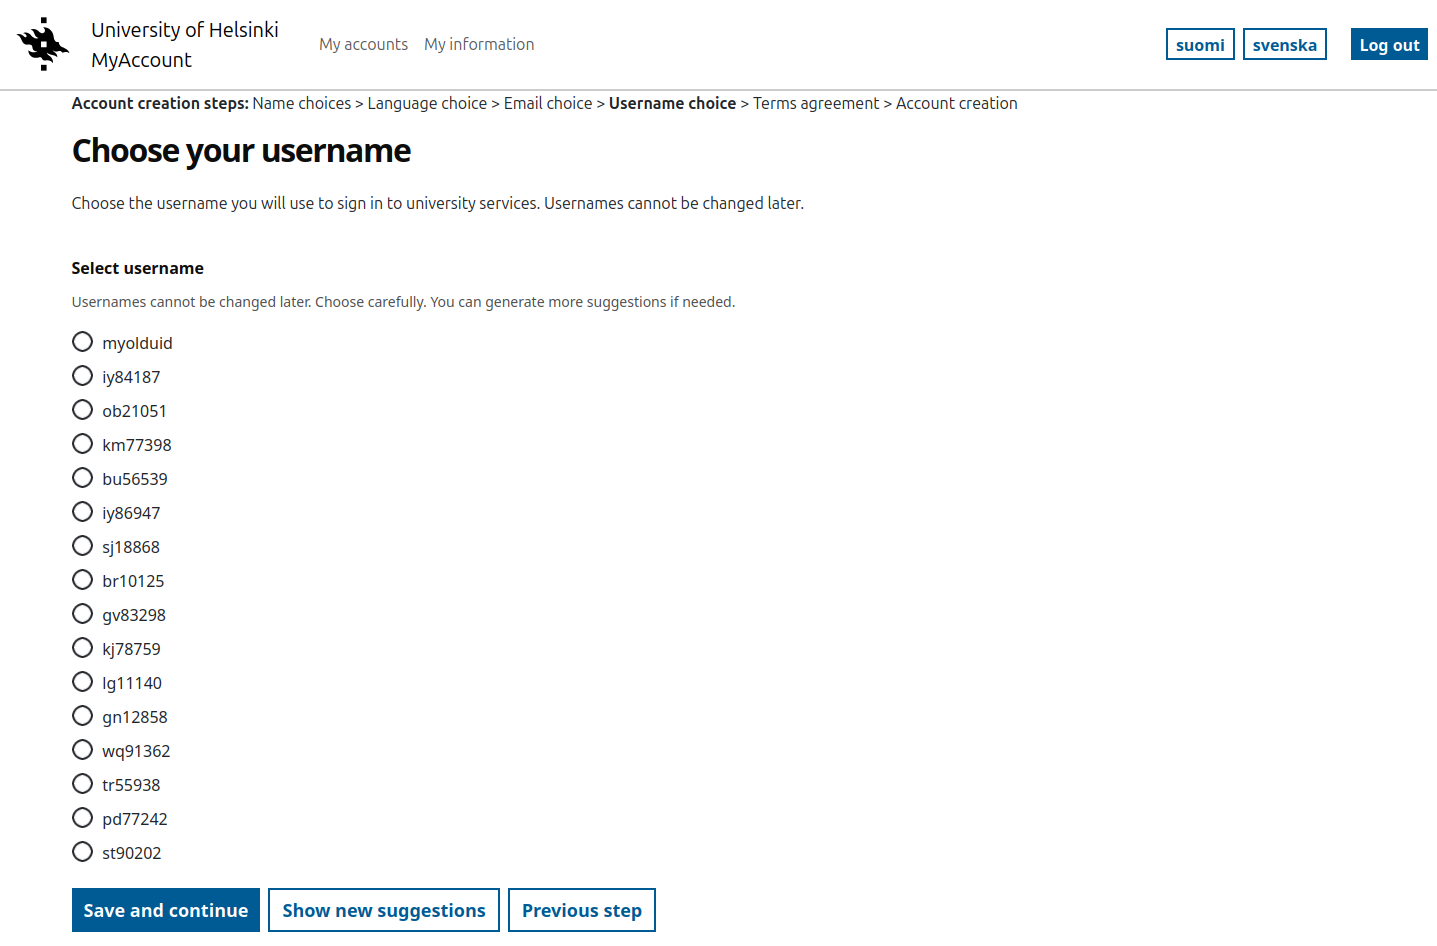
4. Choose your username
The standard university user accounts currently contain two letters and five digits. These user account are used to identify the user for different services and cannot be changed later.
Note: This format applies to normal user accounts. Special accounts can have different ID formats, such as prefixed IDs.
5. Accepting the Terms of Service
If you have already accepted the latest version of the Terms of Service, this step is skipped.
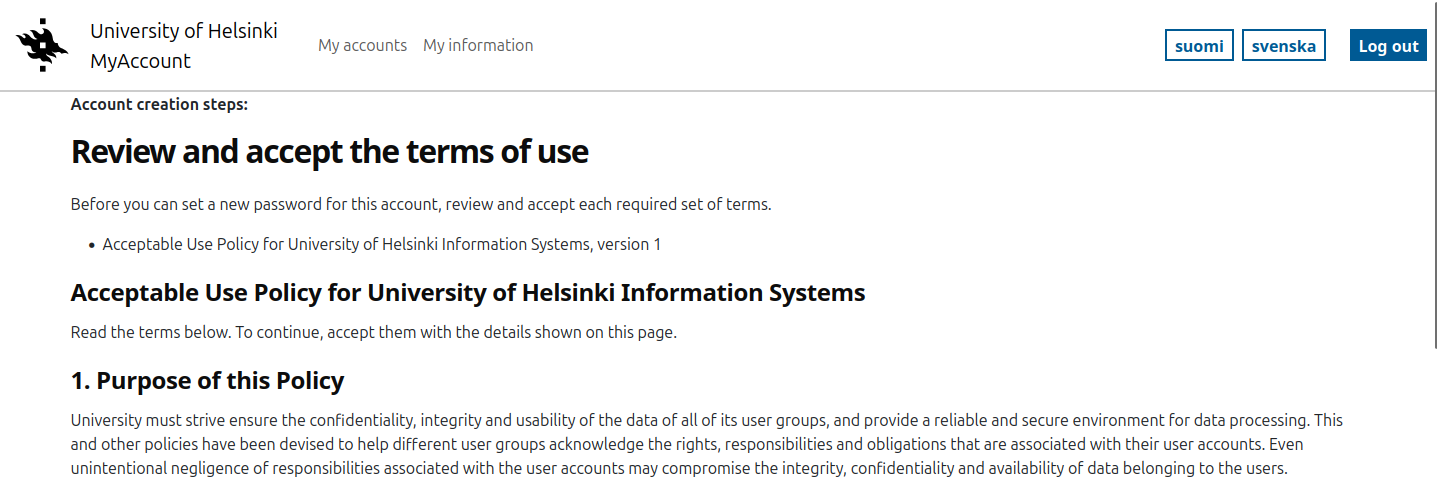
Note! For some user account types, you may have to accept different terms and conditions. For example, with maintenance accounts, you confirm that you have read the rules for the maintenance of information systems.
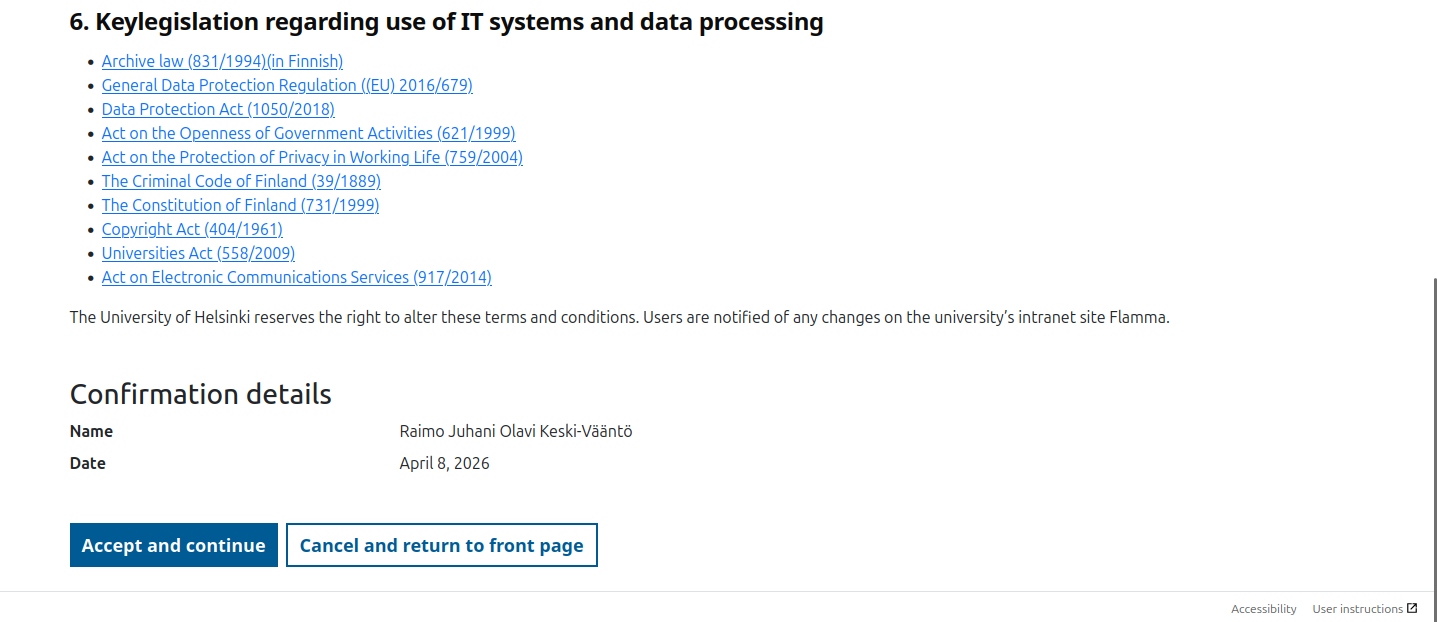
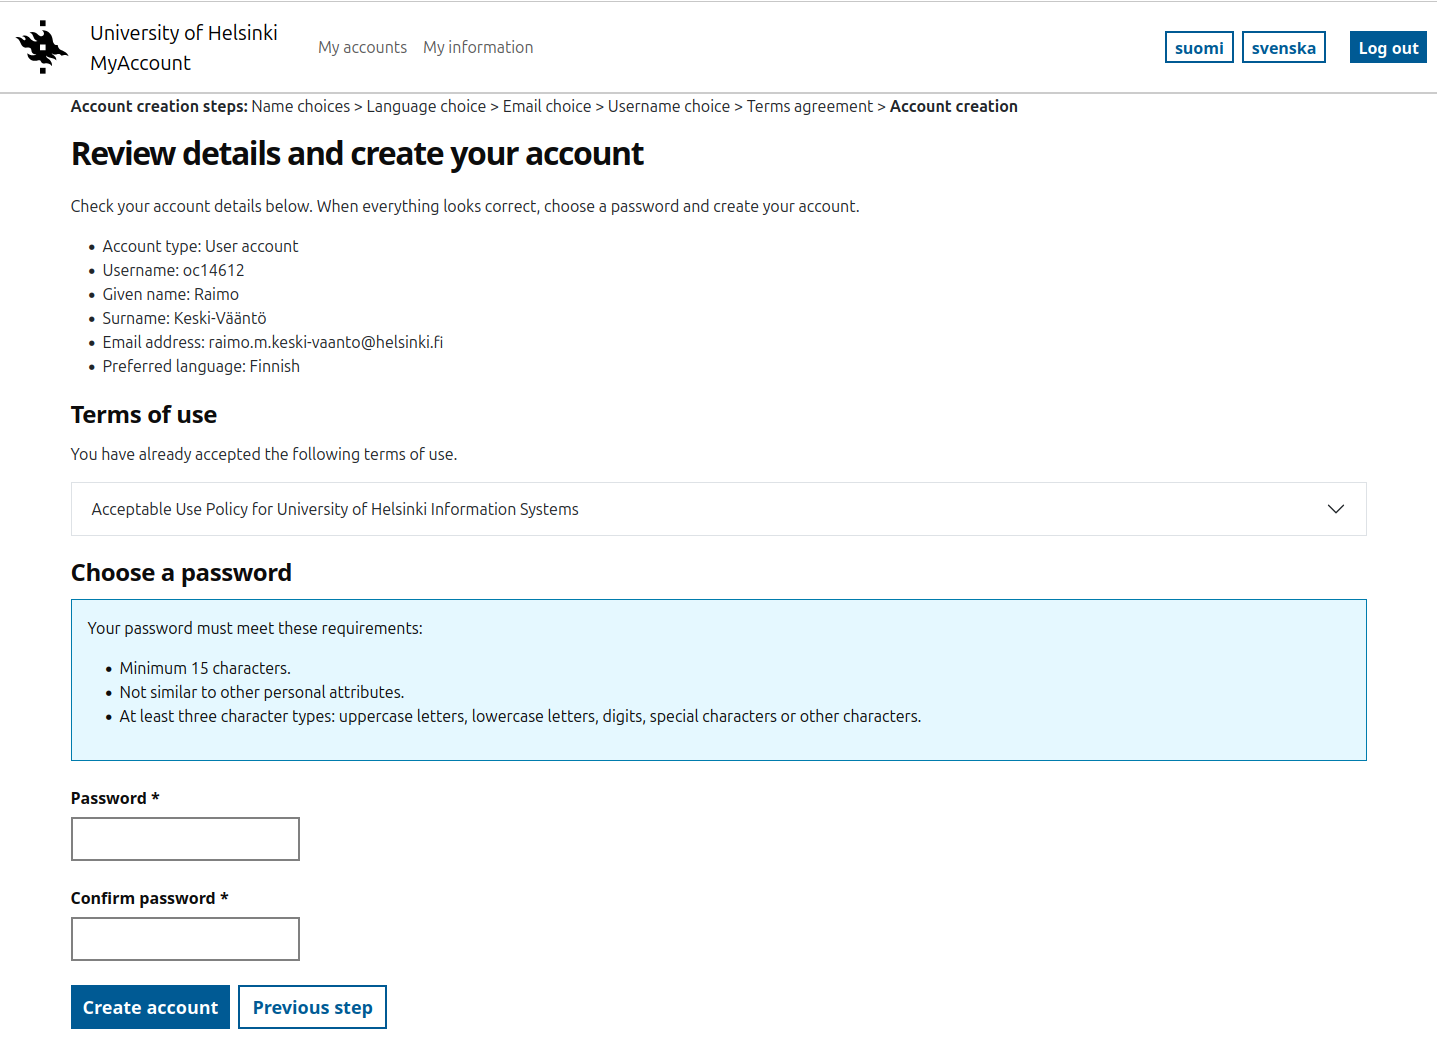
6. Setting the password and creating a username
The last step in creating an user account is to check the user account details and set a password.
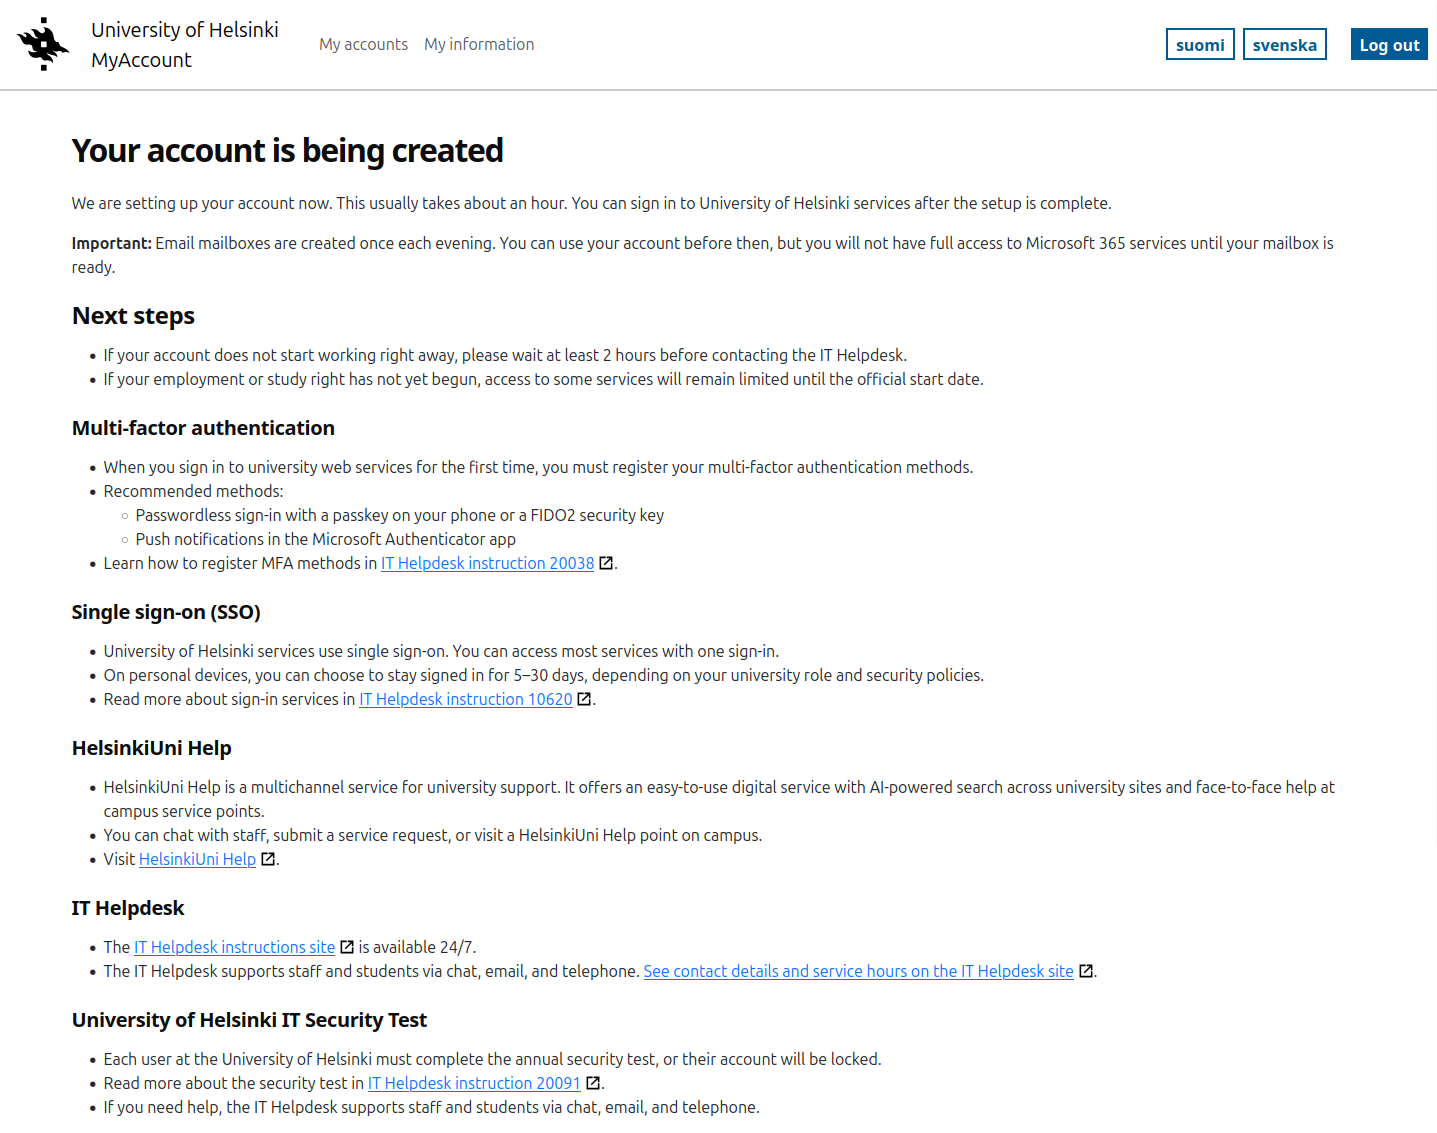
Next steps
After creating the account, it usually takes about an hour before it starts working. To be on the safe side, please wait at least two hours before contacting the IT Helpdesk about activation problems.
Note! The first time you log in, you will need to register for Multi-Factor Authentication (MFA) methods. Read more about the MFA setup in the separate help.
Please also read more about the help page you will be redirected to after creating your account.
Give feedback on the service
You can also give feedback on the account creation process on the same page.

Changing your password
You can change or reset your password in MyAccount.
Note! Password change on Mac computers in the University's central administration: Change your password using the IT Helpdesk guide (and save yourself a lot of trouble).
On the home page, under your account, select Reset password.
First, you will need to Review and accept the terms of use. If you have already accepted the latest version of the terms of use, this step will not be displayed.
In the next step, enter a new password.
- If you are logged in with your user account you must also enter your current password.
- If you are logged in with strong authentication (e.g. Suomi.fi) and you don't remember your old password, you can leave the old password field blank.

Video instruction
Give feedback
The instructions site of the University of Helsinki's IT Helpdesk helps you with IT-related issues related to your work. Let us know how we can improve our instructions. We greatly appreciate your feedback!
How would you improve these instructions?