
These instructions explain how to modify the common Outlook parts, such as language settings and the Ribbon, and the operation of individual parts of Outlook (Mail, Calendar etc.).
Quick help
Detailed help
Backstage
You can use the so-called Backstage view for modifying the appearance and operation of Outlook. For more information on the Backstage view, see the Microsoft site.
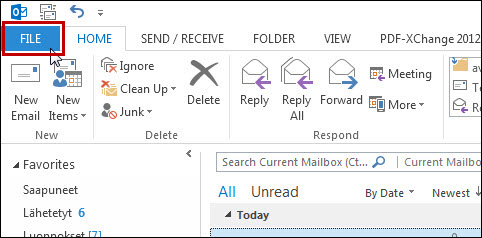
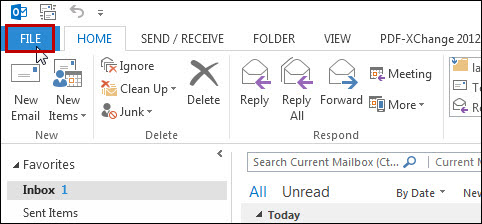
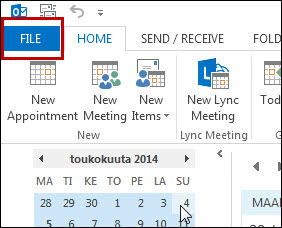
Use the File tab to access the Backstage view.
- Click FILE.
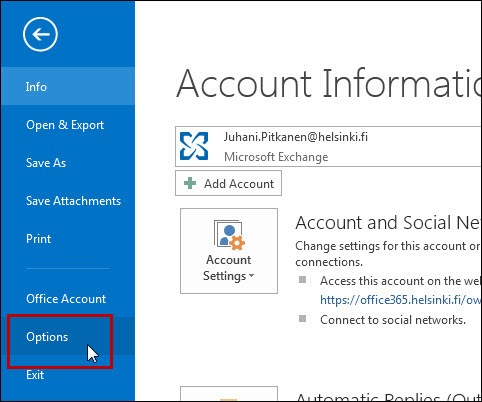
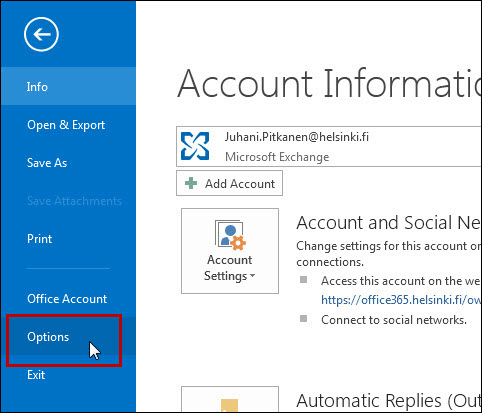
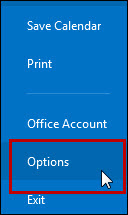
- Click Options.
- In the column to the left, you can choose which Outlook property or part you want to modify (1). The column on the right (2) allows you to change the settings.

Changing the language
You can change the language used in Outlook's menus and instructions. You can change the language if the desired language pack is installed on your computer. For Windows computers covered by centralised application maintenance, Finnish, Swedish and English language packs are installed.
The language settings of the operating system also affect the settings. Read more on how to change the language settings of the Windows operating system. Note that the language settings may also affect the behaviour of other applications.
- Click FILE.
- Open Options.
- Open the Language window (1).
- In the Display language (2) list, choose the desired language and move it to the top of the list using the arrow buttons (3).
- Also choose the language for instructions (4) and move it to the top of the list using the arrow buttons (5).
- Click OK (6) to save the changes.

See bigger picture >>
- Close the Office applications and restart them.

- The menu texts have now changed.

NOTE! Some language settings are retrieved from the computer's settings
- Even if English, for example, is set as the Outlook language, the names of weekdays and months may be displayed in a different language. These settings are based on the regional settings of Windows. These instructions explain how to change the language to English, but they also apply to changing to other languages.
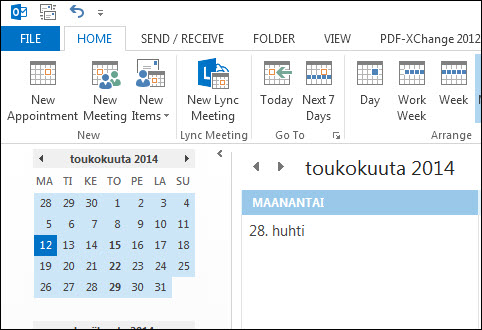
If you want to see the weekdays and months in English, you need to implement the following changes:
- Open the Start menu.
- Open the Control Panel.
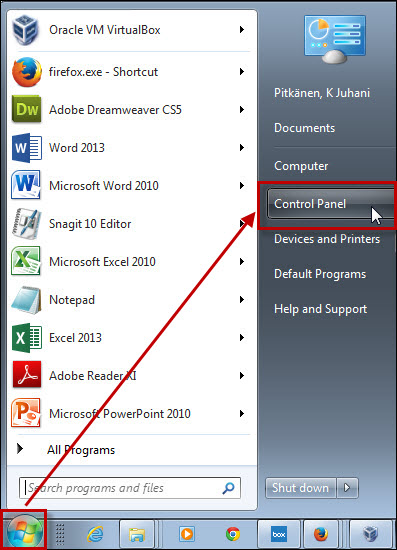
- Choose Region and Language.

- Open the Formats tab (1).
- Change the settings in the menu (2).
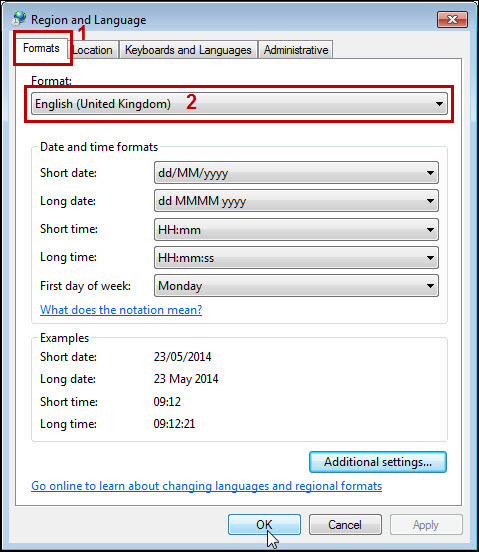
NOTE: This also changes the currency symbol and the decimal separator. Change them to the correct ones.
- Open Additional settings.
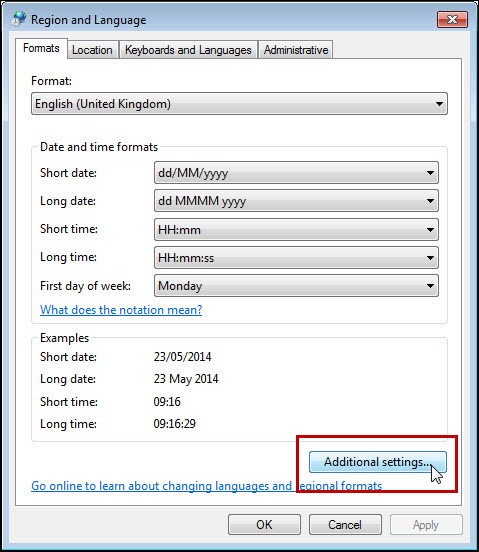
- Go through all the tabs and make sure that the currency symbol, the decimal separator and other country-specific information are correct.
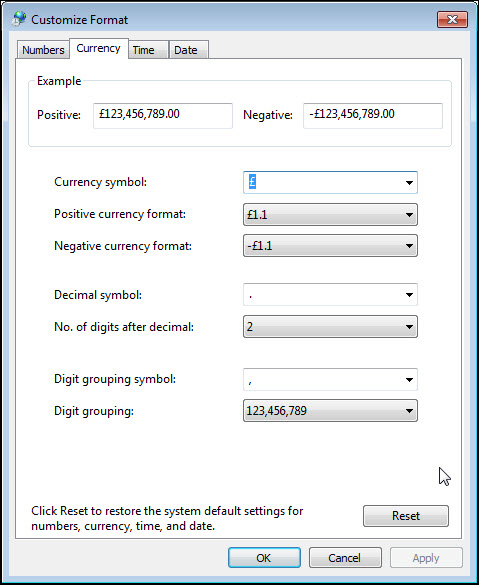
- Click OK.
Changing the message update cycle
Based on Outlook's default settings, e-mails are checked automatically every 30 minutes. You can change the sending and receiving settings of incoming and outgoing items as follows:
Open Outlook's Backstage view. In the Advanced (1) window, locate Send and receive. Click Send/Receive... (2).

At the top, choose the account whose settings you want to change. In this example, we use the default account, All accounts. No other groups have been created, but you can create them by clicking New.
You can, for example, change the send and receive settings under Schedule an automatic send/receive every by specifying the number of minutes using the arrow keys or typing in the desired number of minutes.
You can also tick the Perform automatic send/receive when exiting tickbox to send and receive pending messages when you log out of Outlook.
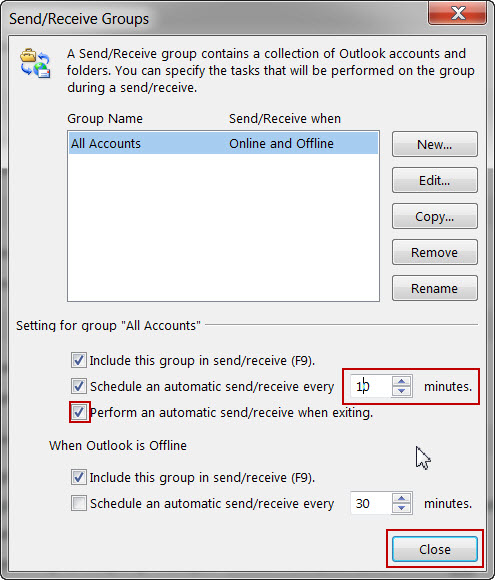
Finally, click Close to save the settings.
You can also use the Send and receive shortcut (F9) which checks emails automatically regardless of the phase of the automatic update cycle.
Adding holidays to the calendar
- Click FILE.
- Click Options.
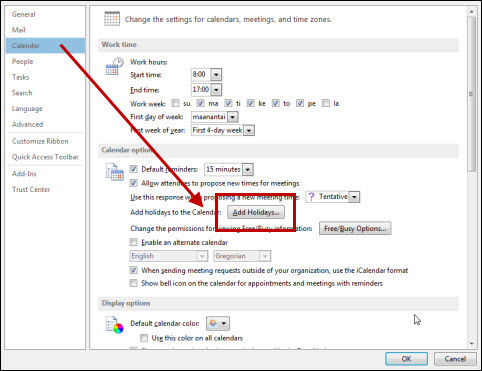
- Click Calendar.
- Click Add Holidays... .
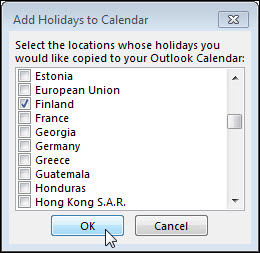
- Check the holidays to add in the list.
- Click OK.
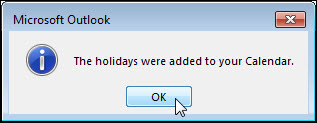
- You will get a confirmation that the holidays have been added. Click OK.
- Click OK to close the settings.
Removing holidays from the calendar
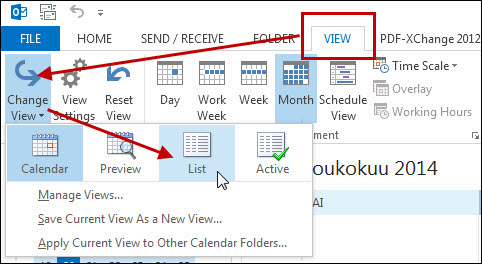
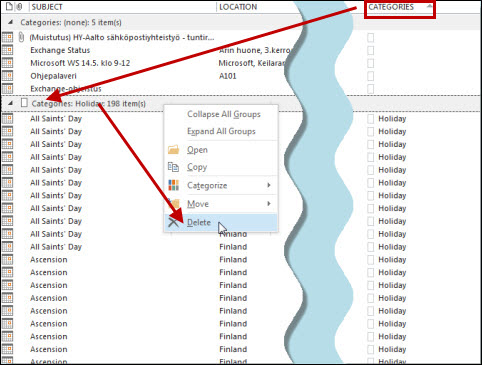
- Open the View tab.
- Open Change View.
- Arrange the window in a list format.
- Click CATEGORIES to arrange the list.
- Right-click the Categories: Holiday heading.
- Click Delete.
Checking the size of mailbox quota
The bottom bar (1) of Outlook 2013 contains useful information concerning mail.

To view the size of your mailbox, right-click the bottom bar. This opens a window (2) for specifying what is shown in the bottom bar. Click Quota Information to show the available quota in the bottom bar (3).

The quota indicates whether you are using the local service or the cloud service. The quota in the cloud is 50 Gb, whereas in the local service, it's only 3 Gb.
Changing how your name is presented
If you want to change the way your name is used in e-mails, for instance, from Eric E Example to Eric Example, please contact Helpdesk.
Video instruction
Give feedback
The instructions site of the University of Helsinki's IT Helpdesk helps you with IT-related issues related to your work. Let us know how we can improve our instructions. We greatly appreciate your feedback!
How would you improve these instructions?