
Flamma's workgroups is a Confluence-based collaboration platform developed by Atlassian and used specifically to support documentation, teamwork and data management.
Flamma's workgroups run in a browser, and, for the most part, workgroup management and content creation is done in the same way as in a wiki.
The main difference between Flamma's workgroups and the wiki is that the workgroups have better security than the wiki, as they can only be accessed using university credentials. Use workgroups when the group you wish to reach consists only of university's internal users.. You can also invite external users from other universities or create local accounts. See the separate instructions for using the University Wiki.
Quick help
You can log in Flamma´s workgroups from either the tool bar on Flamma or directly from the address https://https://workgroups.helsinki.fi/.
Read more from the Detailed help -tab.
Detailed help
Table of contents
- Creating a new page
- User administration
- Page restrictions
- Page layout
- Choose your own home page
- Adding a new page
- Editing pages
- Deleting pages
- Discussion areas
- Dashboard, Space news and Favourites
- Changing the order of the pages
- Adding a calendar to a Flamma workgroup
- Deleting a workgroup
- Other instructions
You can log in to the Workgroups at https://workgroups.helsinki.fi/.
Creating a new page
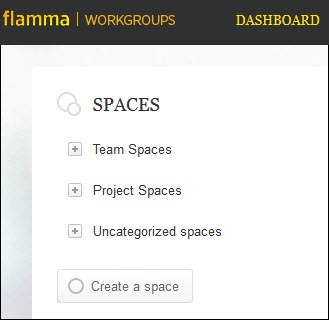
- Go to the DASHBOARD tab.
- Click on Create a space.
- Select Collaboration Space. This group is recommended, as its user rights can be managed through the university's IAM groups.
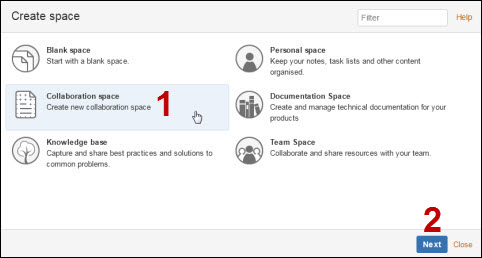
- Click Next.
- Write the group's name in the Space name field. The Space key will be automatically generated based on the name of the group. The system will check if another group of the same name already exists, but it cannot alert you if any are found and stops. In this case, you can add letters or numbers to the Space key after which the system will let you continue.
- The Space key will be visible in the address of the page. It can be no more than 255 characters long and must only contain letters and numbers. The letters ä, ö and å will be automatically replaced with a, o and a.
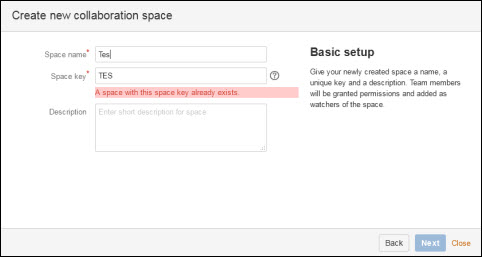
- Click Next.
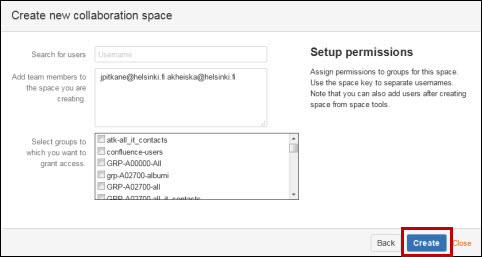
- Add members to the group. You can select individual members by typing the first letters of their name in the first field (1) or select pre-formed groups in the second field (2).
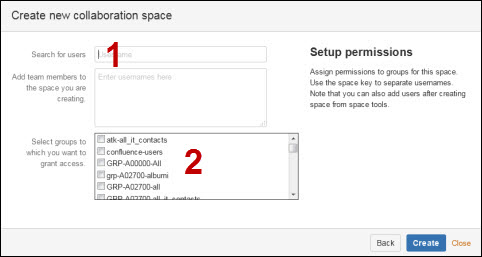
- Select the person on the list.
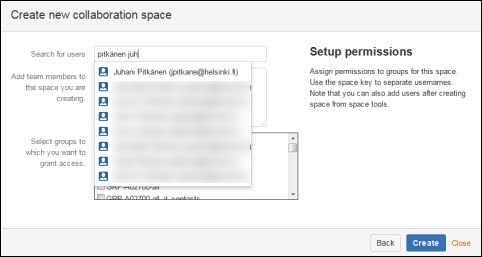
- Once you have added the members, click Create.
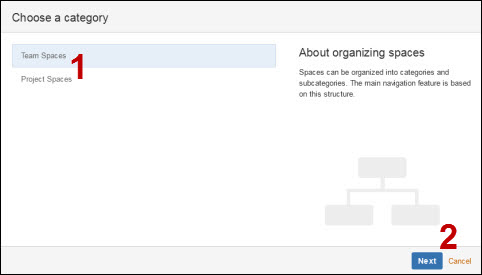
- Select a category (1) for the group. The category you select will affect the upper level navigation. You can change the category later.
- Click Next (2).
The space has been created and you can now start creating content for it.
User administration
- You can add rights for entire groups (Groups) or individual users (Individual Users).
- You can add the following to workgroups:
- University of Helsinki staff and students
- Members of the Haka network
- Members of the EduGain network
- Flamma’s workgroups have their own user list that you can use to search for users. A person is automatically added to the workgroup user database once they log in to a university wiki space or workgroup. So, if you cannot find a user you are looking for, ask him or her to log in with their credentials to a wiki or workgroup of the University of Helsinki (for example, at https://workgroups.helsinki.fi/). Their username can be found immediately after the first login.
- Open Space Tools (1) > Permissions (2) > Permissions (3).
- You can add new groups and individual users by clicking Edit permissions at Groups or Individual Users and typing the name into the search field that opens. You can manage the rights of users that have already been added by checking or unchecking the right for each user.
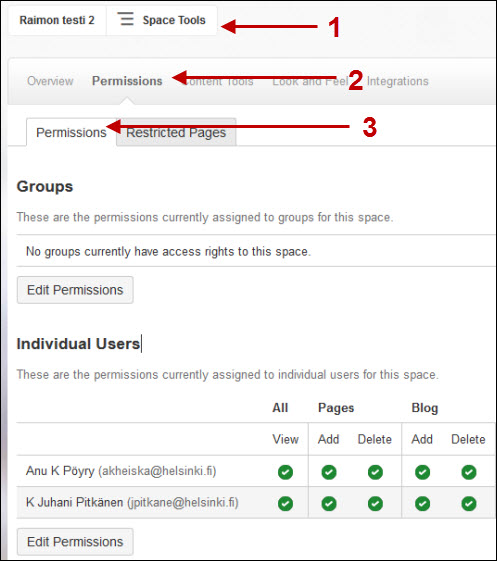
Larger image >> - Finally, click Save all.
Page restrictions
You can define page-specific restrictions in workgroups. You should not set these restrictions if you do not know exactly what you are doing! You can easily create problems and misunderstandings.
If, however, you wish to apply restrictions, you should first read Atlassian’s instructions.
Page layout
To modify the appearance of the page, including adding new components to the page, follow these instructions:
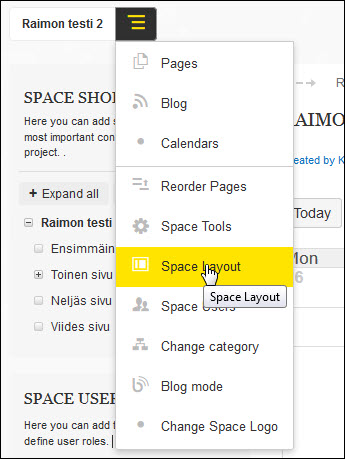
- Open Space Layout.
- Move the mouse pointer on some part of the page. The Add button will be displayed.
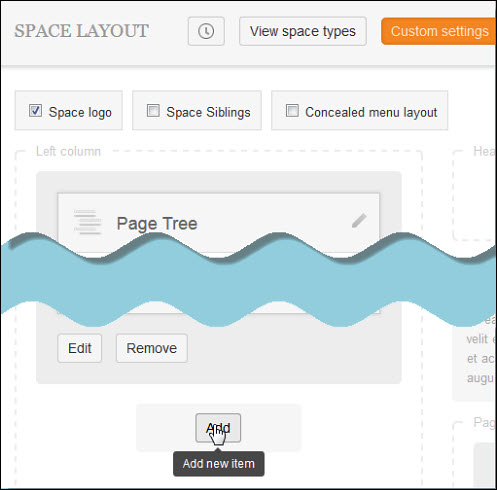
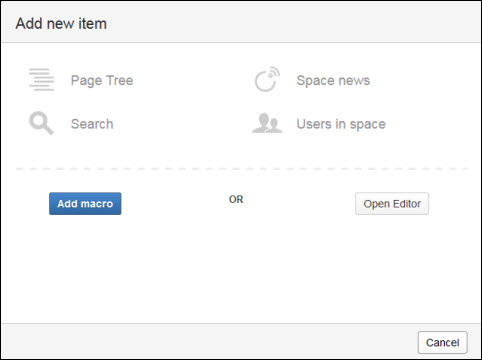
- Click on the component you wish to add (Page Tree, Space news, Search, etc.). For each component, a new window will pop up requesting additional information for the component. Fill in the necessary fields and click Save.
Choose your own home page
You can choose yourself which workgroup opens automatically when you open Flamma's workgroups.
- Click on your own profile icon in the top right corner of the page.
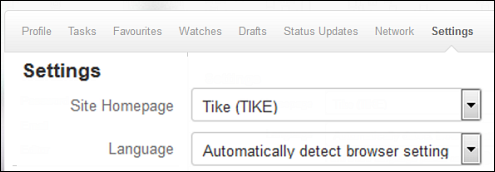
- When a menu opens, select Settings.
- Click the Edit button that opens at the bottom of the page and from Site Homepage change the workgroup to the one you want (the menu shows all the workgroups to which you have access).
- Finally, click on Submit.
After this you can access your chosen page directly by clicking on the Flamma Workgroups logo in the top left corner of the page.
Adding a new page
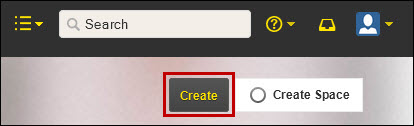
- You can add new pages or other content in the workgroup space by clicking Create in the top right corner of the page.
- Make sure that you are editing the right workgroup (1).
- Select the component you wish to add (such as Blank page, How-to article or Diagram) (2).
- Click Create (3).

Editing pages
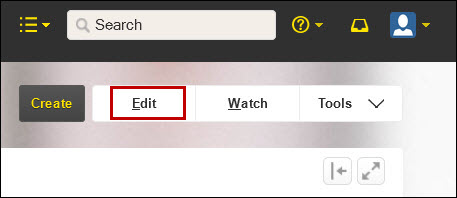
- You can edit completed pages by clicking on Edit at the top of the page.
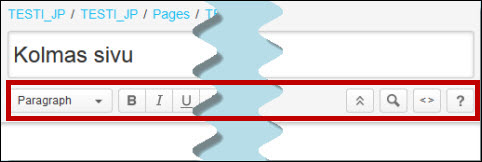
- The editing tool is the same as in the wiki.
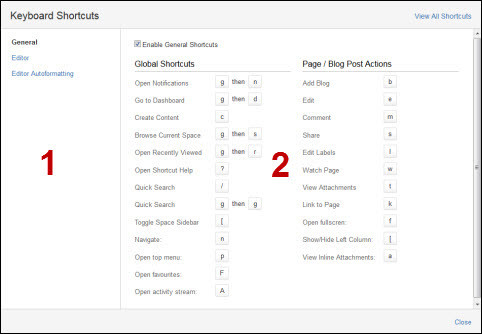
- The fastest way to edit and navigate the pages is through the shortcut buttons. You can view them by pressing the character ? on the keyboard. A window will pop up, showing the available topic areas on the left (1) and the shortcuts (2) on the right.
Deleting pages
- You can delete individual pages and other components by selecting Tools > Delete.
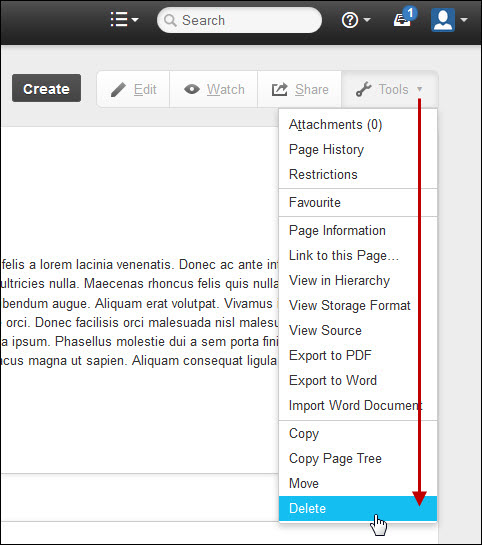
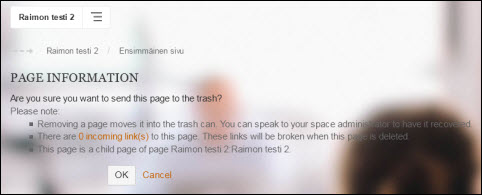
- A system prompt will appear asking you to confirm the deletion. The confirmation window displays information about the page, such as the number of links leading to the page.
- Click OK if you really wish to delete the page.
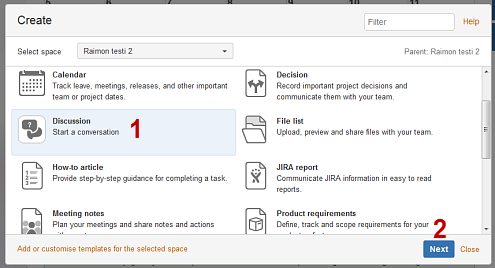
Discussion areas
You can add a discussion area to your workgroup space by following these instructions:
- Click Create. Select Discussion on the list. Click Next.
- Next, you will be asked to provide details. The fields marked with a star are compulsory. Finally, click Create.
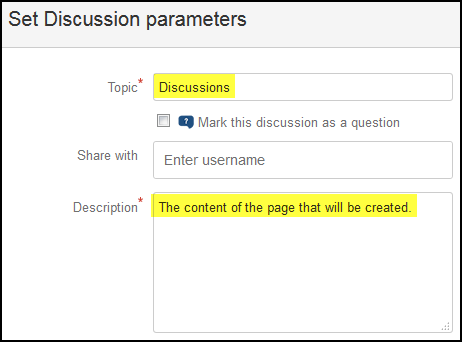
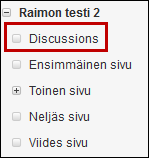
- Now you can find the discussion area in the main menu.
Dashboard, Space news and Favourites
The Dashboard is the main page for all the Flamma workgroups, and it allows you to view your favourite groups, news, and the latest updates all on one page.
The Dashboard has its own News menu that displays all the news published in your own groups. This makes it easier to follow multiple workgroups, as you can view all the latest news at a glance.
Space news is a notification flow meant to be used as an essential channel for a group's internal information flow. You can create a note by selecting Create > Blog post > Create on the front page of the workgroup space.
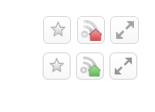 If you want to show a news item published in a workgroup in the Space news of the group's users, you must click the red house button on the page of the news content. The red house means that the content will not be published in Space news. If the house is green, the content will be displayed in the feed.
Favourites
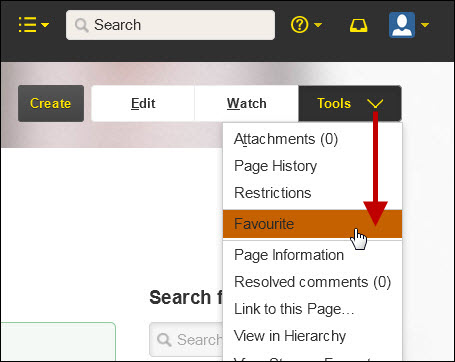
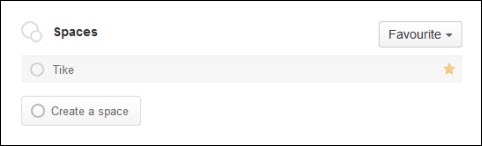
- Managing the content on workgroup spaces is easier when you add the pages you most often use to your favourites. You can add and remove favourites through the Tools menu.
- The grey star shows that a space has not been added to your favourites; the yellow star indicates that it has. You can also change the status of the page by clicking the star.

- You can use the All menu to specify which spaces are displayed in the Spaces window. You can hide the less used pages from the list by selecting Favourite.
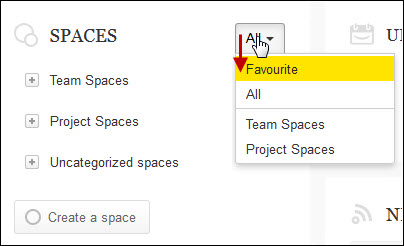
- This makes it easier to find your own spaces.
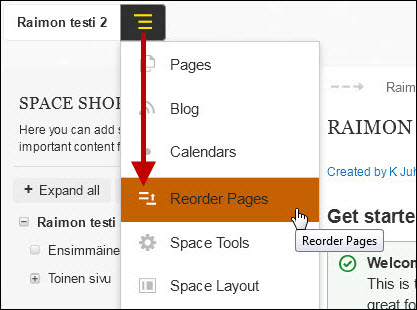
Changing the order of the pages
- Open Reorder Pages.
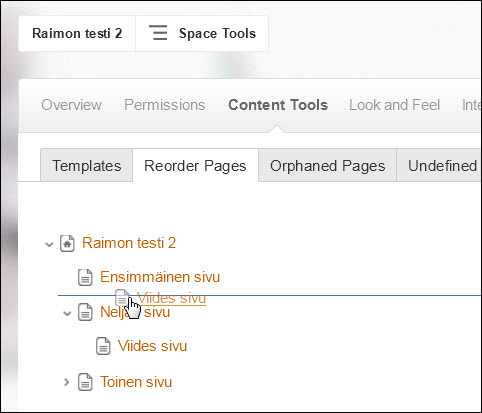
- Drag the page to a suitable place in the page hierarchy. The horizontal line indicates where the page will be placed when you release the mouse button.
Adding a calendar to a Flamma workgroup
You can also add a calendar to a Flamma workgroup to be used as an information channel for the group's internal communications. It is also possible to synchronise a shared O365 calendar with the Flamma workgroup. Please note that synchronising the Flamma workgroup calendar with calendars outside the Flamma workgroups is not recommended for information security reasons. Remember to check the rights immediately after creating a calendar.
NOTE: Calendars are not personal, do not add personal information in a Flamma workgroup calendar! Information may leak outside the calendar through an ics link; for instance, Outlook may synchronise the information with phones, etc.
- Open the page in the edit mode.
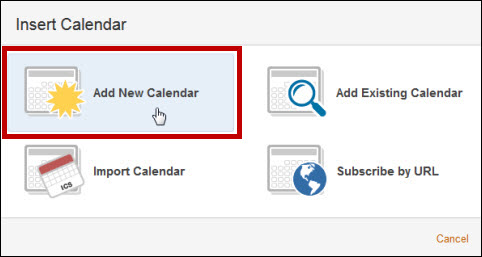
- Find Team Calendar on the menu.
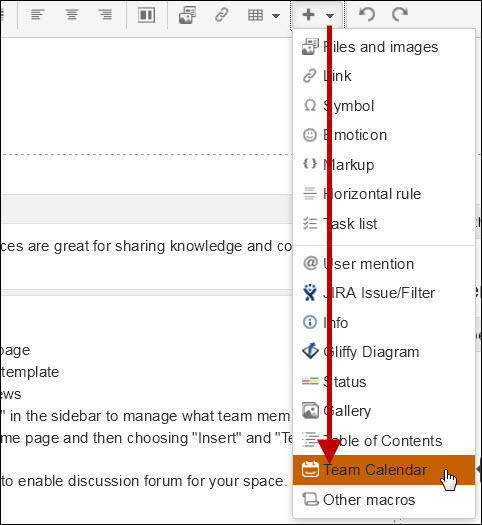
- Select Add New Calendar.
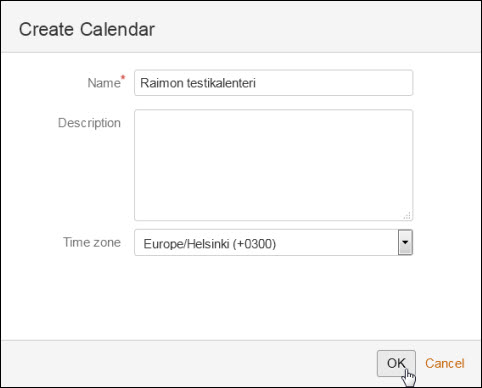
- Fill in the details.
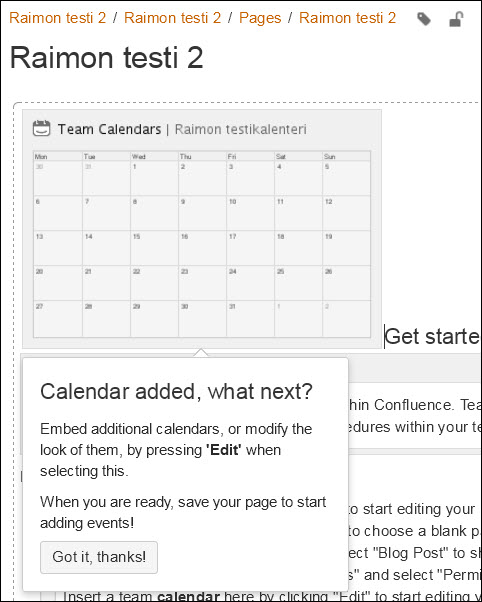
- The calendar will appear on the page. Close the tip window and save the page.
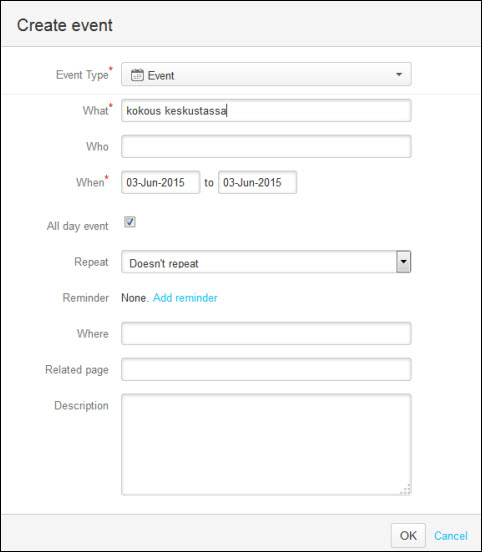
- You can add events in the calendar by clicking Add Event.
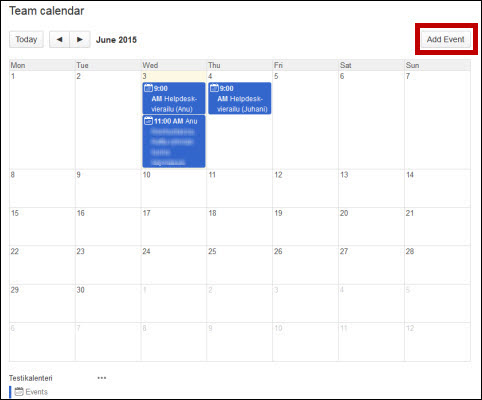
- Enter the event details and click OK.
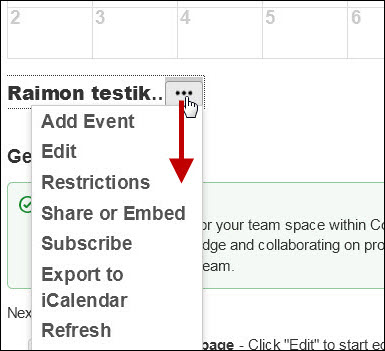
- You can check the calendar's rights and modify them. Open the menu by clicking the icon on the bottom of the calendar.
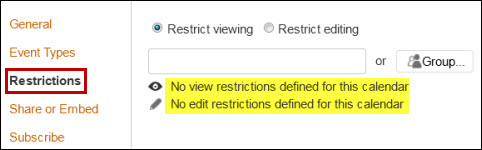
- By default, there are no restrictions for using the calendar!
Once you have created a calendar to the Flamma workgroups, you can synchronise its content with your Office 365 calendar using this guide >>
Deleting a workgroup
To delete a workgroup, follow these instructions:
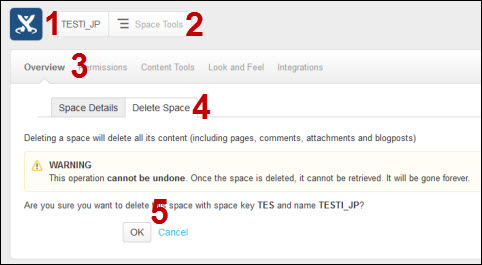
- Select the workgroup space you wish to delete (1).
- Select Space Tools (2).
- Open the Overview tab (3).
- Open the Delete Space tab (4).
- Click OK (5). The workgroup and all of its contents will be permanently deleted. Click Cancel if you do not want to delete the workgroup. To remove individual pages, follow these instructions.
Other instructions
Video instruction
Give feedback
The instructions site of the University of Helsinki's IT Helpdesk helps you with IT-related issues related to your work. Let us know how we can improve our instructions. We greatly appreciate your feedback!
How would you improve these instructions?