
These instructions describe how to deploy an iOS mobile device that is covered by the centralised administration of the University of Helsinki. Follow the instructions on screen and read the manufacturer’s instructions if necessary. These instructions cover the most important steps of the process.
Deployment takes around 30 minutes, depending on the network connection used and the number of applications to be installed. Selections must be made during deployment, and waiting for several minutes may result in the process being aborted and needing to be restarted. Therefore, please allow sufficient time for the deployment of the new device.
Quick help
- Make sure that the device has sufficient charge.
- Insert the SIM card into the card slot of the device. If the device has more than one card slot, insert your work interface card into the device’s SIM card slot 1. If you need instructions on how to install the SIM card, please check the device-specific instructions provided by the manufacturer with your device.
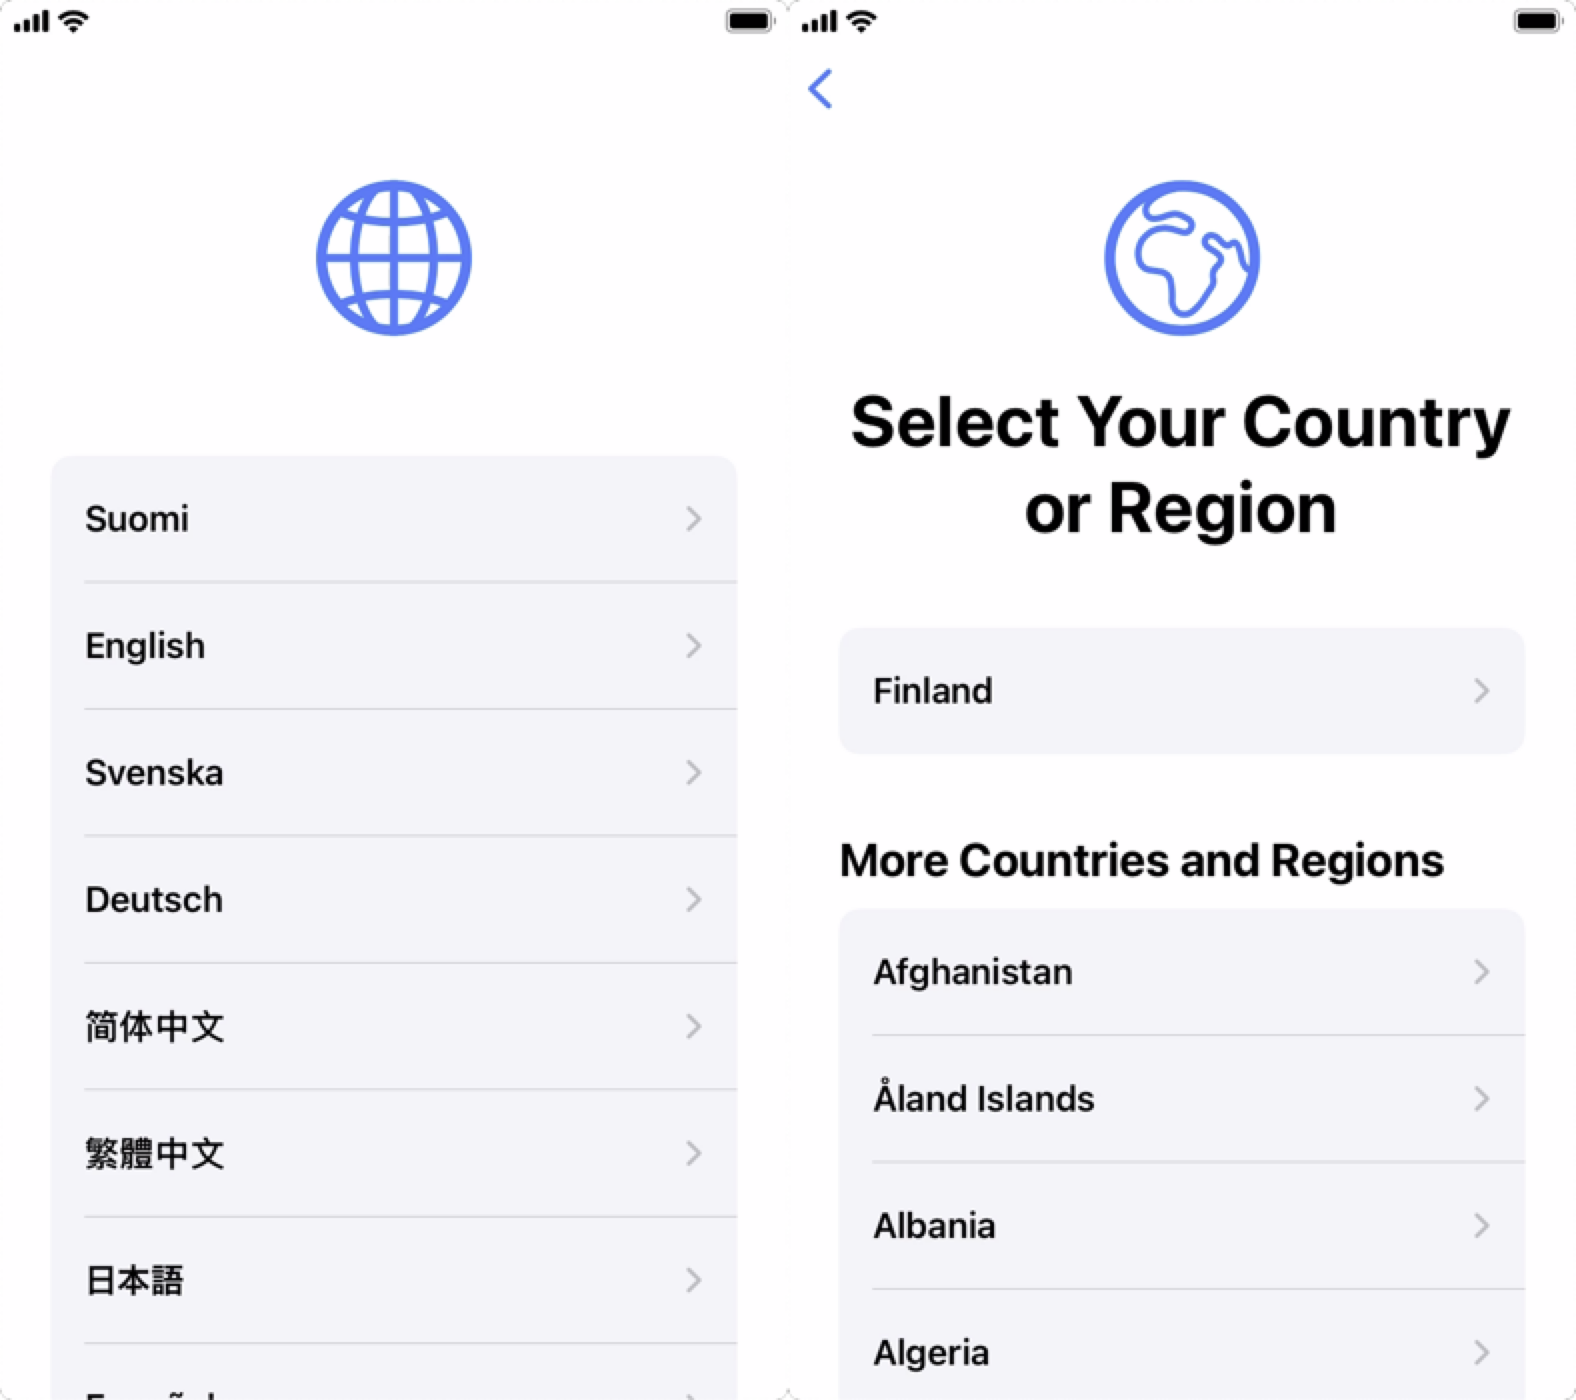
- Start the device. Select Start to begin the deployment process. First, select the language of the device and the region in which you are using the device.
- Enter the PIN code for your work interface SIM card when prompted (this may vary depending on the device used in the process).
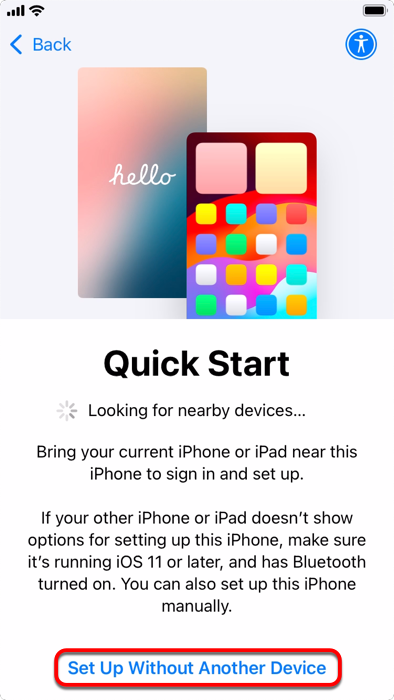
- Quick Start offers the opportunity to set up your phone by copying settings from another iOS device. When this is offered during the process, select Set Up Without Another Device if you do not want to import settings from your old phone. To import settings from your old device, place your old iOS device close to your new device and follow the instructions the device gives you. In this guide, the device is installed manually without transferring data from an old device. Read Apple’s own Quick Start instructions here.
- We recommend performing the installation over a mobile network, so when you are asked to select a Wi-Fi network for the installation, select Continue Without Wi-Fi, and when the phone asks if you want to continue without Wi-Fi, select Continue.
- In the Transfer Your Apps & Data screen, you can select whether data is transferred to the device from iCloud backups, a Mac or PC or an Android mobile device. Select the desired option and follow the installation process instructions if you want to import apps or data to your new device. Otherwise, select Don't Transfer Anything.
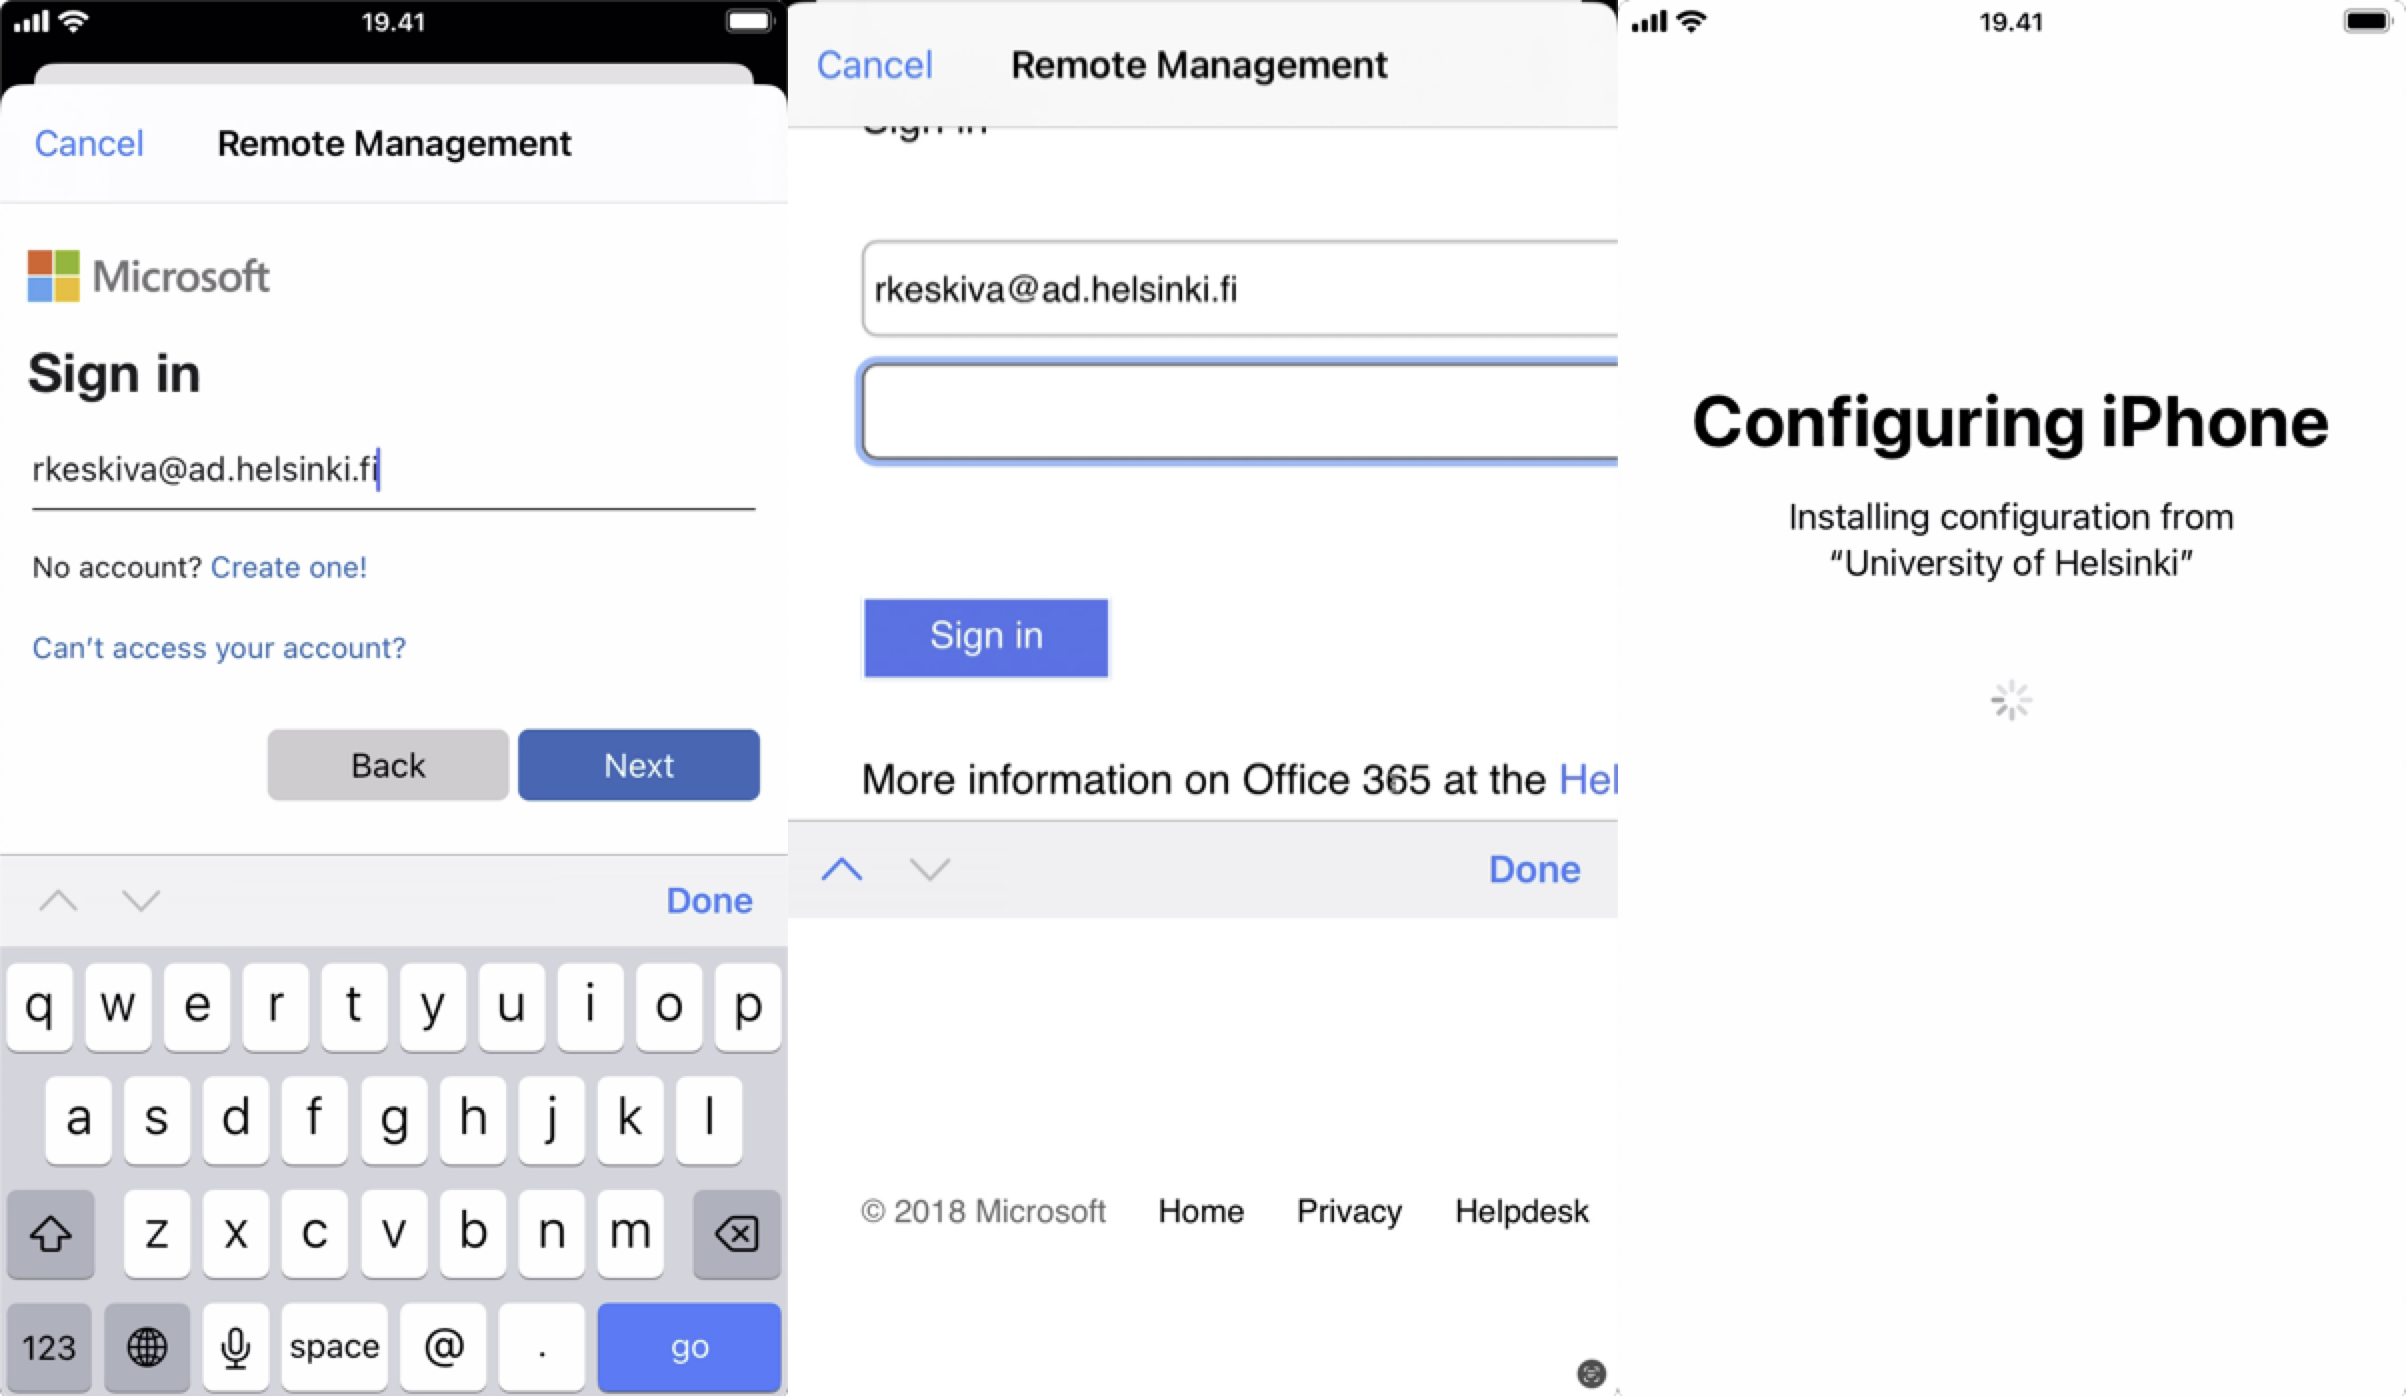
- In the Remote Management screen, you will be informed that the phone is the property of the University of Helsinki and that remote management will therefore be enabled. Select Enrol this iPhone to continue the process.
- In the login windows of Microsoft and the University of Helsinki that open, login using the Microsoft 365 login format of your username (e.g. rkeskiva@ad.helsinki.fi or hy12345@ad.helsinki.fi). Select Next in the Microsoft login window and Sign in in the University of Helsinki login window. Wait a moment as your phone is being configured.
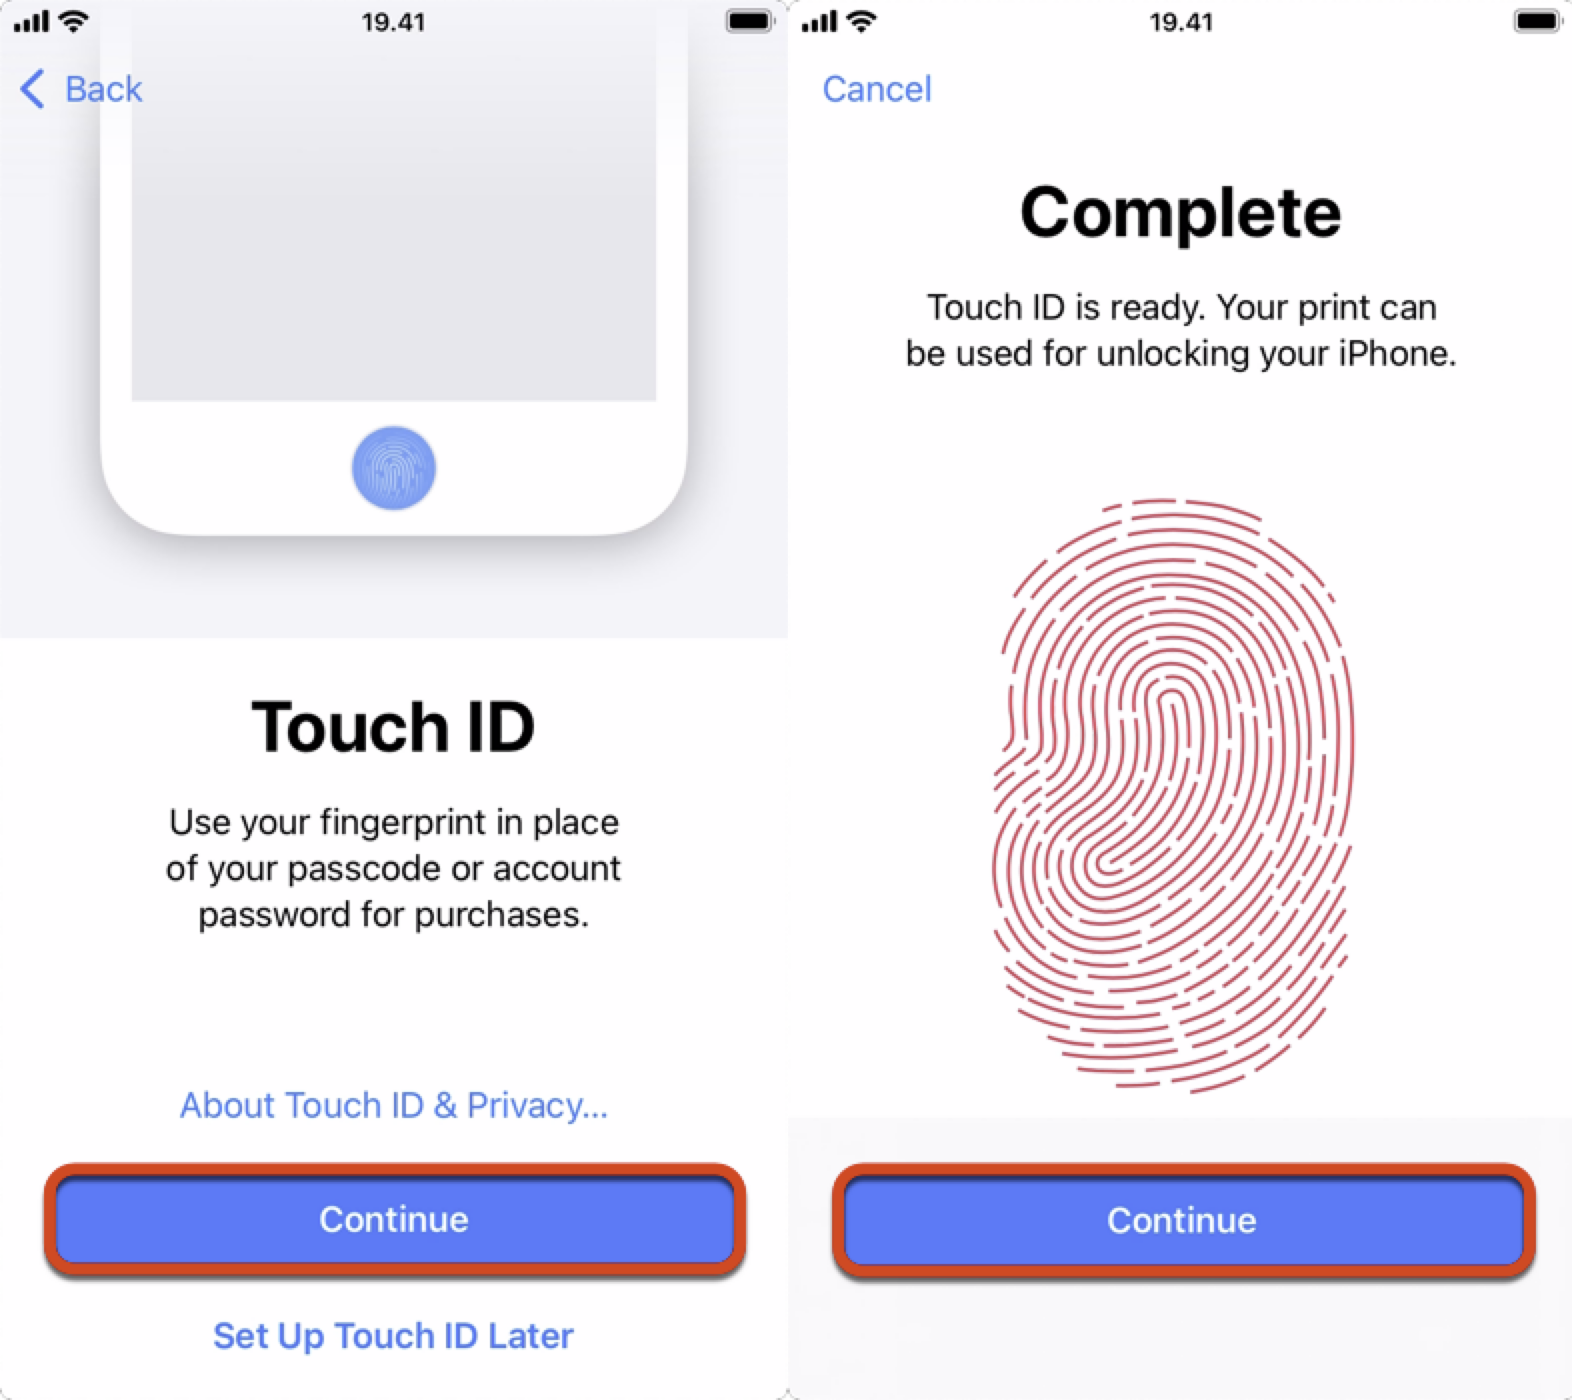
- Your phone will then ask you to set up Touch ID to use your fingerprint instead of an access code or password. Select Continue, follow the instructions on screen and continue to press the Home button repeatedly until the device tells you that Touch ID is ready. Select Continue again.
- Next in the deployment process, you will be asked to create an access code for your phone. Set an 8-digit PIN code for your device. You cannot use the same number consecutively. Re-enter the code.
Only you will know the eight-digit PIN code you have set for your device. The administrator will not be able to restore your phone if you don't remember your code. For this reason, be sure to not forget the code because otherwise the only way to use the phone again is to reset the phone to the factory settings.
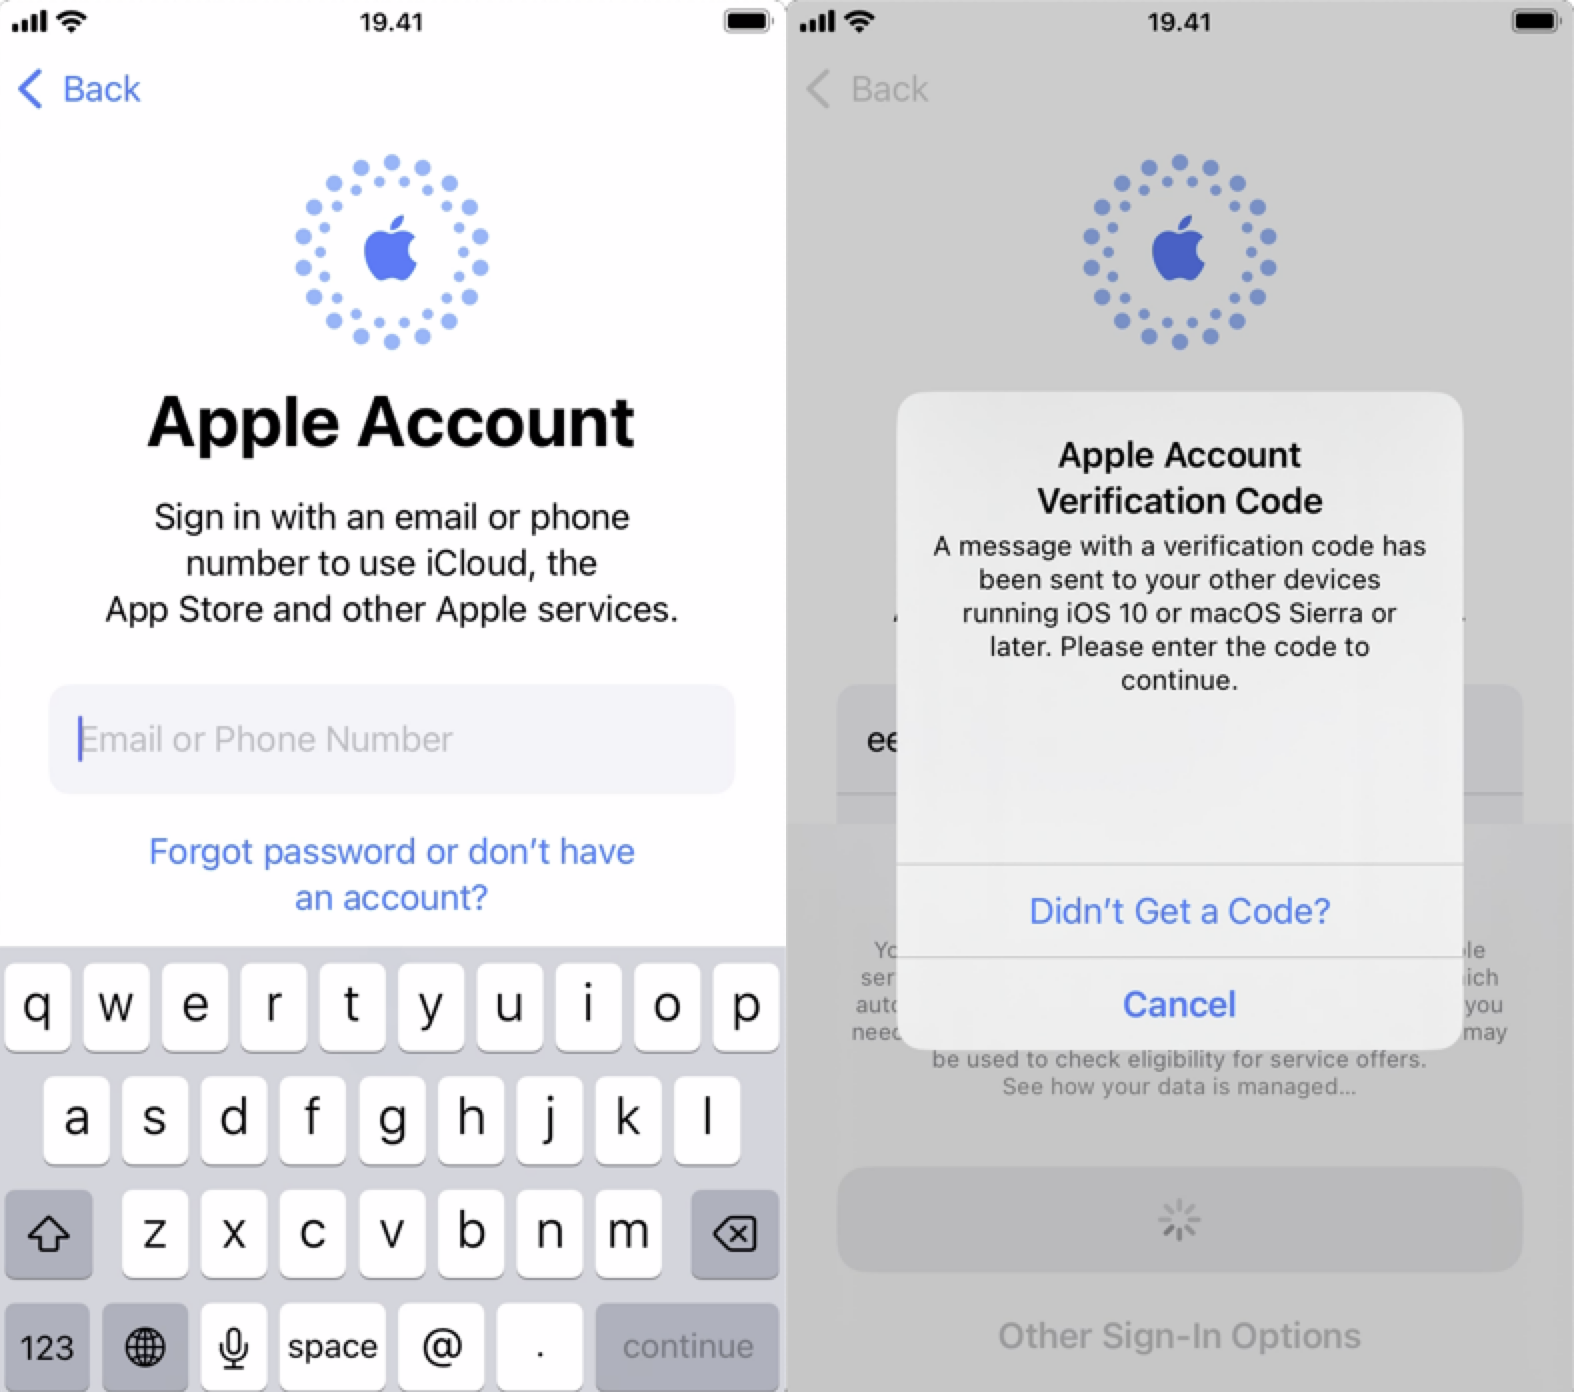
- After this, you will be asked to log in with your Apple account username. Log in with the same iCloud account that you use for your other Apple devices at the University of Helsinki and select Continue. You will get a notification that a verification code has been sent to other devices using the same Apple account, which you must enter in the deployment screen to continue. Enter the verification code you received from another device on the iOS device you are deploying.
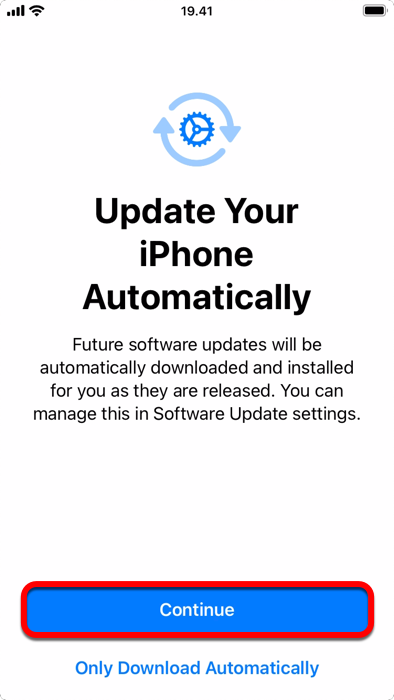
- If the phone asks for permission to update the iPhone automatically at this point, tap Continue to select this option.
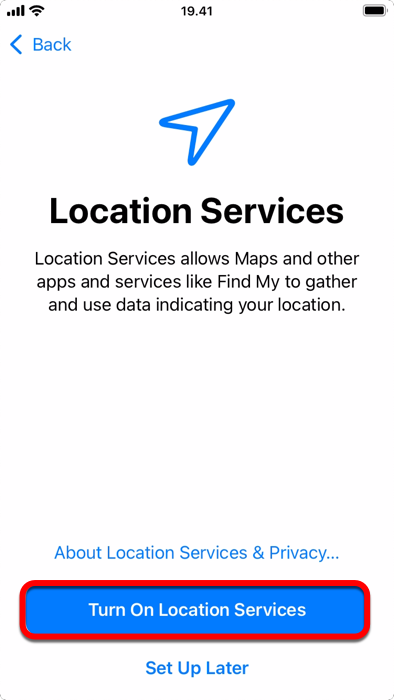
- To turn on location services, select Turn On Location Services.
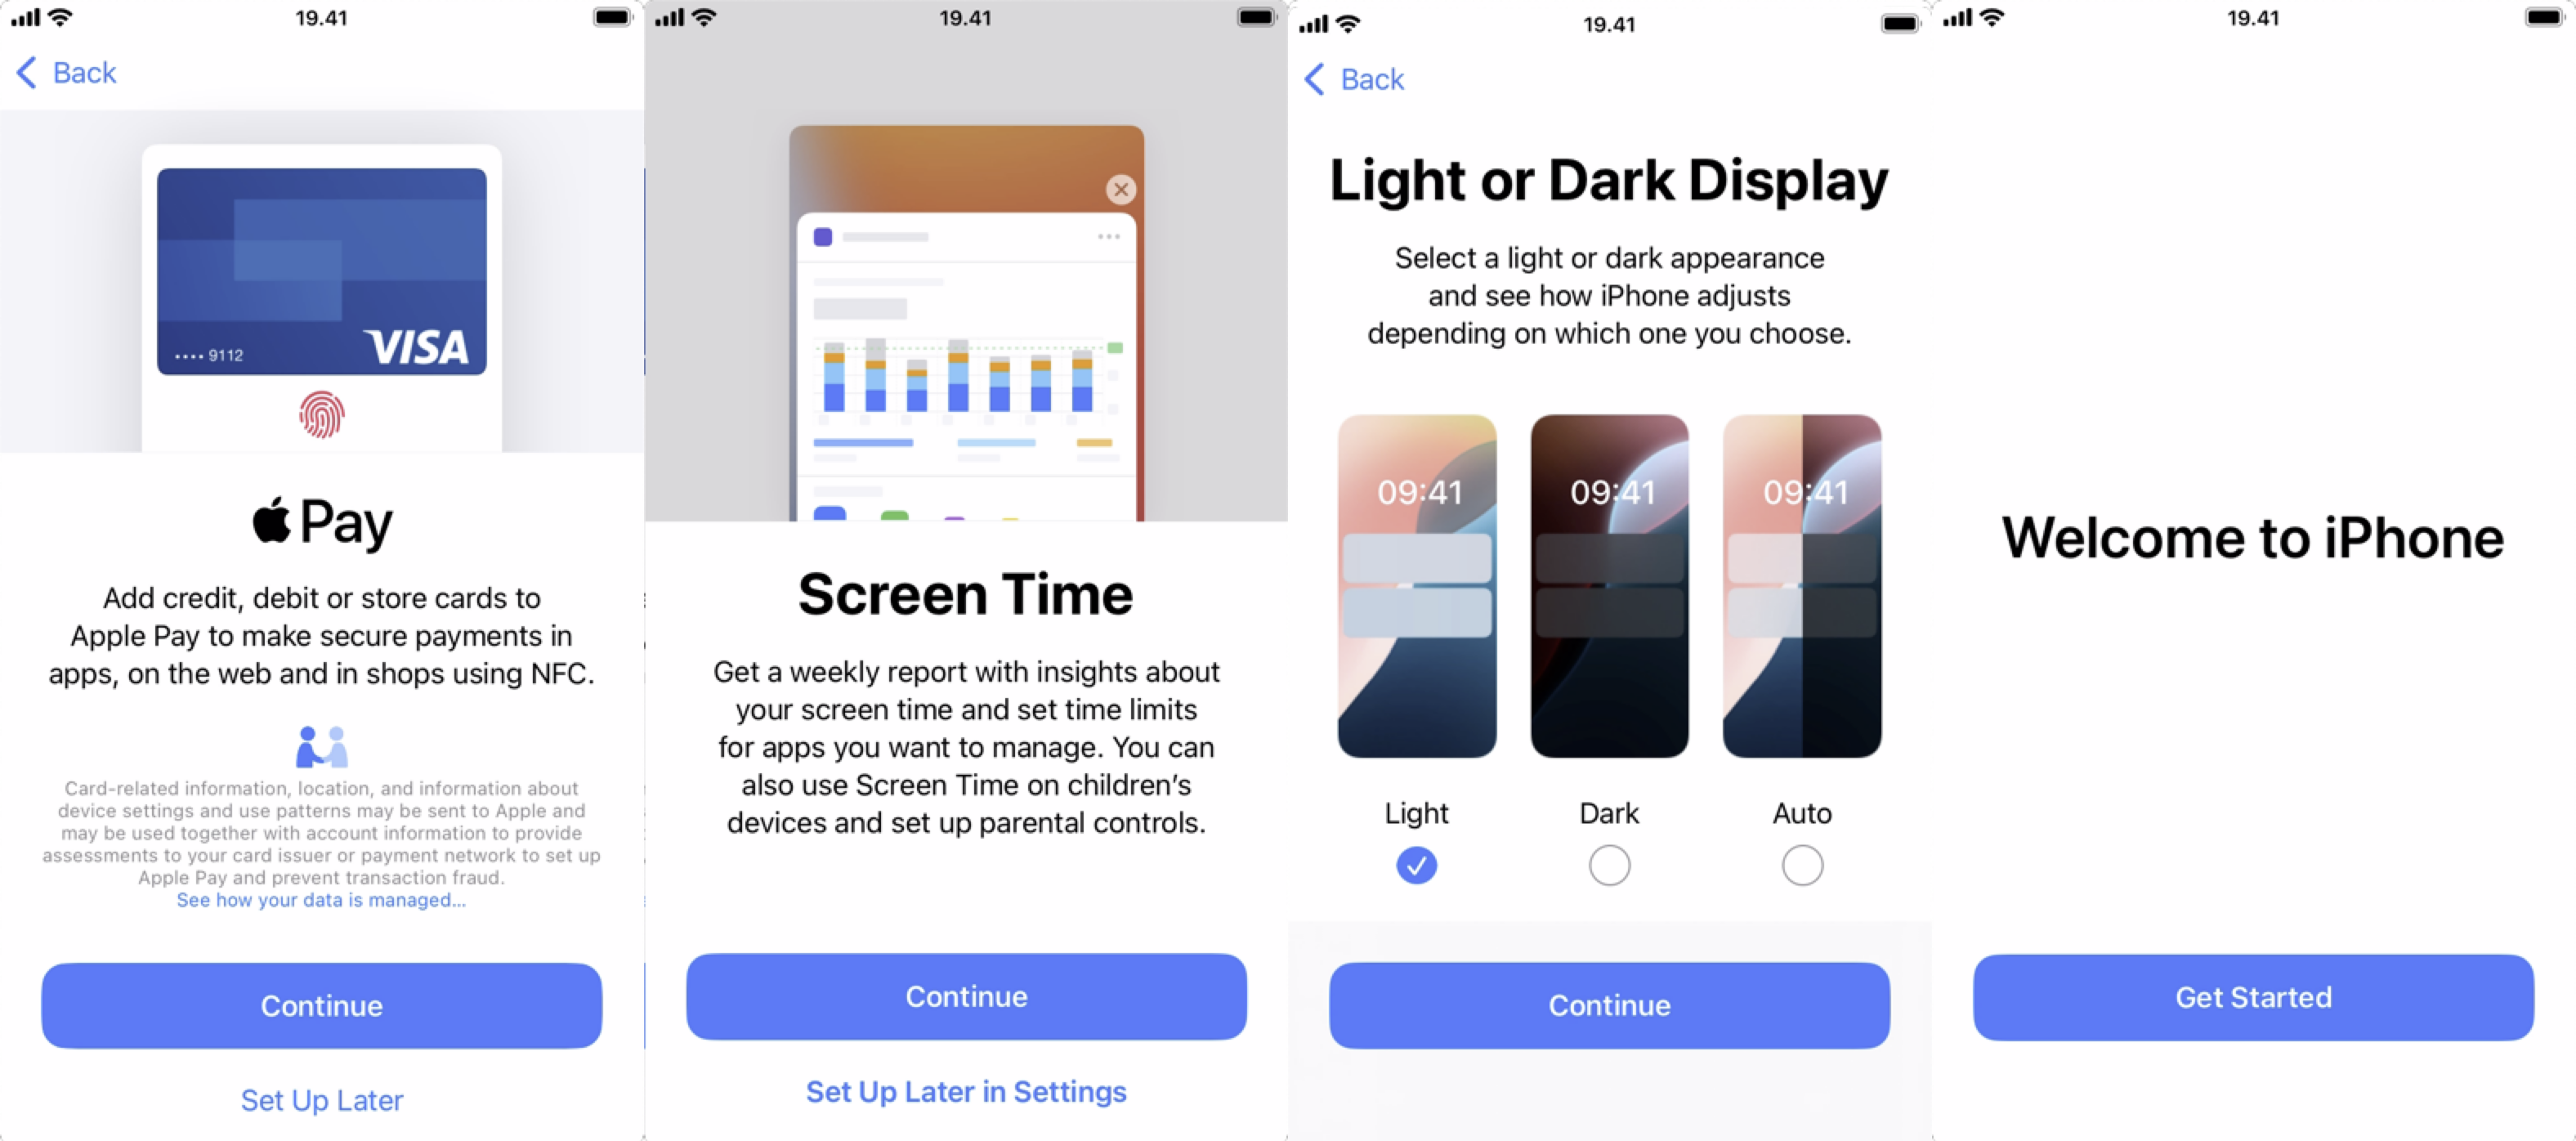
- Select the desired settings for Apple Pay and Screen Time and set the display mode to dark or light. The deployment process is now complete, and you can continue by tapping Get Started.
- Before you start using your new phone, please log in to an M365 app (i.e. Microsoft Outlook or Teams) to make sure that Microsoft Defender gets the correct settings when it starts.
Detailed help
- Make sure that the device has sufficient charge.
- Insert the SIM card into the card slot of the device. If the device has more than one card slot, insert your work interface card into the device’s SIM card slot 1. If you need instructions on how to install the SIM card, please check the device-specific instructions provided by the manufacturer with your device.
- Start the device. Select Start to begin the deployment process. First, select the language of the device and the region in which you are using the device.
- Enter the PIN code for your work interface SIM card when prompted (this may vary depending on the device used in the process).

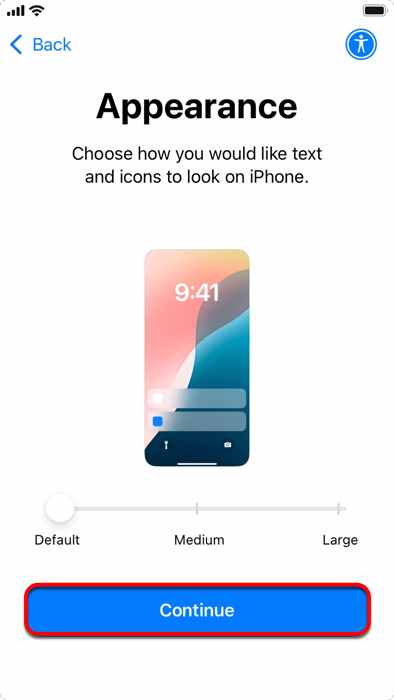
- In the next screen, select the desired size for text displayed on the device. You can choose between default, medium or large. Next, click Continue.
- Quick Start offers the opportunity to set up your phone by copying settings from another iOS device. When this is offered during the process, select Set Up Without Another Device if you do not want to import settings from your old phone. To import settings from your old device, place your old iOS device close to your new device and follow the instructions the device gives you. In this guide, the device is installed manually without transferring data from an old device. Read Apple’s own Quick Start instructions.
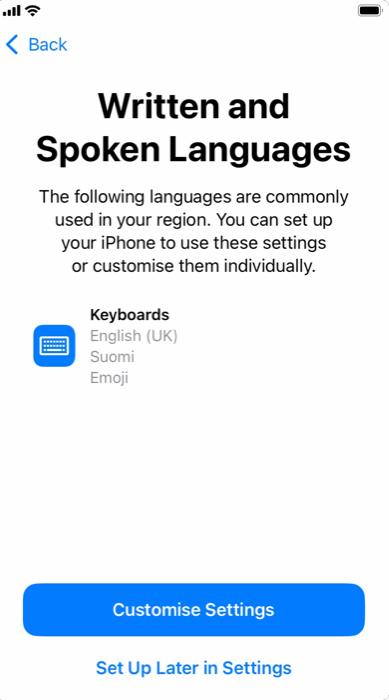
- Under Written and Spoken Languages, you can set the various keyboard and dictation languages that are used on the device. You can change the settings by selecting Customize Settings or skip by selecting Set Up Later in Settings.
- In the next section, you will select the network to be used for the installation. During deployment testing, it was noted that the device installation works the most reliably and fastest over a mobile network. For this reason, we recommend performing the installation over a mobile network, so select Continue Without Wi-Fi, and when the phone asks if you want to continue without Wi-Fi, select Continue.

- Wait a moment as your phone is being activated.
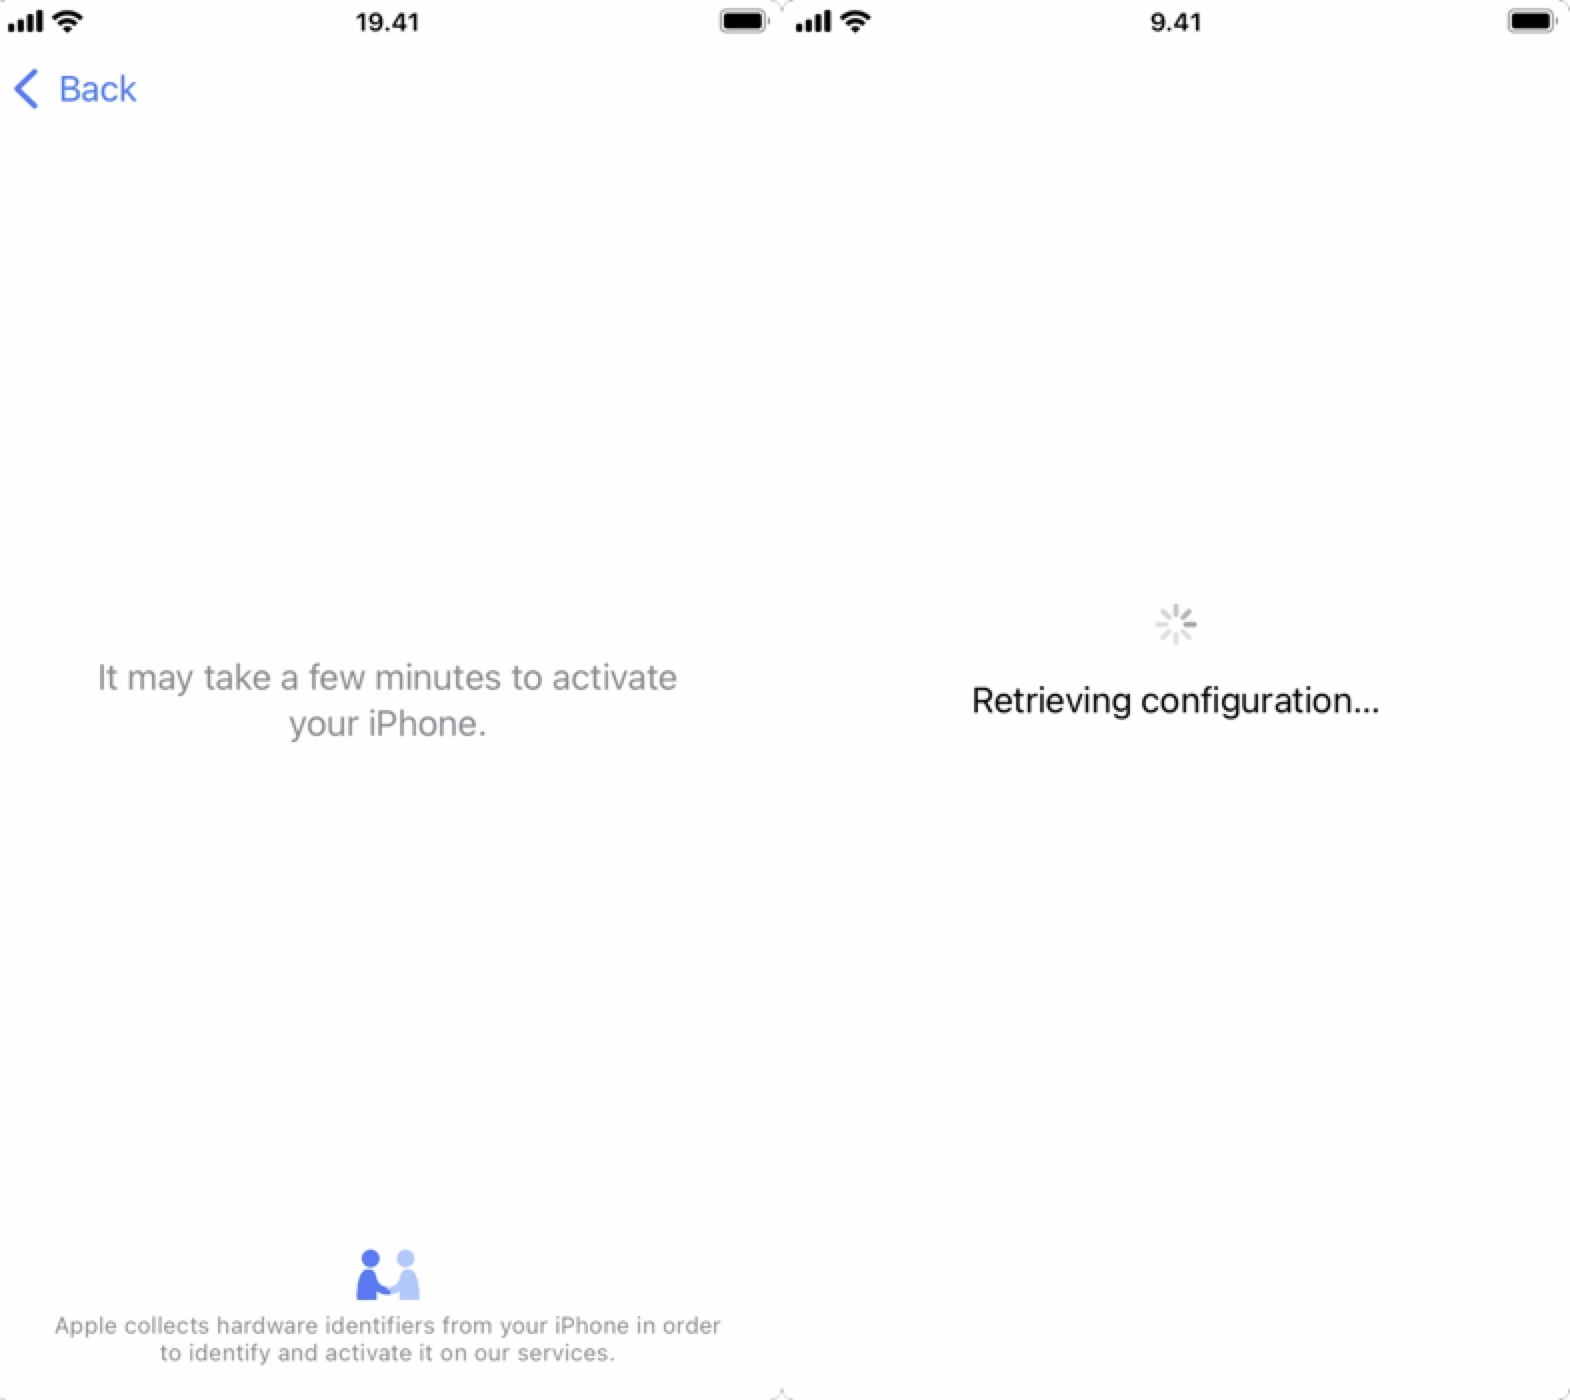
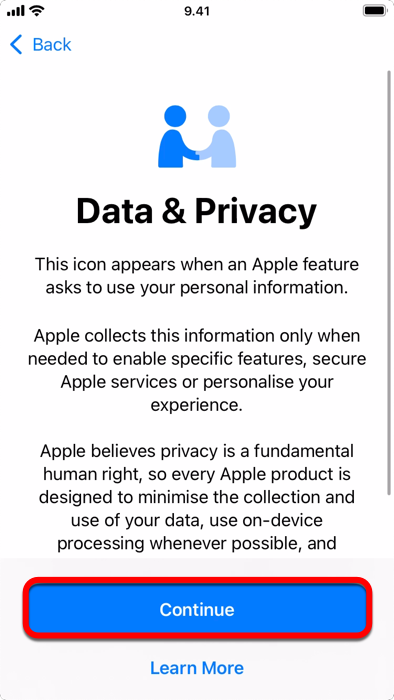
- Read Apple’s data protection notice and then select Continue.
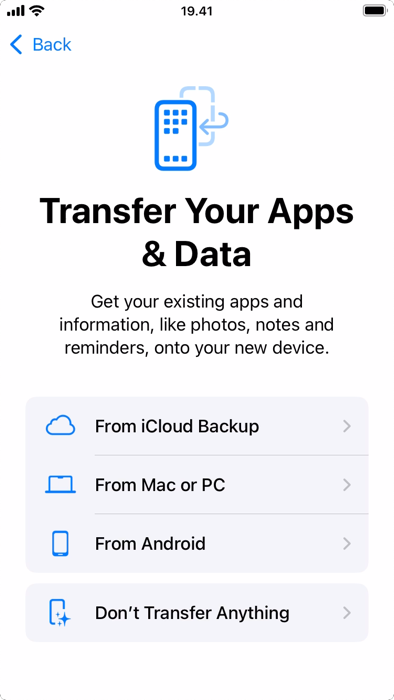
- In the Transfer Your Apps & Data screen, you can select whether data is transferred to the device from iCloud backups, a Mac or PC or an Android mobile device. Select the desired option and follow the installation process instructions if you want to import apps or data to your new device. Otherwise, select Don't Transfer Anything. Read Apple’s own instructions for transferring data from Android.
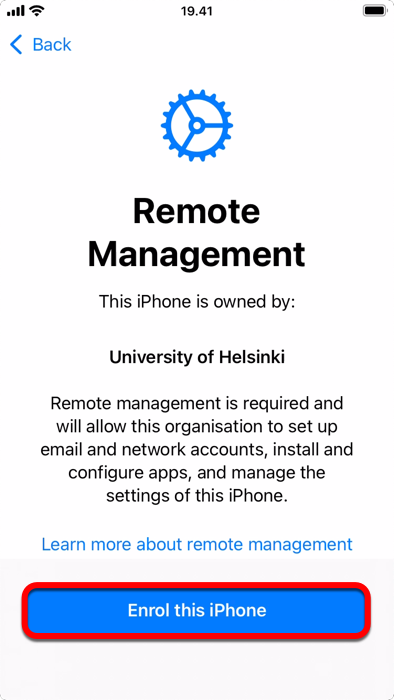
- In the Remote Management screen, you will be informed that the phone is the property of the University of Helsinki and that remote management will therefore be enabled. You can read more about remote management by selecting Learn more about remote management. Otherwise, continue the process by selecting Enrol this iPhone.
- In the login windows of Microsoft and the University of Helsinki that open, login using the Microsoft 365 login format of your username (e.g. rkeskiva@ad.helsinki.fi or hy12345@ad.helsinki.fi). Select Next in the Microsoft login window and Sign in in the University of Helsinki login window. Wait a moment as your phone is being configured.
- Your phone will then ask you to set up Touch ID to use your fingerprint instead of an access code or password. Select Continue, follow the instructions on the screen and continue to press the Home button repeatedly until the device tells you that Touch ID is ready. Select Continue again.
- Next in the deployment process, you will be asked to create an access code for your phone. Set an 8-digit PIN code for your device. You cannot use the same number consecutively. Re-enter the code.
Only you will know the eight-digit PIN code you have set for your device. The administrator will not be able to restore your phone if you don't remember your code. For this reason, be sure to not forget the code because otherwise the only way to use the phone again is to reset the phone to the factory settings.
- After this, you will be asked to log in with your Apple account username. Log in with the same iCloud account that you use for your other Apple devices at the University of Helsinki and select Continue. You will get a notification that a verification code has been sent to other devices using the same Apple account, which you must enter in the deployment screen to continue.
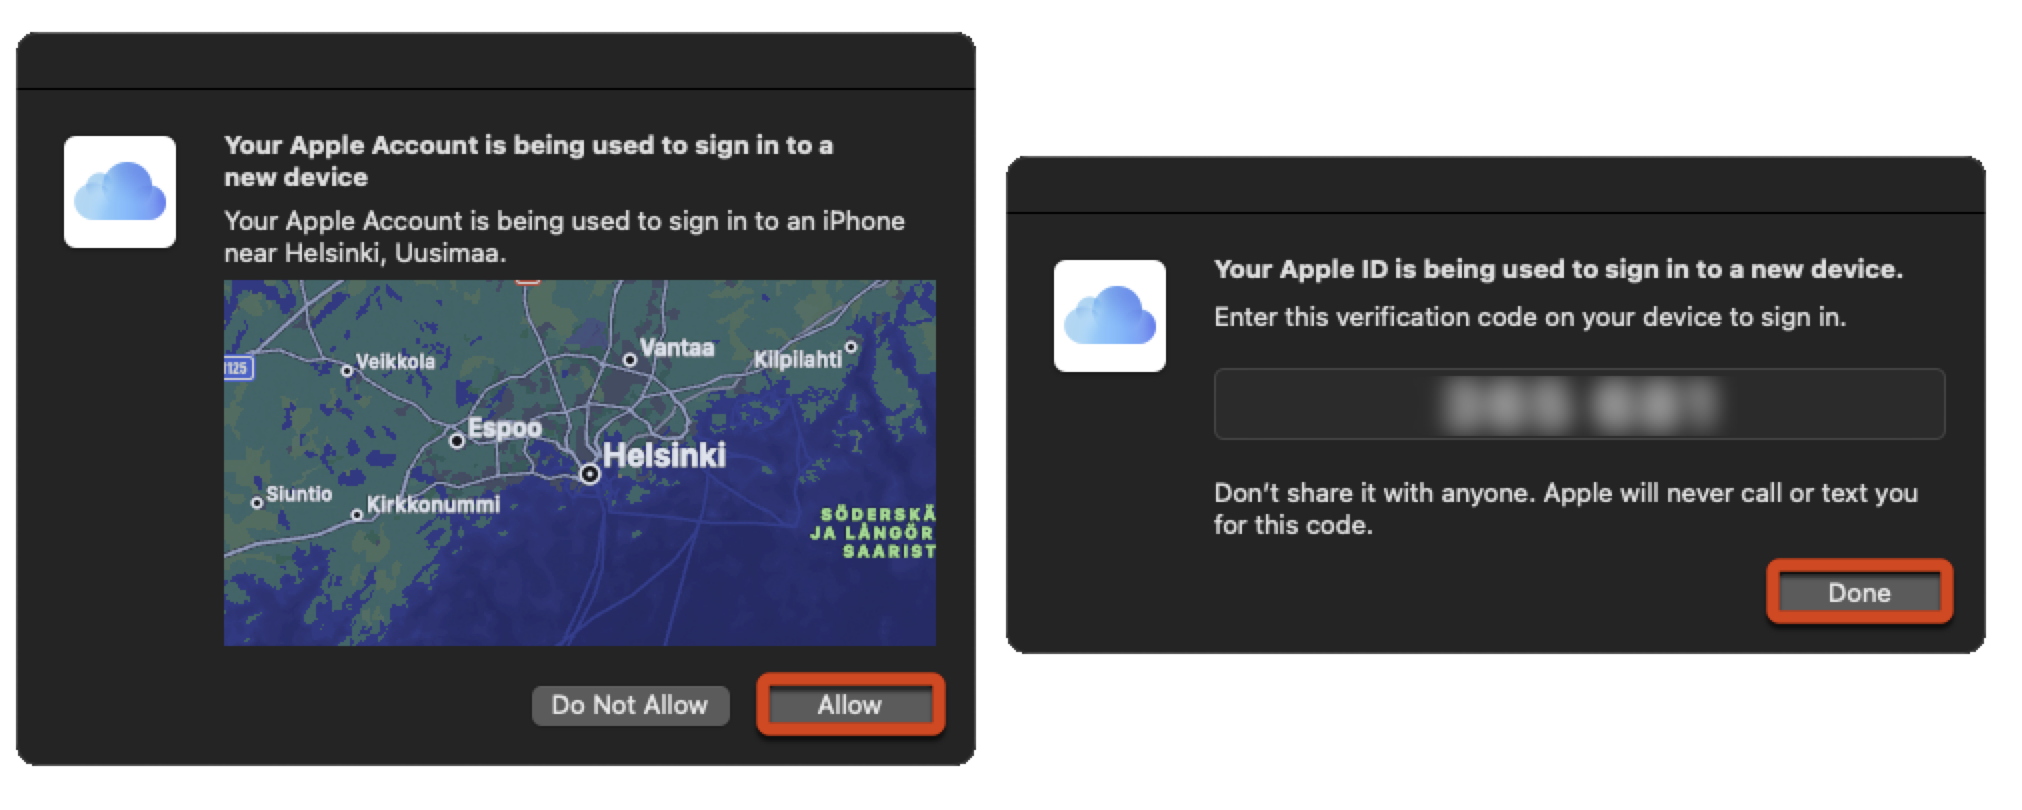
- In this example, the notification has arrived on a MacBook’s macOS. Select Allow and enter the verification code that appears in the next window into the Apple Account Verification Code screen on your phone.
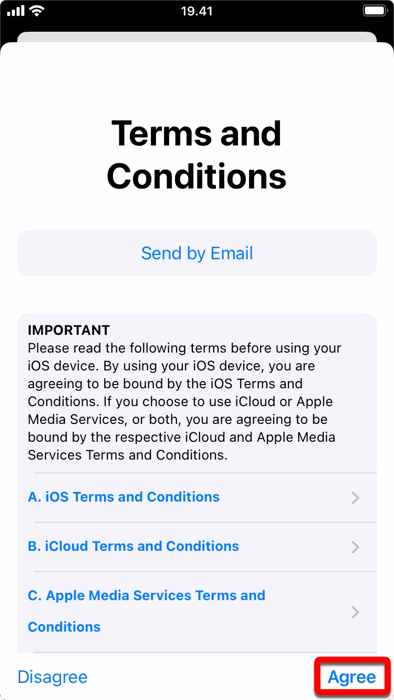
- Your phone will now log you in to your Apple account and ask you to accept the terms of use for your iOS device. Tap Agree.
- If the phone asks for permission to update the iPhone automatically at this point, tap Continue to select this option.
- To turn on location services, select Turn On Location Services.
- Select the desired settings for Apple Pay and Screen Time and set the display mode to dark or light. The deployment process is now complete, and you can continue by tapping Get Started.
Before you start using your new phone, please log in to an M365 app (i.e. Microsoft Outlook or Teams) to make sure that Microsoft Defender gets the correct settings when it starts.
Video instruction
Give feedback
The instructions site of the University of Helsinki's IT Helpdesk helps you with IT-related issues related to your work. Let us know how we can improve our instructions. We greatly appreciate your feedback!
How would you improve these instructions?