
Adjusting OWA’s basic settings is covered by separate instructions. The instructions cover topics such as changing language and profile image, adding a signature and using a shared mail folder.
Quick help
Detailed help
Table of contents
- Settings
- Basic use
- Moving between applications
- Sending e-mail
- Sorting messages
- Showing messages as conversation chains
- Message categorisation
- Search from messages
- Creating a new folder
- Moving messages between folders
- Message rules
- Message arrival notifications
- Restoring deleted messages
- Spam
- Sharing an e-mail folder
- Using a shared folder
Settings
- You can change OWA’s settings as follows:
- Open the gear menu > View all Outlook settings.
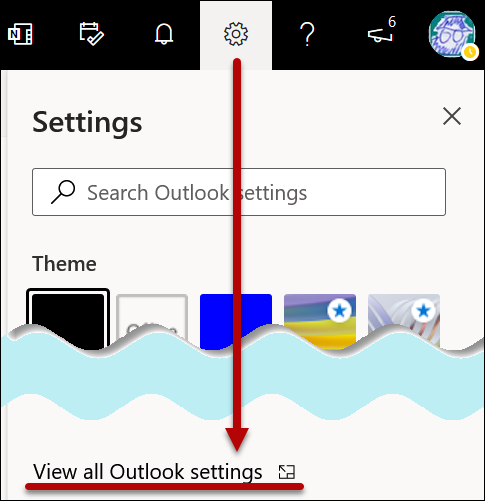
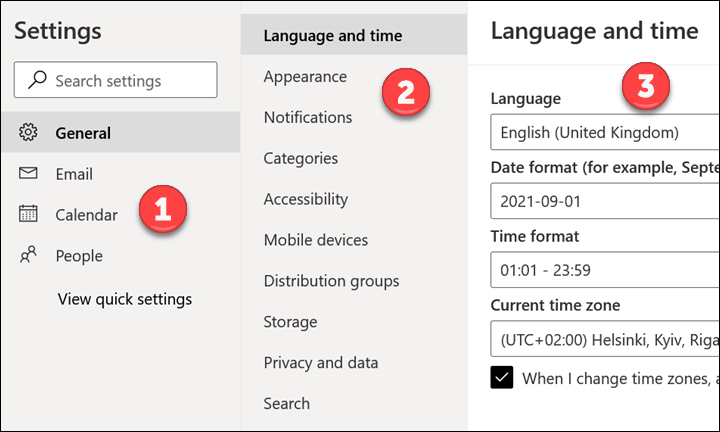
- A window opens in which settings are divided into three columns. Choose from the left (1) if you wish to change OWA’s general settings or just the properties of a specific section. You can specify your choice in the middle column (2) and change the settings in column (3).
Basic use
- Log into the service at https://www.helsinki.fi/office365.
Failed to log into Office 365 cloud service? Enter the username in the form username@ad.helsinki.fi (e.g. rkeskiva@ad.helsinki.fi or hy12345@ad.helsinki.fi)
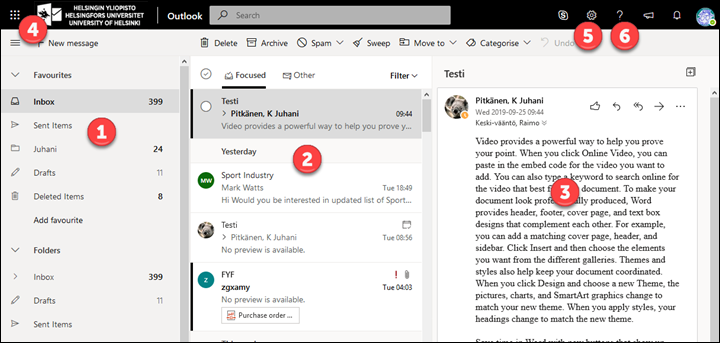
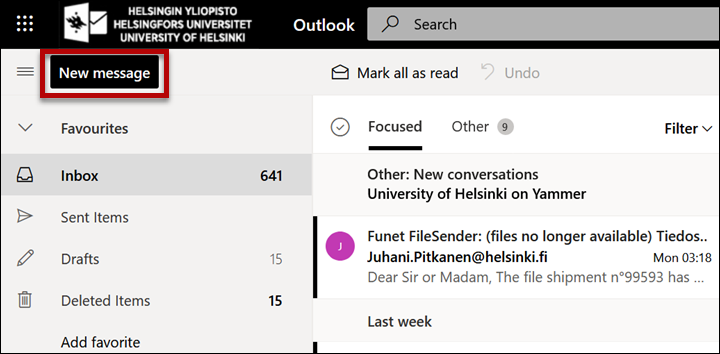
- In the picture, OWA has been opened in the e-mail view.
- E-mail folders are shown in the left-hand column (1).
- The middle column (2) shows an open Inbox folder.
- The first message in the Inbox folder is shown open in the right-hand column (3).
- The upper left-hand corner (4) contains a nine-dot menu for moving between OWA’s different applications.
- You can change OWA’s settings by clicking the gear icon (5). For example, you can change OWA’s language or create a signature for e-mail messages.
- Click the question mark (6) to open OWA’s own search.
Moving between applications
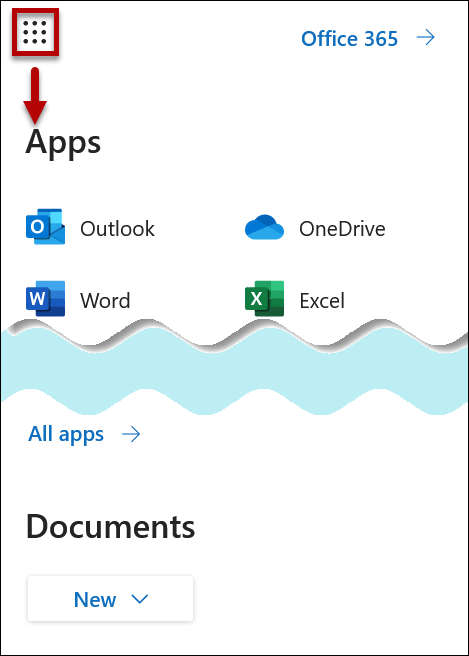
- Click the nine-dot menu.
- Click the application you wish to open.
Sending e-mail
- Type a new message by clicking the New link in the upper left-hand corner.
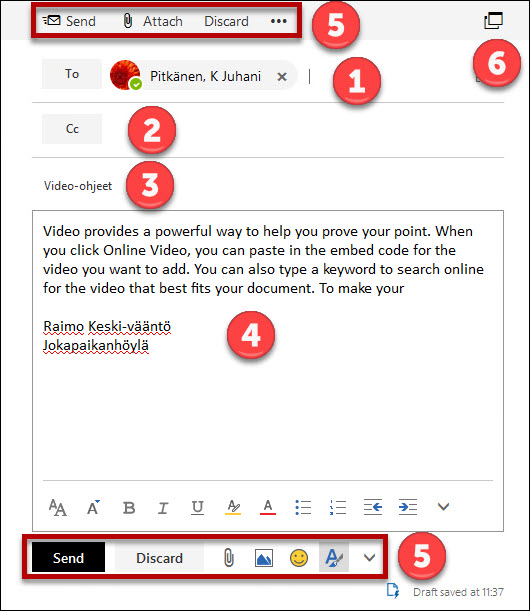
- Enter the recipient’s name in the To field (1).
- Enter the recipients of the copy in the field (2).
- Enter the subject of the message in the field (3).
- Type the message in the field (4).
- There is a Send button in the upper and lower edge of the window (5) and a button for adding attachments Attach.
Sorting messages
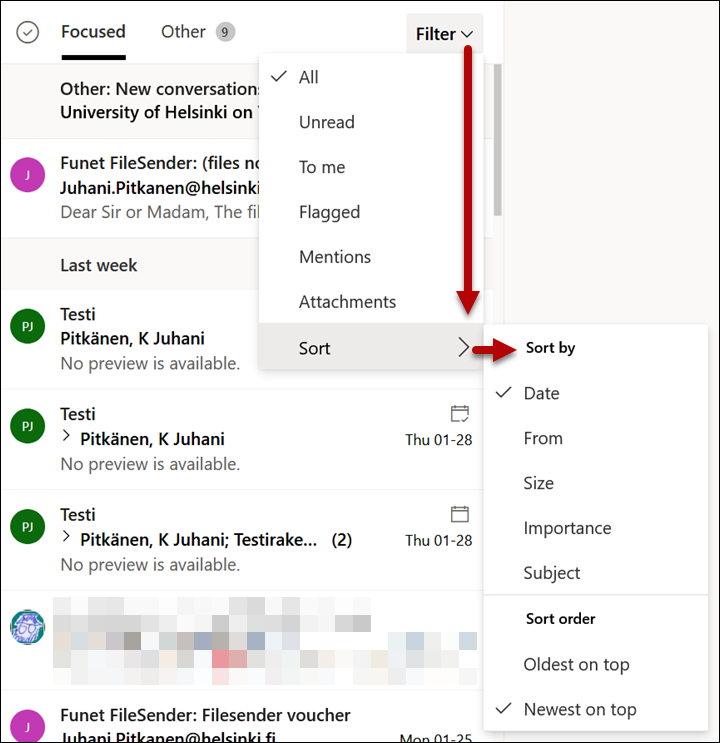
- You can sort messages according to date, sender or other properties in the Filter menu.
- Click the Filter menu to open it.
- Open Sort by.
- Select the sorting criterion.
Showing messages as conversation chains
OWA normally shows received messages in chronological order. Messages related to the same subject may be located far away from each other so it may be difficult to get an overview. By introducing the conversation view as the way in which messages are shown, messages related to the same subject are grouped into a single whole and only the first message in the chain is shown in the message list. You can change the view as follows:
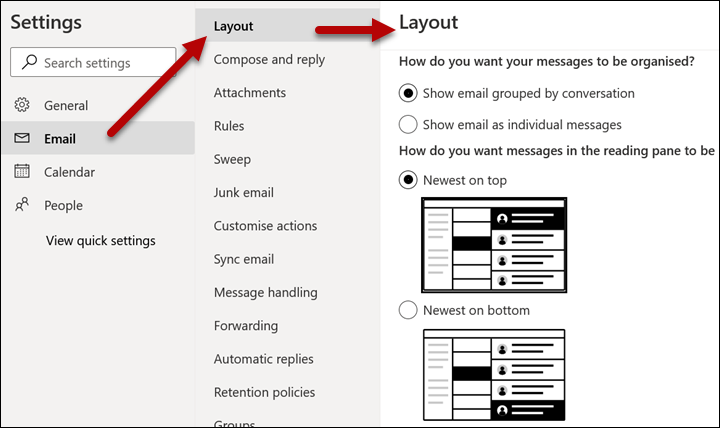
- Open the gear menu > View all Outlook settings.

- Select Show as > Conversations.
Message categorisation
You can categorise messages as follows:
- Open the menu by right-clicking the subject field of the message.
- Click Categorize and select a suitable message category from the list that opens.
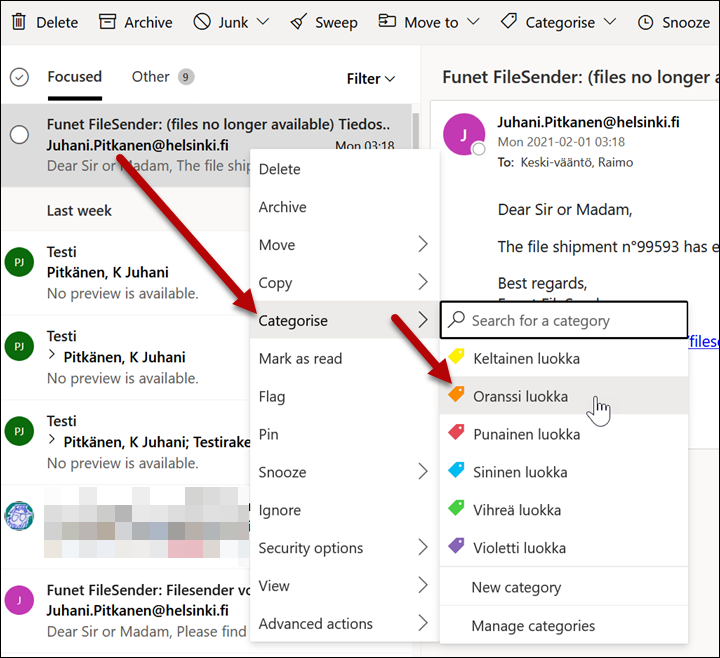
• In Manage categories... , you can add your own new categories.
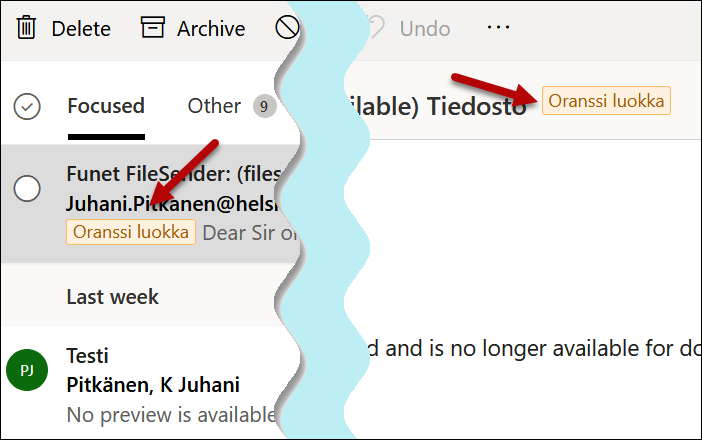
• The categorisation shows in the form of colour codes. You can place the same message in several categories.
Search from messages
You can search old messages with the help of keywords as follows:
- Enter the search term in the Search field.
- Press ENTER.

- Close the search by clicking the arrow in the search field.
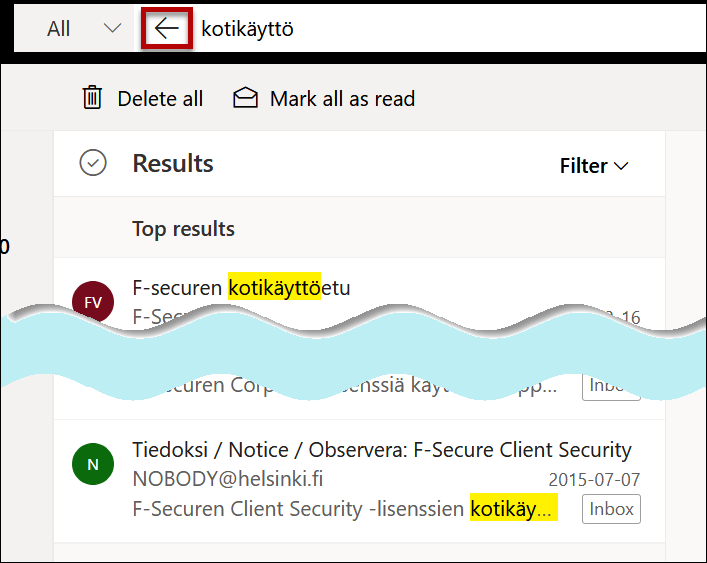
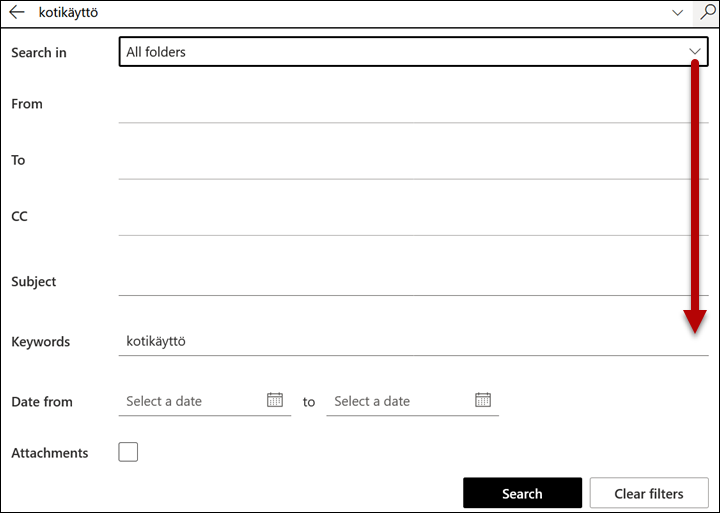
- You can limit the search by clicking the arrow in the search field.
Creating a new folder
You can add new folders as follows:
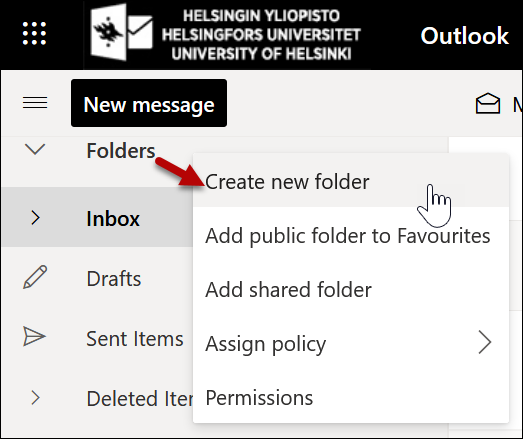
- Right-click a folder in the folder list in the left-hand edge.
- Click Create new folder.
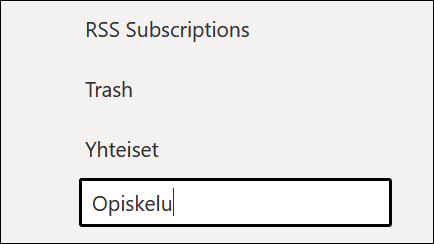
- Give a name to the new folder and press ENTER.
Moving messages between folders
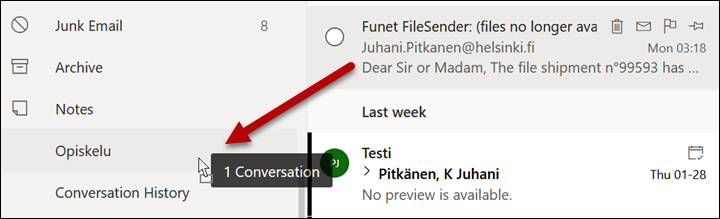
- You can move messages from one folder to another by dragging them with the mouse.
- You can copy a message to another folder by keeping the Ctrl key pressed while dragging the message.
Message rules
You can set the Outlook web app application to automatically perform different types of actions on messages that fulfill specific conditions. For example, you can direct messages received from a specific sender to a separate folder or messages containing specific passwords to a folder of their own. Messages are always processed using rules. You can create new rules yourself. The easiest way to create rules is to use a message as a model.
If you create rules for spam, please remember to periodically check your spam folder. Rules are not infallible, and sometimes even relevant mail may end up in the wrong folder.
However, it is better to process spam by following these instructions >>
The rules are created as follows:
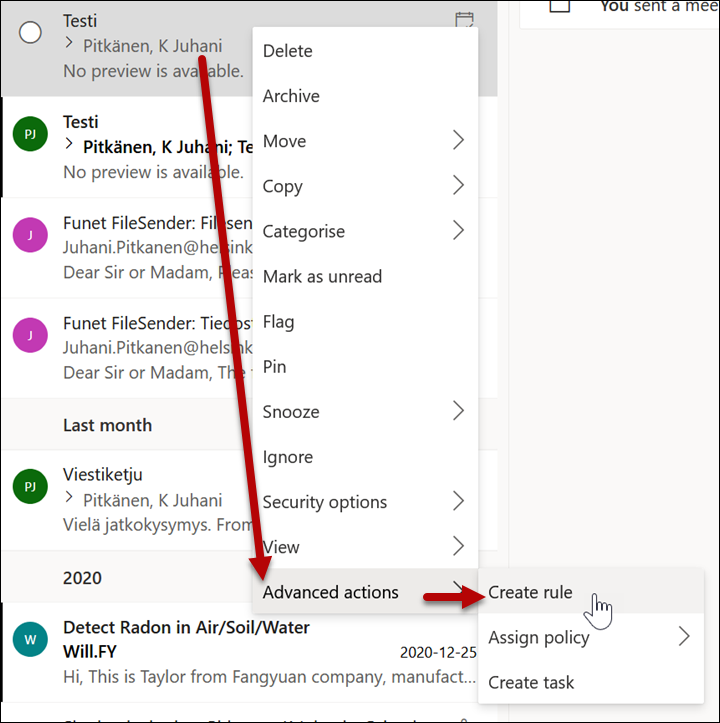
- Right-click the message for which you wish to create a rule.
- Click Advance actions > Create rule.
- By default, the rule will move the message to another folder (1). Select the folder from the drop-down menu (2) and click OK (4). From More Options (3), you can create more specific rules.
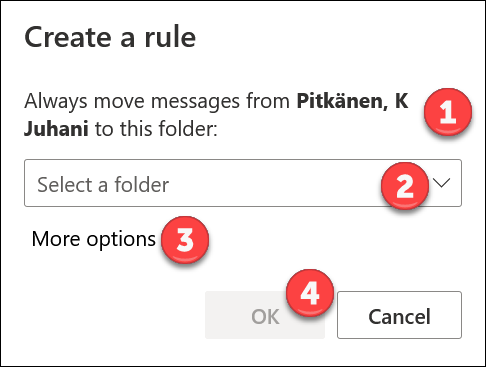
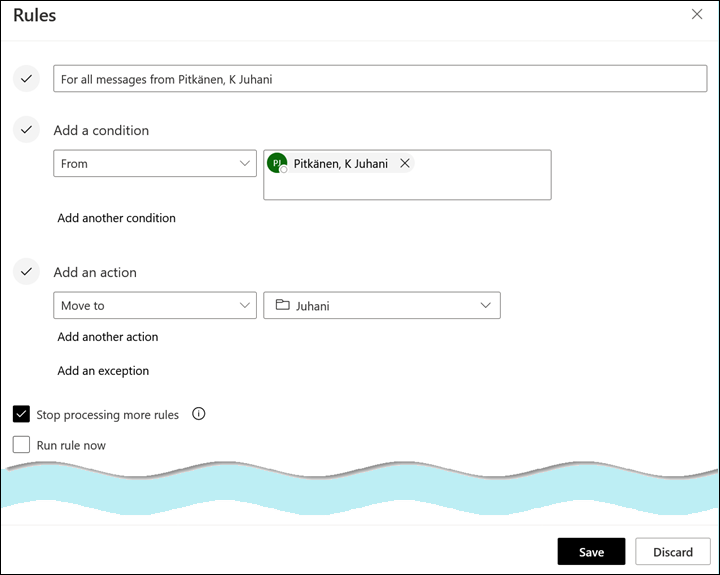
- The More Options menu allows you to very accurately adjust what will be done with a specific message.
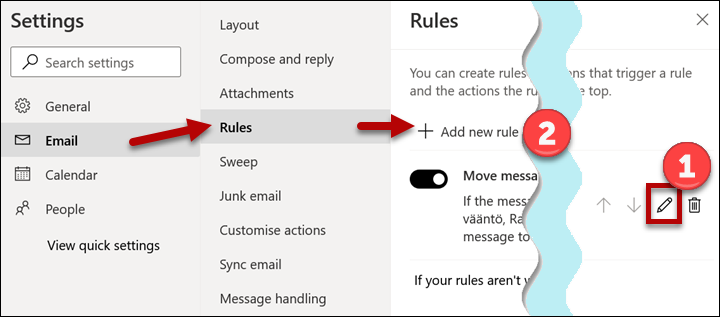
You can change the rule later as follows:
- Open a drop-down menu by clicking the gear icon in the upper right-hand corner.
- Select Email > Rules > Rules.
Message arrival notifications
OWA uses an audio and visual notification to signal the arrival of messages. If you feel this interferes with you work, you can change the default values as follows:
- Open the gear icon > Mail.
- Open General > Notifications > Notifications

Restoring deleted messages
The messages you have deleted are first moved to the Deleted items folder. After some time, the messages are moved from the Deleted Items folder to the hidden Deleted folder from where you can recover messages. Read more about the deletion process.
NOTE: Mail administration does not recover messages to the user’s mailbox apart from special cases. The user can recover messages or other deleted items within 30 days from the deletion of the item, after which the mailbox items can no longer be recovered. No backup copies on tape are taken from e-mail messages in the Office 365 e-mail system but we use database distribution based on current recommendations.
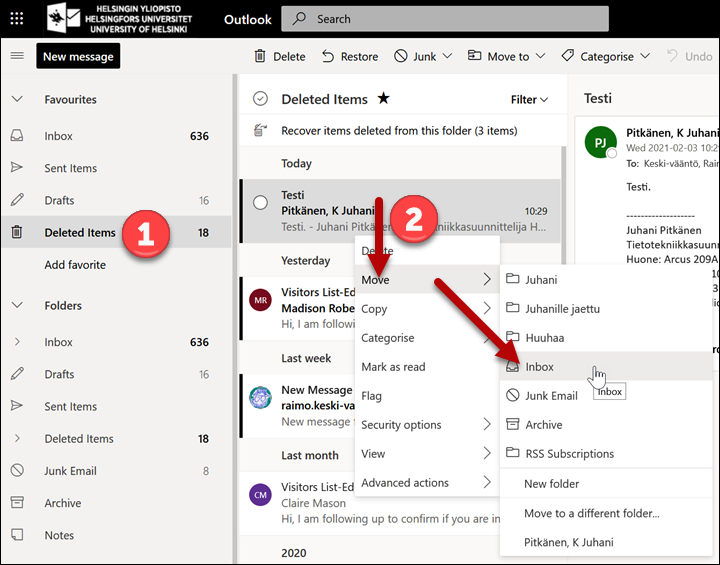
You can also recover messages that are no longer in the Deleted Items folder:
- Click the Deleted Items text (1).
- Messages open in a reading window.
- Right-click the message you wish to recover (2).
- Open the Move submenu.
- Select the folder to which you wish to move the message.
Spam
See separate instructions >> for reporting spam.
Sharing an e-mail folder
You can give other users permissions to your e-mail folders as follows:
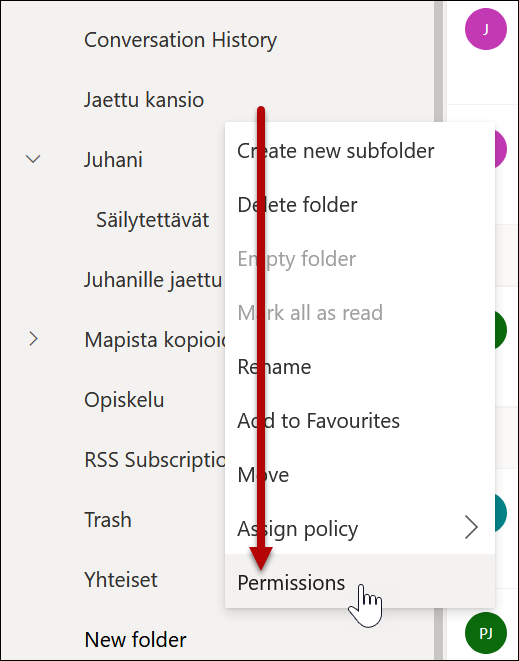
- Right-click the folder the permissions of which you wish to edit.
- Select Permissions .
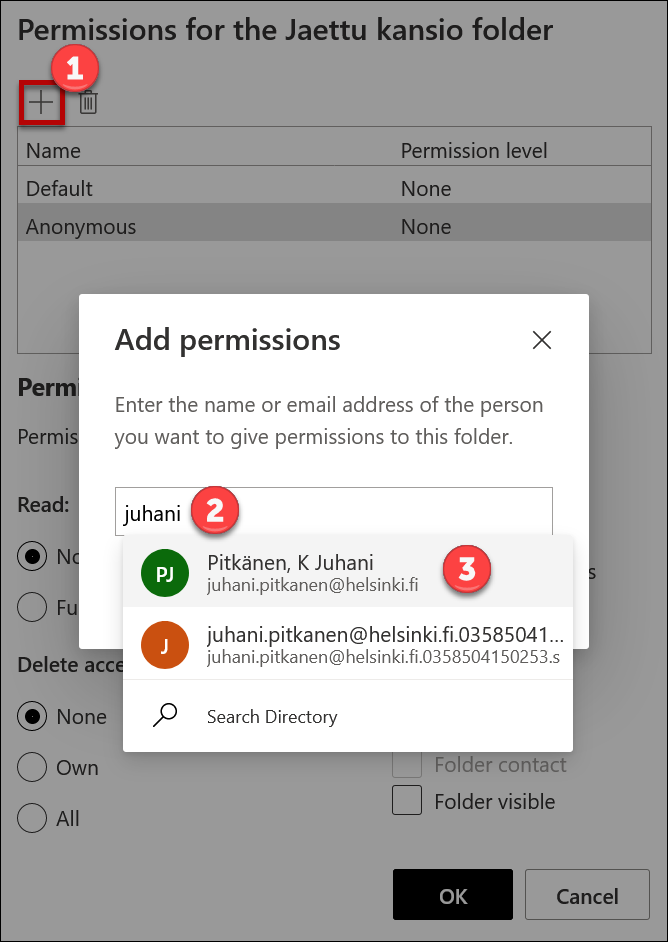
- Click + (1).
- Start typing the first letters of the name in the field (2)
- Select person (3).
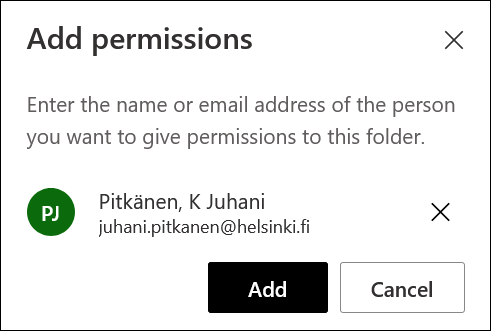
- Click Add.
- Check that the person you added is selected as active (1).
- Select a suitable permission level from the Permission level menu. The default is None .lt level is None.
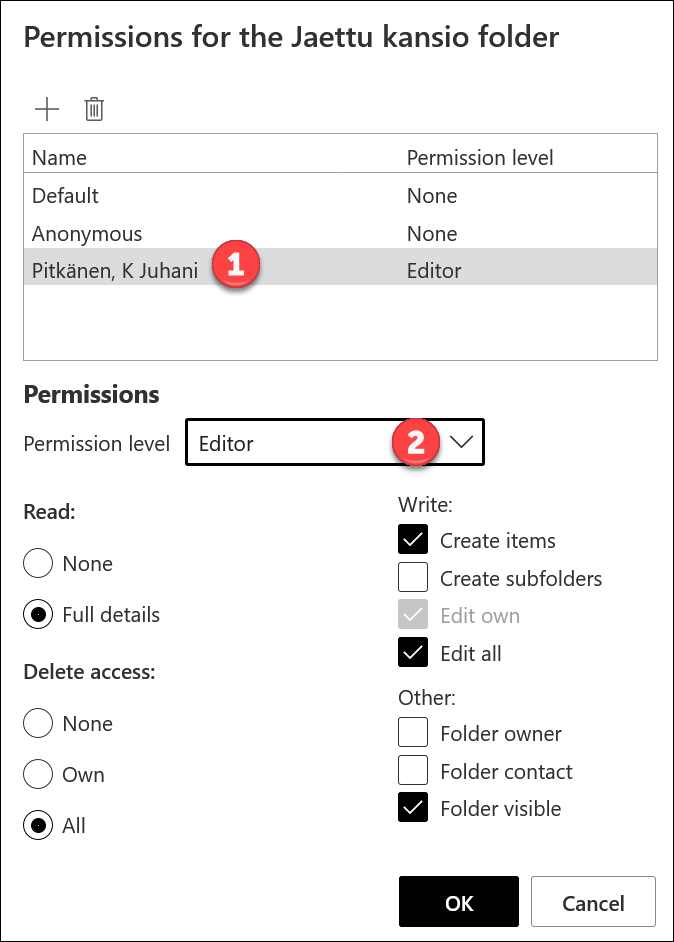
NOTE! Assign reading rights for the main level folder by repeating the previous phases.
The folder does not yet show automatically to the recipient even though permissions have been added. The recipient must first add the folder according to the following section.
Using a shared folder
Video instruction
Give feedback
The instructions site of the University of Helsinki's IT Helpdesk helps you with IT-related issues related to your work. Let us know how we can improve our instructions. We greatly appreciate your feedback!
How would you improve these instructions?