
These instructions apply only to home computers! Instructions for the University computers can be found here. Views may vary from computer to computer.
See also instructions:
- Connecting to a home directory (Z drive) with a home computer
- Connecting to a group disk space with a home computer
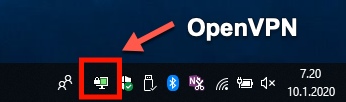
OpenVPN can be found on the bottom bar of Windows
Quick help
- Download and install the OpenVPN software: https://openvpn.net/community-downloads/
Please select the latest release. There may be beta versions on the list, but they are not recommended for the basic user. - Download configuration files
To download the files from Download Centre, search for downloads with the search word "VPN".
Or here:
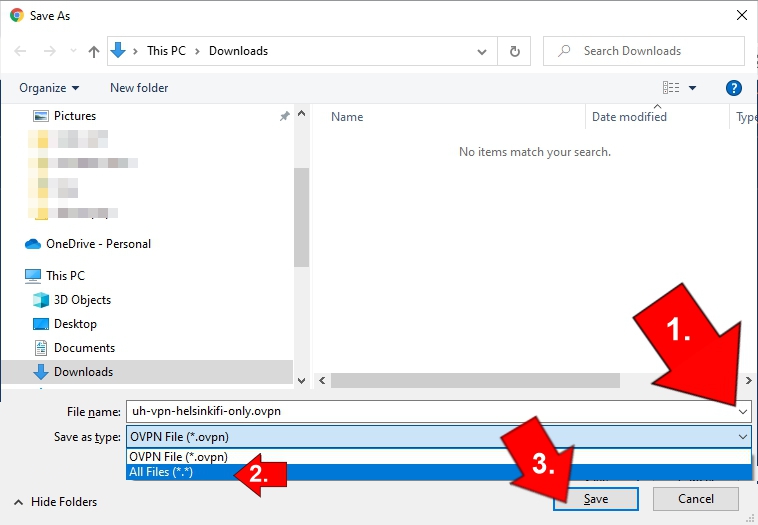
Save the files below to your computer by right-clicking and selecting Save File / Save As... (there may be differences between browsers).
Note! When saving, select All files as the file type - Import configuration files to OpenVPN with Import.
- Restart the computer
- Connect the VPN connection
Detailed help
Downloading the installation files
Use the latest software version during installation. (select the latest release).
You must download three files:
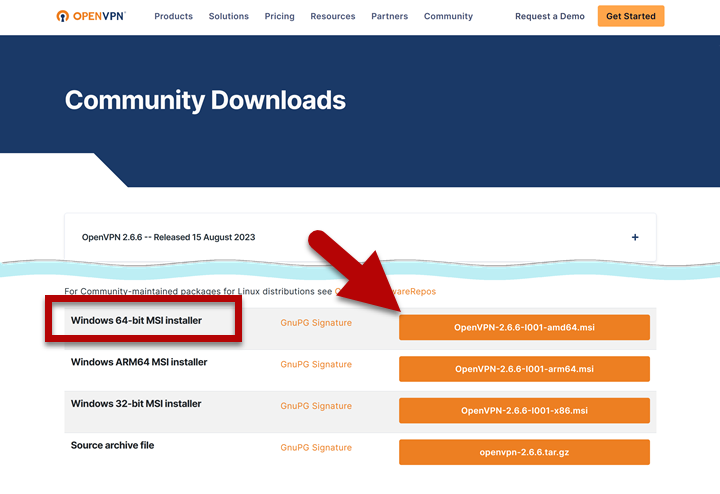
1. Download the OpenVPN software from: https://openvpn.net/community-downloads/
Please select the latest release. There may be beta versions on the list, but they are not recommended for the basic user. Select Windows MSI installer from the list (preferably 64-bit, older computers may require the 32-bit version. If you are not sure which one to choose, please refer to the Microsoft help).
2. In addition to the software installation file, you will need the configuration files (called uh-vpn-helsinkifi-only.ovpn and uh-vpn-allroute.ovpn). These files contain the settings needed to start using the University’s VPN service.
To download the files from Download Centre, search for downloads with the search word "VPN".
Or directly from here:
Tip: Save the files above to your computer by right-clicking and selecting Save File / Save As... (there may be differences between browsers). Note! Select All files as the Save as type
The configuration files are also available for download at https://login.helsinki.fi/idp/profile/SAML2/Redirect/SSO?execution=e1s1. If necessary, read the Instructions for Download Centre.
Installation of the software
Note! The University’s VPN service is designed in such a way that the easiest and surest way to install the OpenVPN software is to accept the default settings offered by the installation software. If you need help using the software later, the assumption is that you have installed the software installation software using the default settings.
To start installation, click the installation file in the Downloads folder.

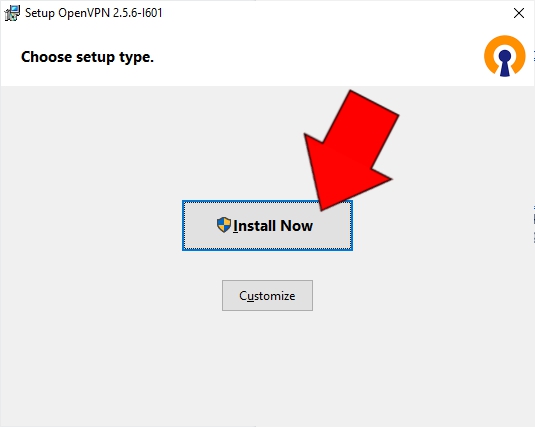
When the installation software starts, click Install Now.
- Sometimes it takes a while for the installation to start. Please wait patiently.
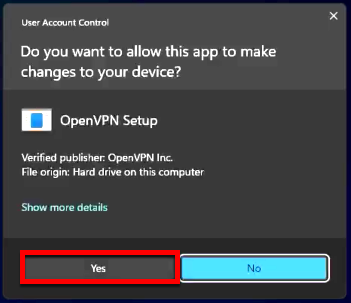
- A window may appear asking for installation permission from Windows. Permission must be granted.
- The default settings are selected in the installation software. You don’t need to change these.
If you get the next question on your screen, select Yes.
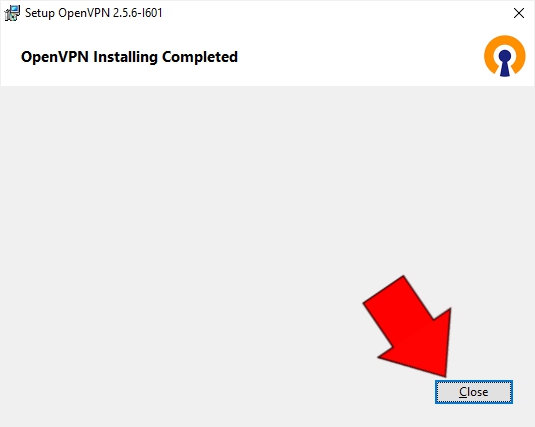
Finally, click the Close button.
You will receive a notification that no connection profiles can be found. This is normal, no need to worry. Close the notification with the OK button.
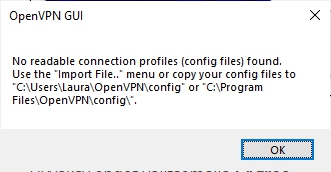
Now, move to the installation of the configuration.
Installation of configuration files
When the software has been installed, you still need to install the configuration files before using the software.
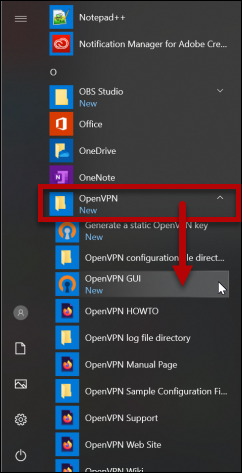
To start the OpenVPN software, from the Start menu, choose OpenVPN > OpenVPN-gui.
When the OpenVPN software has started, you can upload the configuration file you got from the Download Centre as follows:
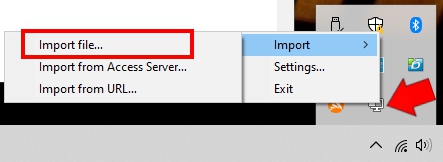
Right-click the OpenVPN icon in the submenu. In the menu that opens, choose Import and Import file...
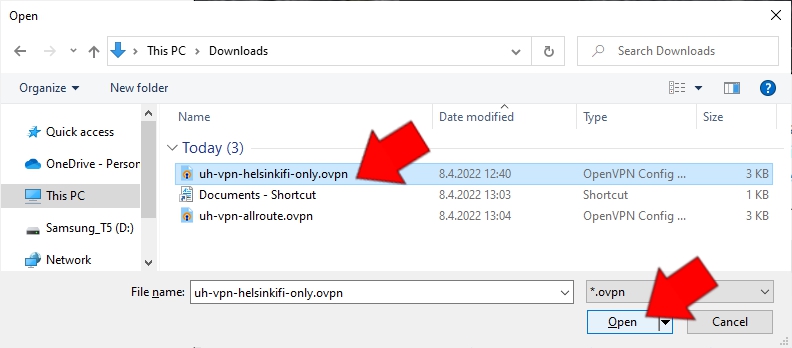
Select the configuration files you previously downloaded uh-vpn-helsinkifi-only.ovpn and uh-vpn-allroute.ovpn.
Files can be found with default settings in the Downloads folder. Choose the file and click Open.
Successful installation is indicated by the computer with a quickly disappearing notification.

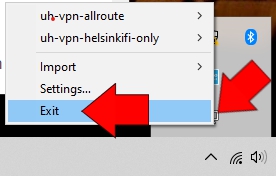
Close OpenVPN by right-clicking the icon in the bottom bar. Select Exit.
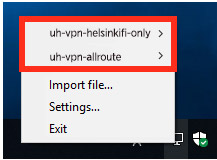
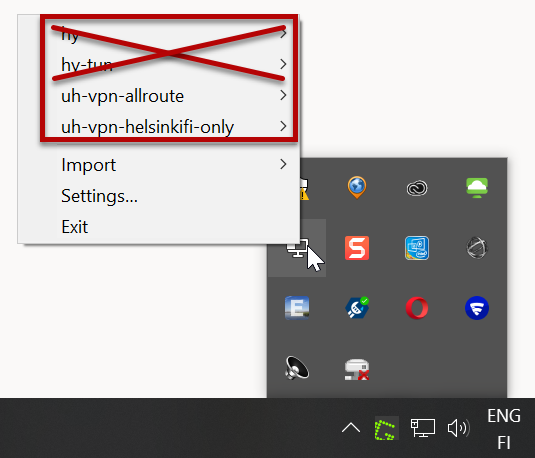
Restart OpenVPN Gui (see more detailed instructions under the heading Using the software). The OpenVPN connection menu should have connections:
- uh-vpn-helsinkifi-only
- uh-vpn-allroute
After this, you can connect.
Deleting unnecessary configuration files
- You can delete unnecessary connections from the OpenVPN menu.
- Configuration files can be found under Local Disk (C:) > Users > user > OpenVPN > config. Delete any folders that are no longer needed. After this, they will no longer appear in the OpenVPN start menu.

Using the software
To open the software, right-click the OpenVPN quick-launch icon in the menu at the bottom and select Connect.
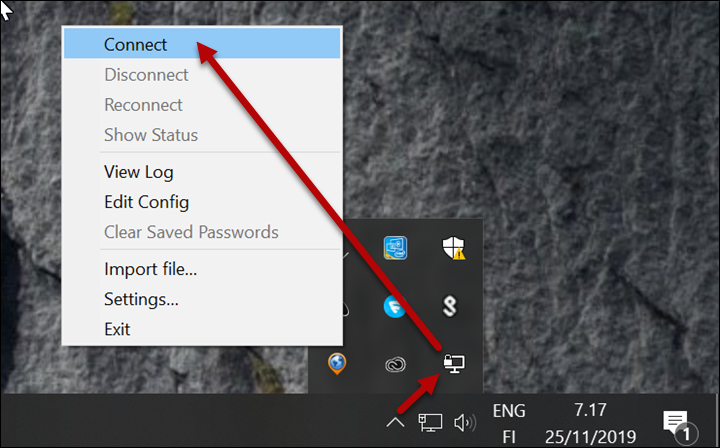
The software then asks for your username and password (use the University username in the basic format, such as rkeskiva). The user information is sent to the University server in an encrypted format.

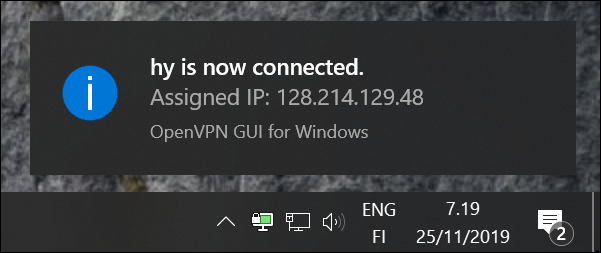
After successful logging in, the OpenVPN icon in the status bar turns green. Hold the mouse over the icon to see a pop-up window with information about the connection.
To end the VPN connection, select Disconnect from the OpenVPN start menu described above.
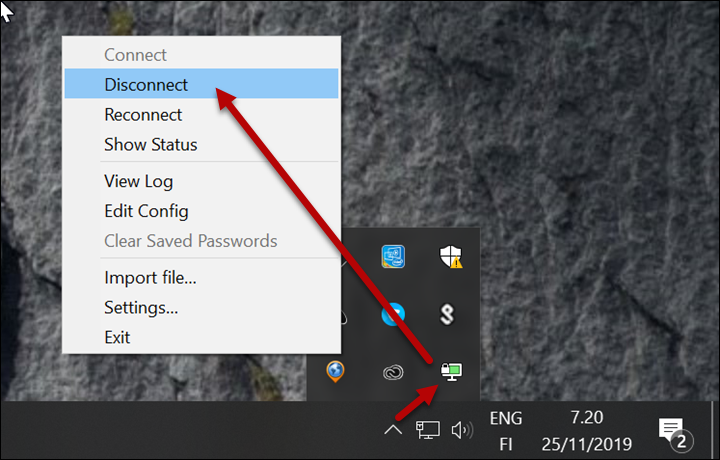
Click Exit to close the software.
Video instruction
Give feedback
The instructions site of the University of Helsinki's IT Helpdesk helps you with IT-related issues related to your work. Let us know how we can improve our instructions. We greatly appreciate your feedback!
How would you improve these instructions?