
These instructions are written for basic use of Outlook. In this page, we provide basic instructions on topics such as sending emails, formatting messages, searching for messages, and message rules.
- Separate instructions has been created for general Outlook settings (including language settings).
- See also Automatic replies (including out-of-office messages)
Detailed help
Automatic replies (separate page)
Forwarding e-mail from the Exchange server to other addresses (separate page)
Sending e-mail
Writing a new message:
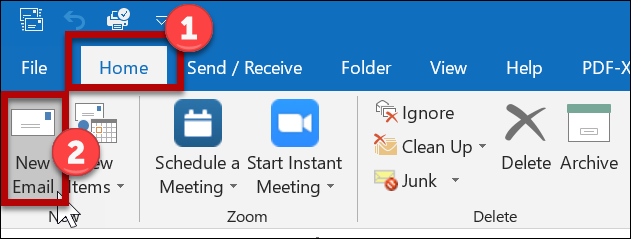
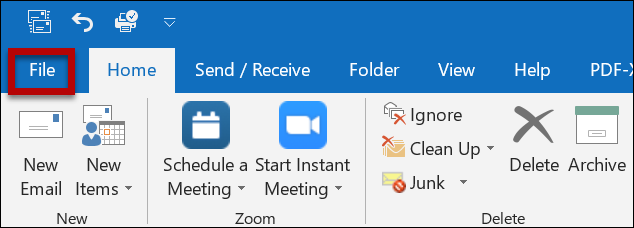
- In the HOME tab, choose New Email.
- This opens a new window.
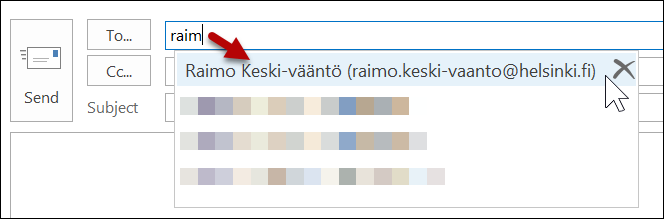
- Type the name of the recipient in the To field. The program searches for matches when you type some of the first letters of the name.
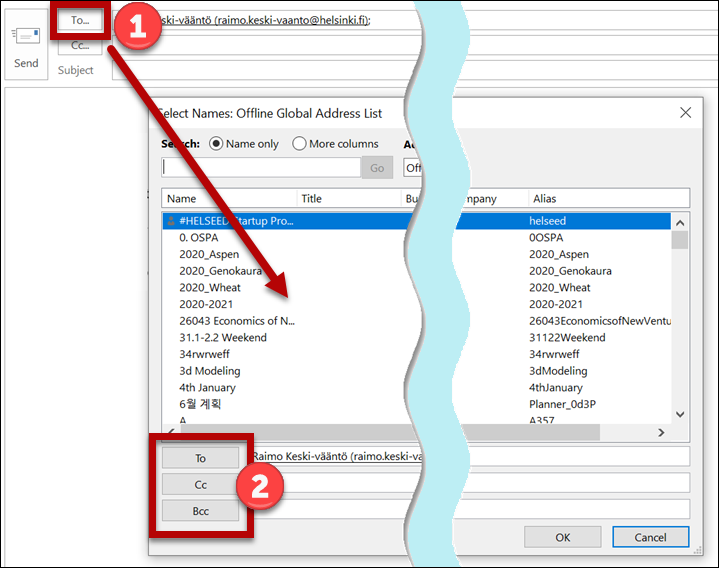
- Click To... (1) to open the Address Book for selecting additional recipients.
- Click the name of the person once to select them. Below, click (2) To, Cc or Bcc to add the selected person as the recipient of the message, send them a copy of the message or send a blind copy.
- You can also double-click the name to add it. In this case, the name is added to the same group as the previous person added. If, for example, you have just added a person as a recipient of a blind copy, double-clicking additional recipients adds them to the same Bcc field.
- You can also double-click the name to add it. In this case, the name is added to the same group as the previous person added. If, for example, you have just added a person as a recipient of a blind copy, double-clicking additional recipients adds them to the same Bcc field.
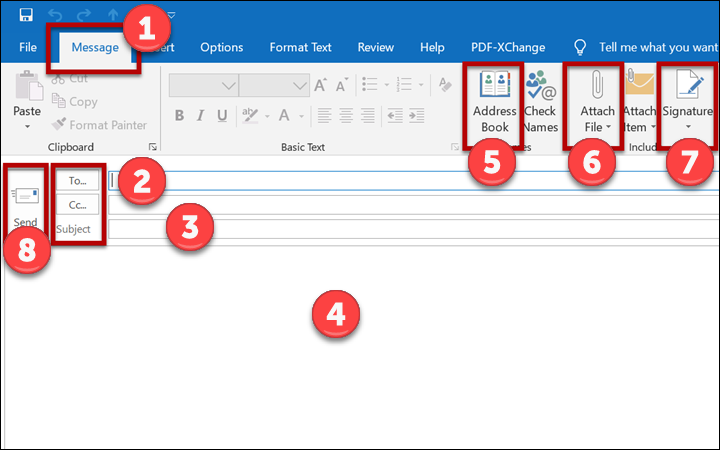
- The most important commands can be found in the Message tab (1).
- Add recipients (2).
- Enter a descriptive title for the message in the Subject field (3).
- Enter the content of the message in the text field (4).
- You can use the Address Book (5) to add recipients. The Address Book contains the contact information of people using Office 365.
- To add attachments, use Attach File (6) or drag the file to the text field of the message (4).
- Use Signature (7) to add a signature to the end of the message.
- Click Send (8) to send your message.
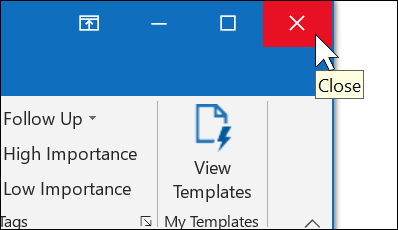
- You can cancel the message by clicking the cross button in the top right corner.
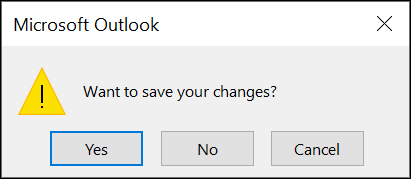
- The program asks whether you want to save the message into the Drafts folder. Click No if you don't want to save the message.
Using an automatic signature
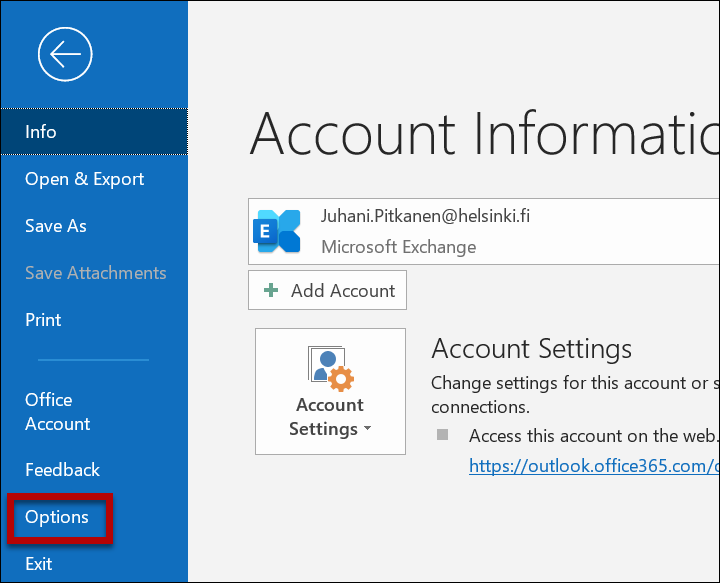
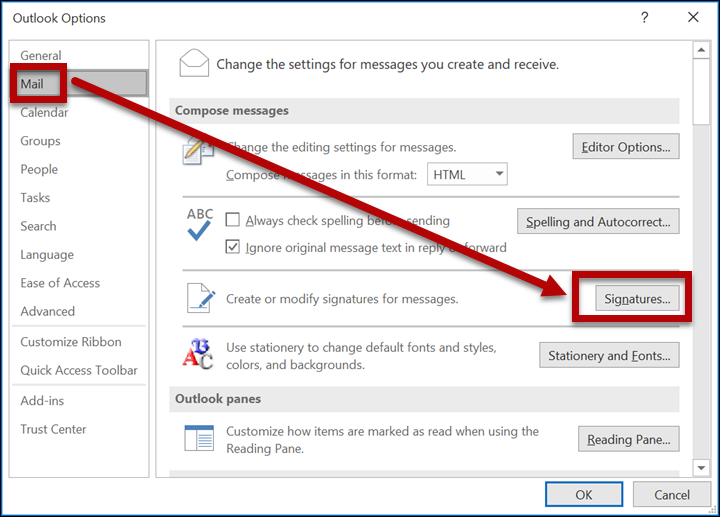
- Open the File menu.
- Open Options.
- This opens a new window.
- In the Mail tab, open Signatures (2).
- Click New.
- Enter a name for the signature.
- Click OK.
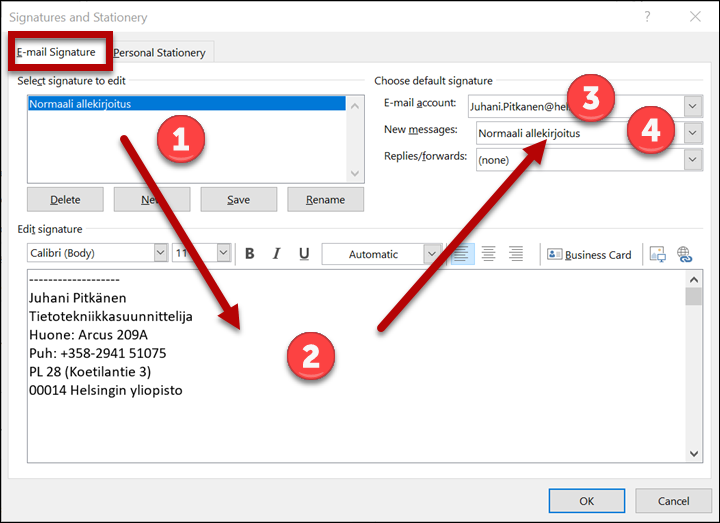
- This opens a new window. Open the E-mail Signature tab if it is not opened automatically.
- The field (1) contains a list of signatures. Check that the selected signature is the one you want to modify.
- Type your signature in the field (2).
- The dropdown menu (3) lists all the e-mail accounts you have added to Outlook. Select the one you want to add to the signature you are modifying.
- (4) allows you to select the default signature. You can create several signatures. When you send a message, you can select a suitable signature or leave it out altogether.
- Click OK to close all open windows.


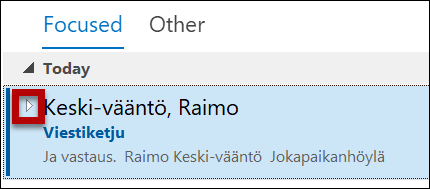
Showing messages as conversations
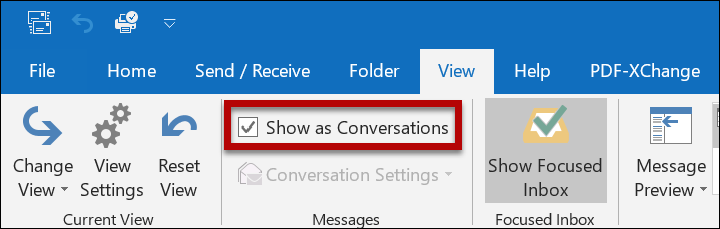
Outlook normally shows messages in chronological order. Messages concerning the same subject may be far apart, and getting an overall impression may be difficult. When you change to the conversation view, all messages related to the same subject are grouped together, and only the first message of the thread is shown in the message list. Change the view as follows:
- Open the VIEW tab.
- Tick the Show as Conversations tickbox.
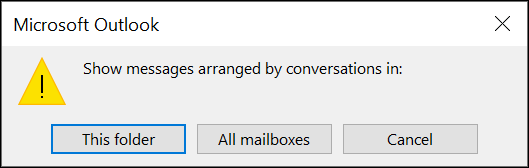
- Select whether you want to implement the change in all mailboxes or just in the folder which is currently open.
- To open and close a message thread, click the arrow button next to the first message.
Message search
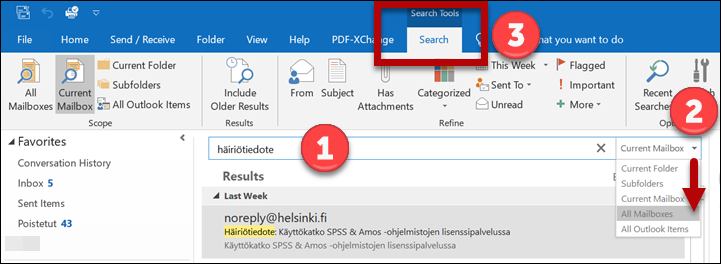
- You can search for messages by typing a search term in the search field (1).
- In the drop-down menu (2), select the folders in which to search for messages.
- Also the SEARCH tab (3) opens for specifying much more advanced searches.
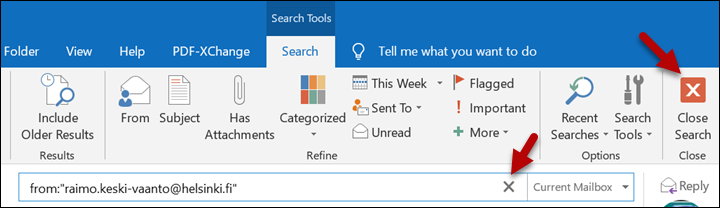
- In the SEARCH tab, searches can also be aimed at certain mailboxes (1).
- In this example, the search concerns the contents of the From field (2).
- The search phrase "from:(Sender Name)" was created in the search field when clicking the From icon (see the larger image). Sender Name is active (blue background), so the text entered in it replaces the search term "Sender Name". The search begins immediately when you start typing the beginning of the search term.
- Under (3), you can restrict the search to messages which have arrived at a certain period of time.
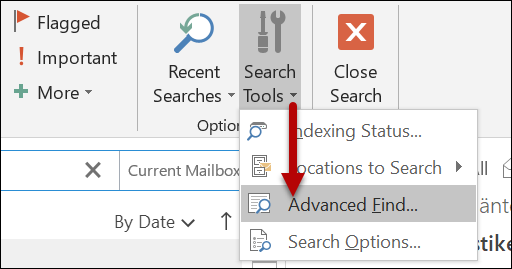
- For even more advanced searches, use the Search Tools (4)
- You can use Recent Searches (1) to redo previously made searches.
- Click the cross button to close the search.
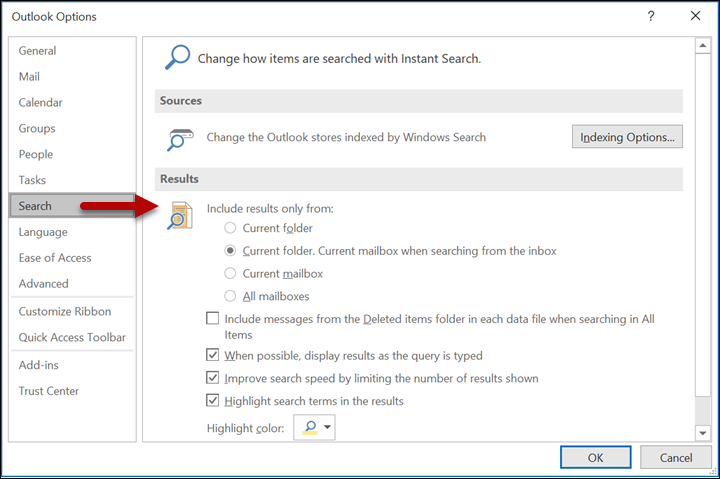
- To specify search options, choose: File > Options > Search.

Search folders
The search folders show the messages which meet the specified terms. The folder only shows the messages. In reality, the messages are located in the Inbox or in the folder to which you have moved or directed them. Outlook has some predefined search folders. You can, for example, view all unread messages in one search folder. Specifying your own search terms is easy, and they allow you to create much more varied search folders. These instructions describe the specification of a search folder which shows messages containing the specified words.
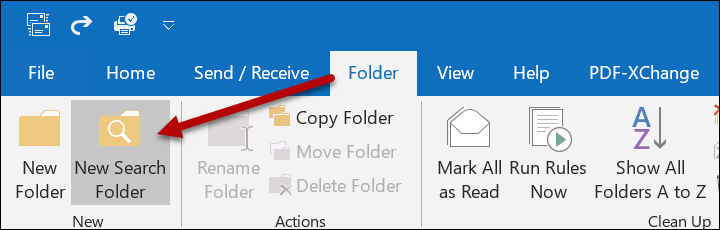
- Open the FOLDER tab.
- Click New Search Folder.
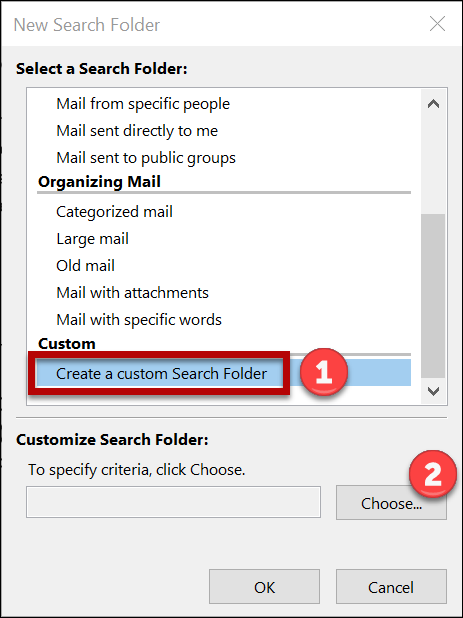
- At the bottom of the window which opens, locate Create a custom Search Folder (1).
- Click Choose (2).
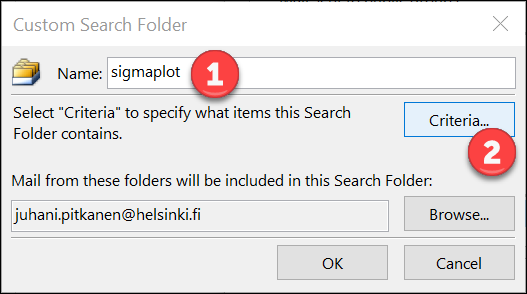
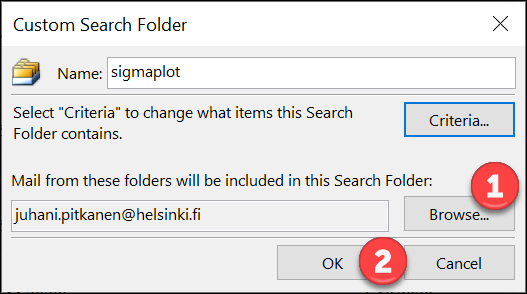
- Enter a name for the folder (1).
- Click Criteria (2).
- Open the Messages tab (1).
- Type the search term in the field (2).
- In the menu (3), select the message fields to search in.
- Click OK.
- The More Choices and Advanced tabs allow you to specify the operation of the search folder in detail.
- The More Choices and Advanced tabs allow you to specify the operation of the search folder in detail.
- You can limit the search to only certain folders (1). This example uses the Outlook default.
- Click OK (2).
- Click OK.
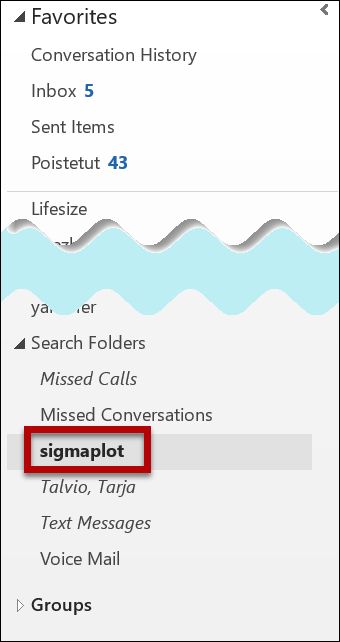
- The new search folder is shown in the left below the Search Folders folder.
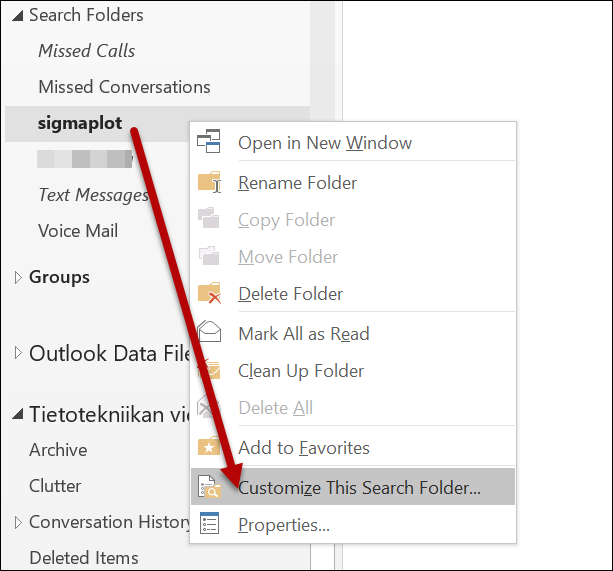
- To modify the search folder, right-click the folder and choose Customize This Search Folder in the menu.
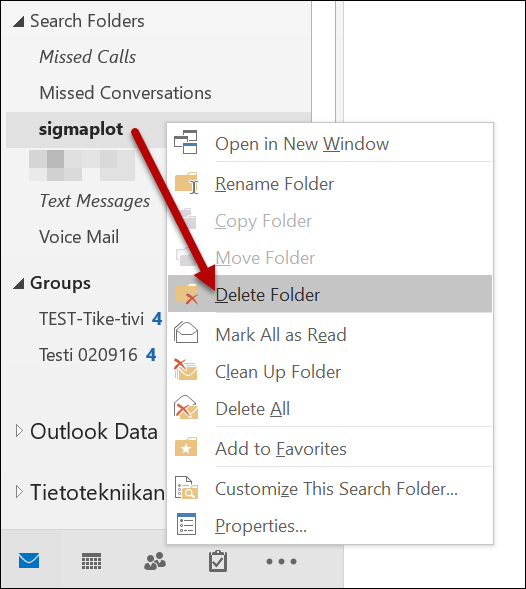
- To delete the search folder, choose Delete Folder in the menu.
- Outlook asks for a confirmation of the deletion. Click Yes.
- The folder is deleted, but the messages stay in their original folders.
- NOTE: If you delete individual messages in the folder, THEY ARE ALSO DELETED IN THE ORIGINAL FOLDER.


Message rules
You can specify that Outlook automatically carries out certain operations on messages meeting the specified criteria. You can, for example, direct all messages from a certain sender to a specific folder, or all messages containing certain keywords to a specific folder. The processing of messages is based on rules. You can create new rules yourself. Using a message as a template is the easiest way to create rules.
If you create rules for junk e-mail, remember to check your junk mail folder from time to time. The rules can make errors and direct even normal mail to the wrong folder.
You should, however, preferably process junk e-mail according to these instructions >>
Rules are created as follows:
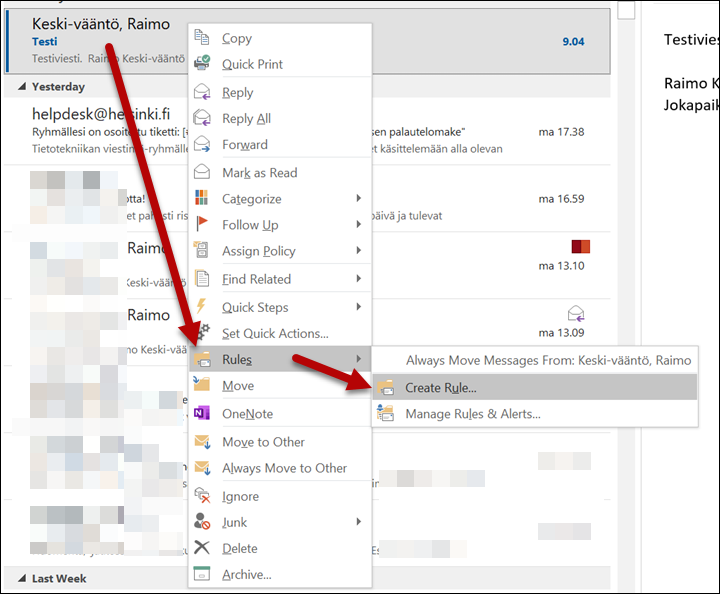
- Right-click the message you want to create a rule for.
- Choose Rules > Create Rule.
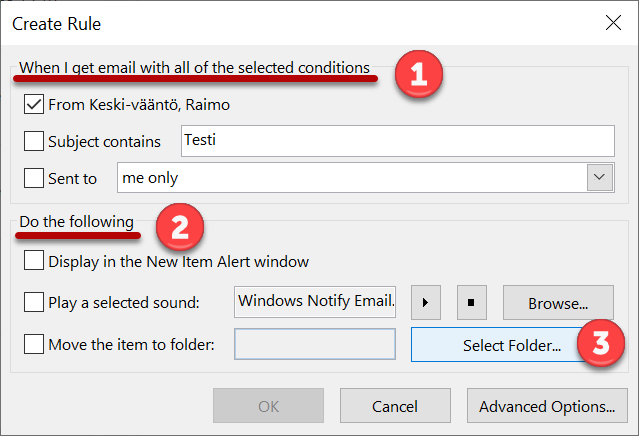
- First choose the basis for creating a rule for the message (1).
- In this example, the rule applies to e-mails received from sender owner-avoin-uutiskirje1@helsinki.fi.
- Then, choose what should be done to the message (2).
- In this example, the messages are directed to a folder other than Inbox. Click Select Folder.
- In this example, the messages are directed to a folder other than Inbox. Click Select Folder.
- Choose the folder into which you want to direct the messages. In this example, the mailbox already contains the folder avoin (1). To create a new folder, use the New button (2).
- Click OK.
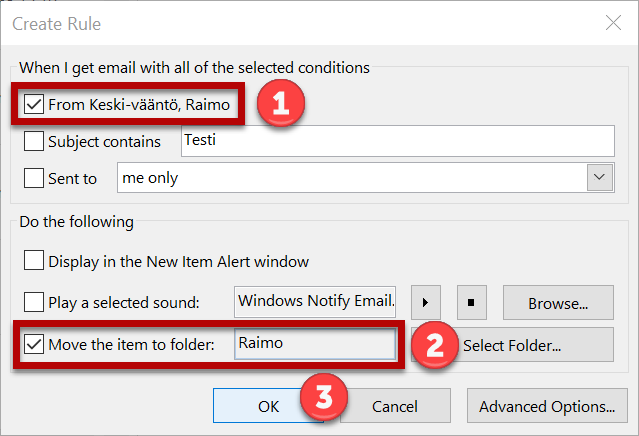
- The rule is now ready (1) and (2).
- Click OK (3).
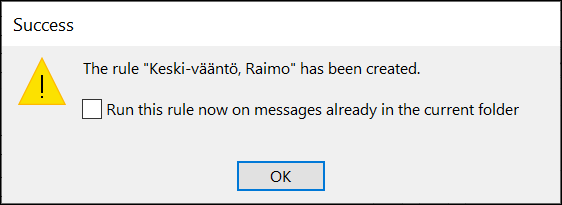
- You will get a notification stating that the rule has been created. If you want to, you can also apply the rule to messages which are already in the folder. To do this, tick the Run this rule now on messages already in the current folder tickbox.
- Click OK.

NOTE: To create much more varied rules, choose Advanced Options above.
To modify a rule at a later time:
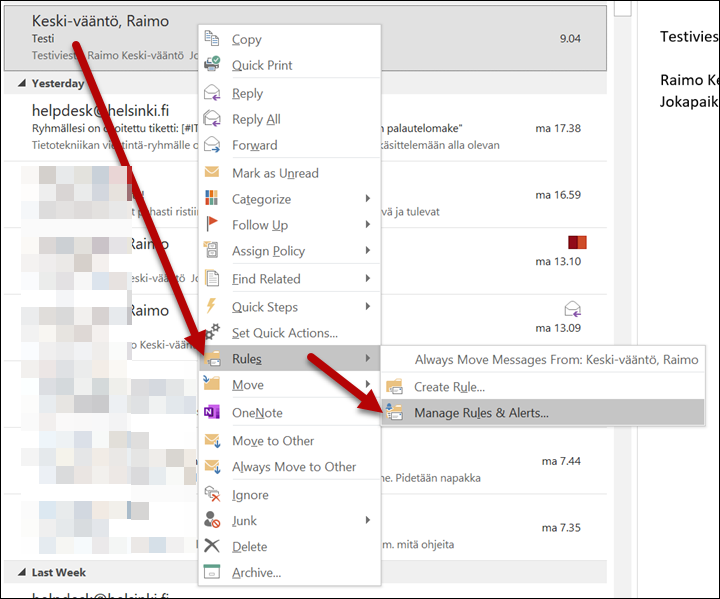
- Right-click any message.
- Choose Rules > Manage Rules & Alerts.
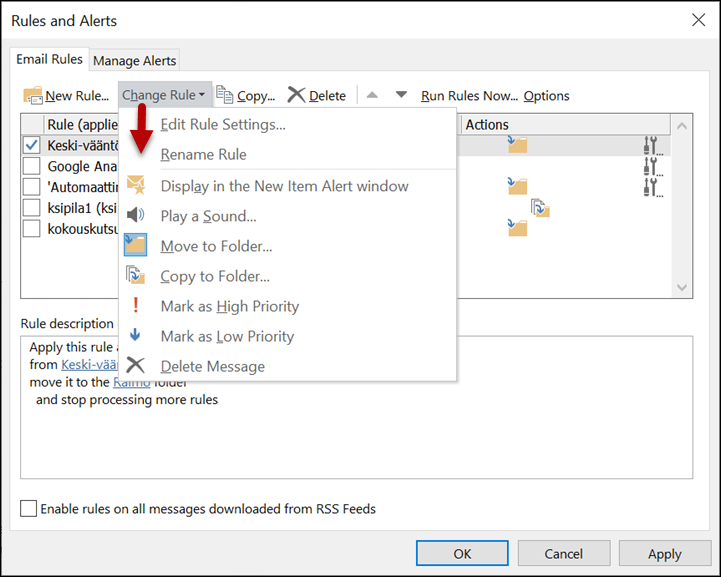
- Choose the rule you want to modify (1).
- Choose Change Rule in the drop-down menu (2) if you want to change the rule.
- Choose Edit Rule Settings (3).
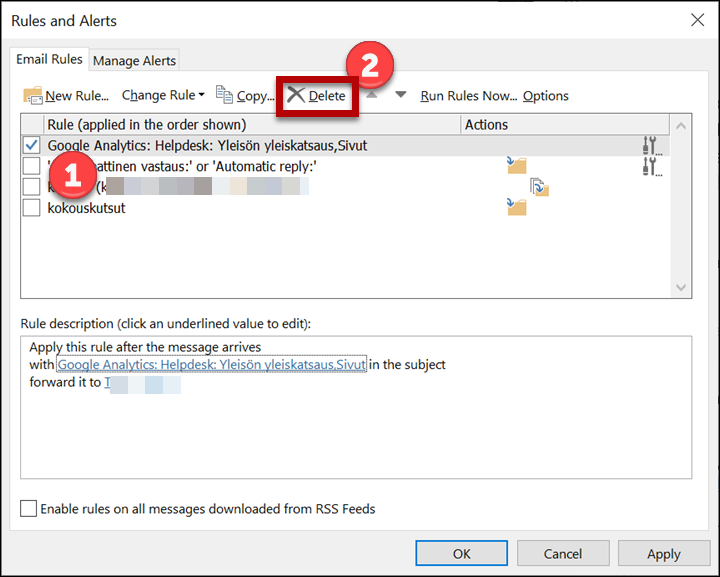
- If you want to delete a rule, select the rule and click Delete.
Notifications of new messages
Outlook gives sound and visual notifications of new messages. If you feel that these disturb your work, you can change the default Outlook settings as follows:
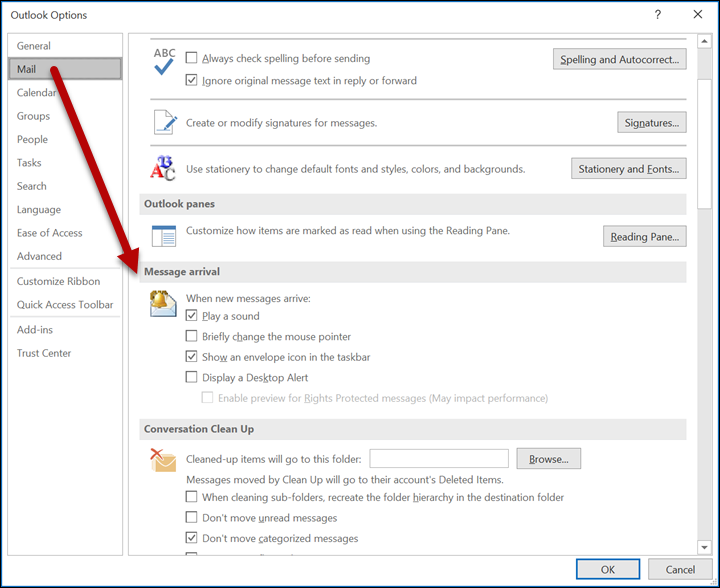
- Open File > Options > Mail.
- Under Message arrival, you can disable the sound or determine how the visual symbol is shown.
Creating a calendar invitation based on an e-mail
Creating a calendar invitation based on an e-mail Some things cannot be arranged by e-mail. Especially when several people and differing opinions are involved, it's often easier to set up a meeting and agree on things face to face. In Outlook, you can easily create a meeting invitation based on an e-mail message. All recipients of the e-mail are automatically added to the invitation.
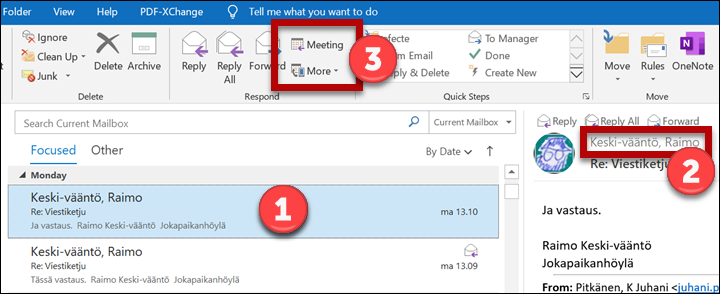
- Open the message you want to use as the basis of the meeting invitation (1).
- The recipients of the message are shown in (2).
- Click Meeting (3).
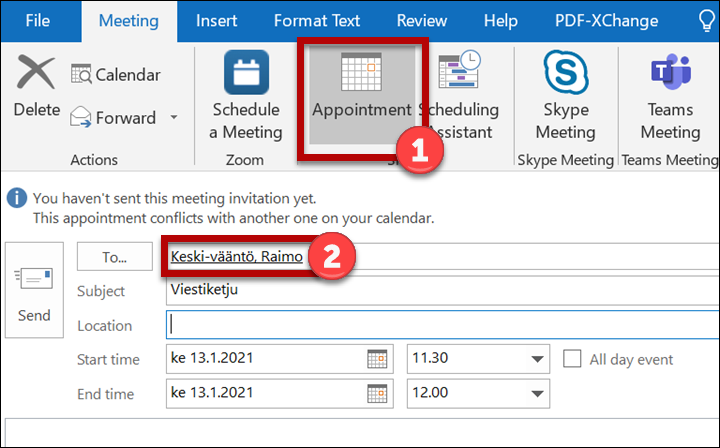
- Make sure that Appointment (1) is selected.
- The persons who have received the message (2) are automatically added as invitees to the meeting.
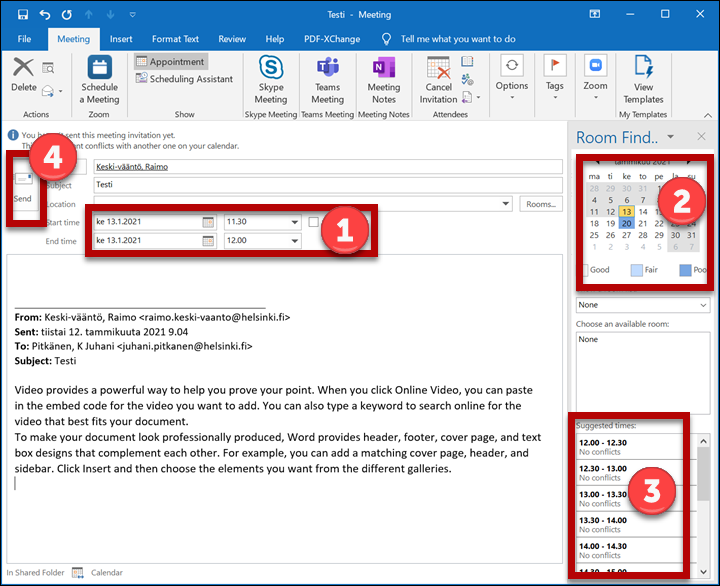
- Outlook suggests a time for the meeting (1). You can change the time in (1) or in the calendar (2). Check under Suggested times (3) whether the other invitees have overlapping reservations in their calendar. Remember to fill in the Subject and Location fields. Click Send(4) when your invitation is ready.
Restoring deleted messages
Deleted messages are first directed to the Deleted Items folder. After a certain period of time, messages from the Deleted Items folder will be transferred to a hidden Deleted folder where you can return messages. Read more about deleting messages.
NOTE: Administration does not recover users' mailboxes except under special circumstances. The user can recover messages or other deleted items themselves within 30 days of the deletion. After this time, mailbox items can no longer be recovered. No traditional backup copies on tape are made of e-mails in Office 365. Instead, we use distributed databases according to the current recommendations.
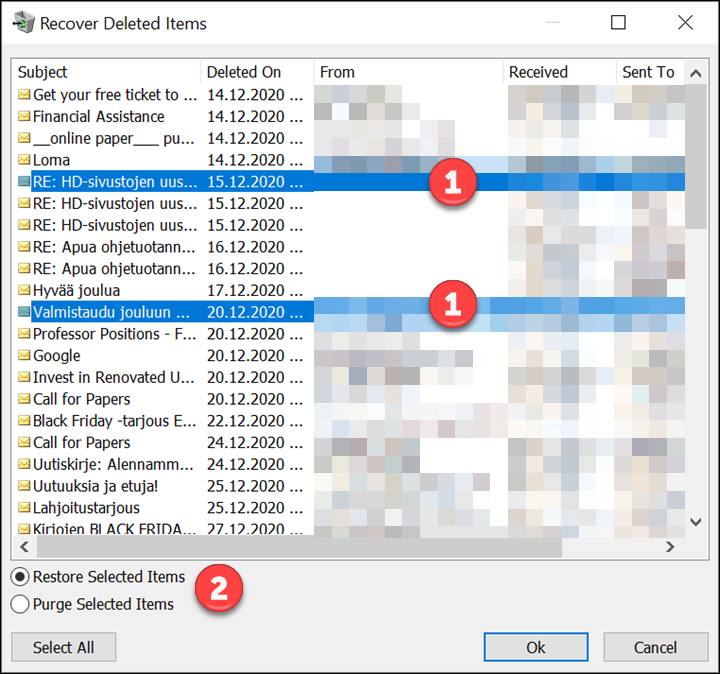
You can also recover messages which are no longer in the Deleted Items folder:
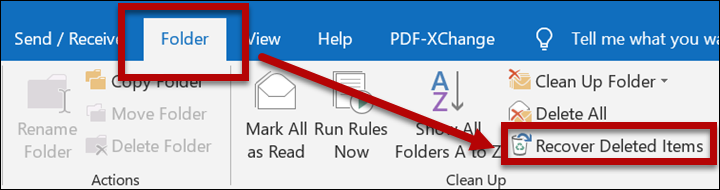
- Open the FOLDER tab.
- Choose Recover Deleted Items.
- Choose the items to recover (1).
- Click the recover icon (2). The messages are recovered in the folder you are working on.
Spam
The university’s spam filters stop most spam messages before they reach the users’ mailboxes. Rules you create in your e-mail client only complement the filtering.
Incoming Office 365 mail is filtered at least three times before the mail reaches the recipient. For this reason it is not even necessary to turn on the spam filter of the e-mail client.
This is how you check if the setting is disabled:
- In the Outlook e-mail view, click Junk > Junk E-mail Options
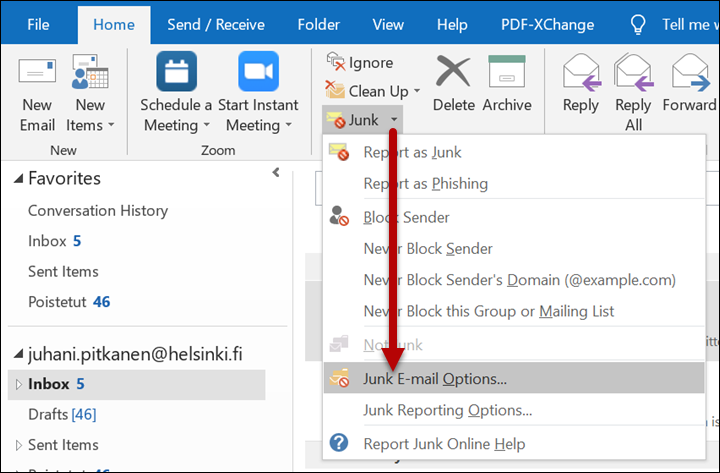
- The window Junk E-mail Options opens. Check that the automatic filtering is disabled.

If you have previously used another e-mail client and transferred to using the Office 365 mail, you may receive mail that was previously directed to spam. This happens because the rules you created previously (in the other program) are not transferred. These instructions describe how to create your own filtering rules in Outlook, if you wish. However, it is not necessary.
If you create rules for spam, please remember to periodically check your spam folder. Rules are not infallible, and sometimes even relevant mail may end up in the wrong folder.
- Right-click the spam message.
- Select Junk > Block Sender.
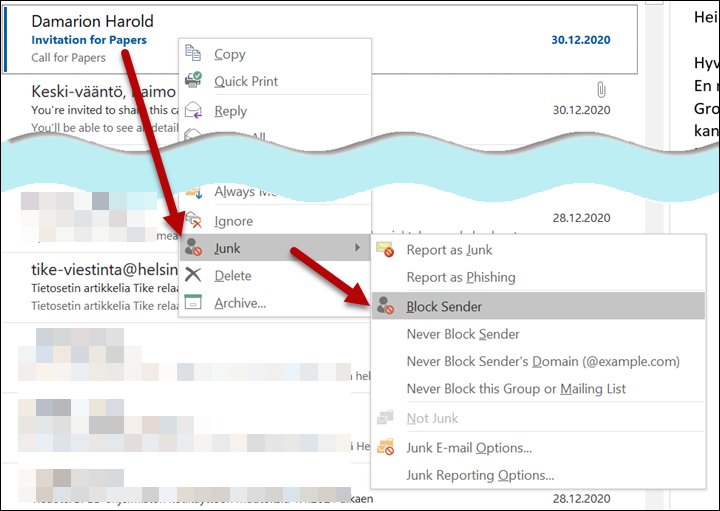
- Click OK.
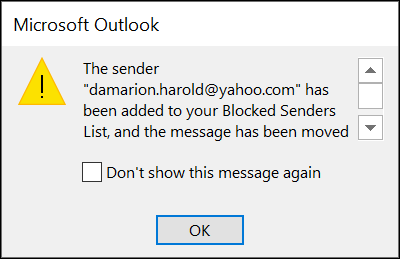
The message is moved to the spam folder and messages from the same sender will be automatically directed to the spam folder.
This is how you can modify the rules later:
- Right-click the spam message.
- Select Junk > Junk E-mail Options.

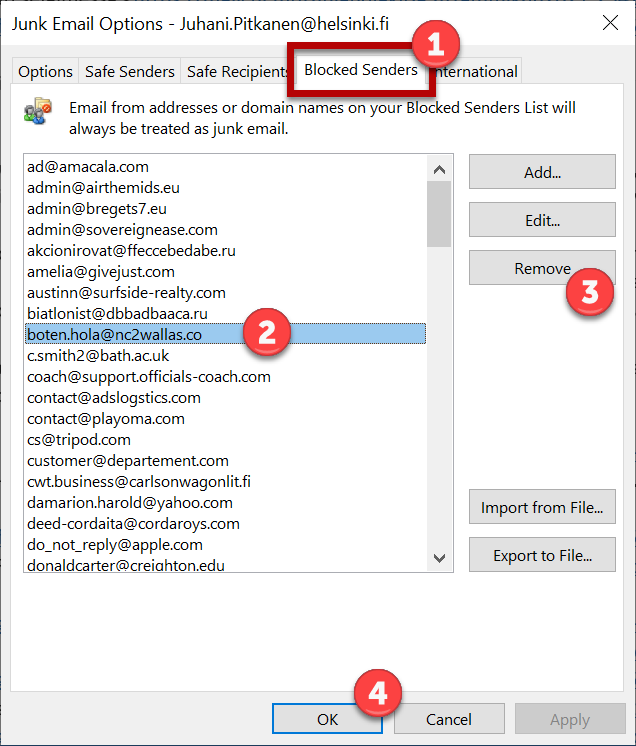
- Open the tab Block Senders (1).
- Select a sender from the list (2).
- Click Remove (3).
- Click OK (4).
After this, mail from this address will again be directed to your Inbox.
Other instructions related to spam
- What is spam?
- Spam mail and phishing messages
- Reporting junk mail in Outlook
- Blocking unwanted messages on Majordomo lists
Sharing an e-mail folder
You can give other users permissions to your e-mail folders as follows:
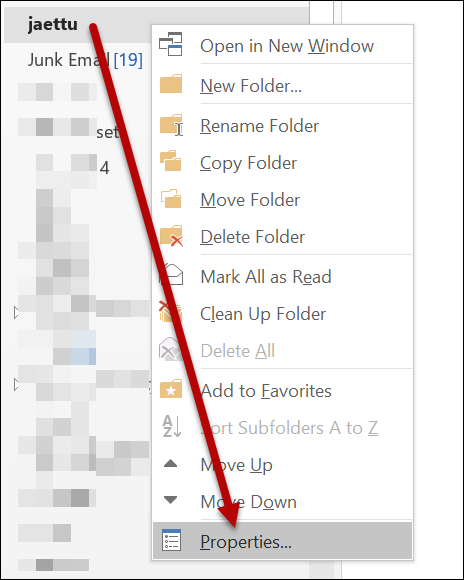
- Right-click the folder whose permissions you want to edit.
- Choose Properties...
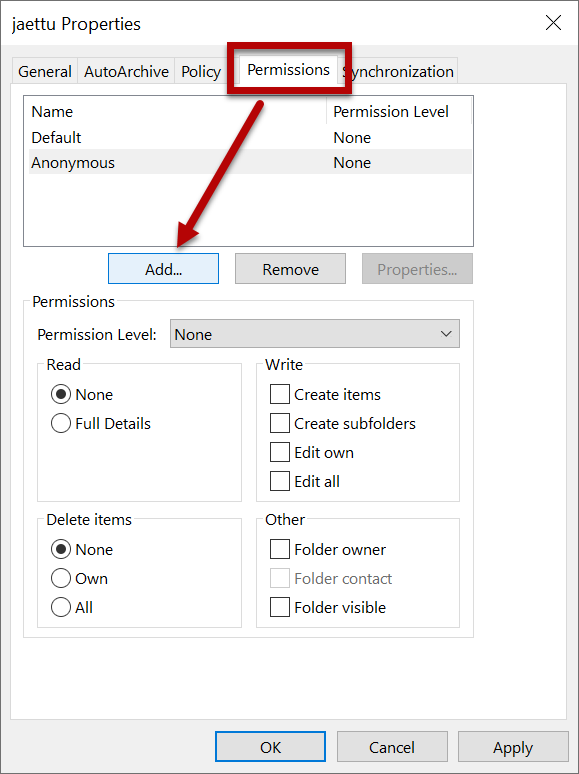
- Open the Permissions tab.
- Click Add.
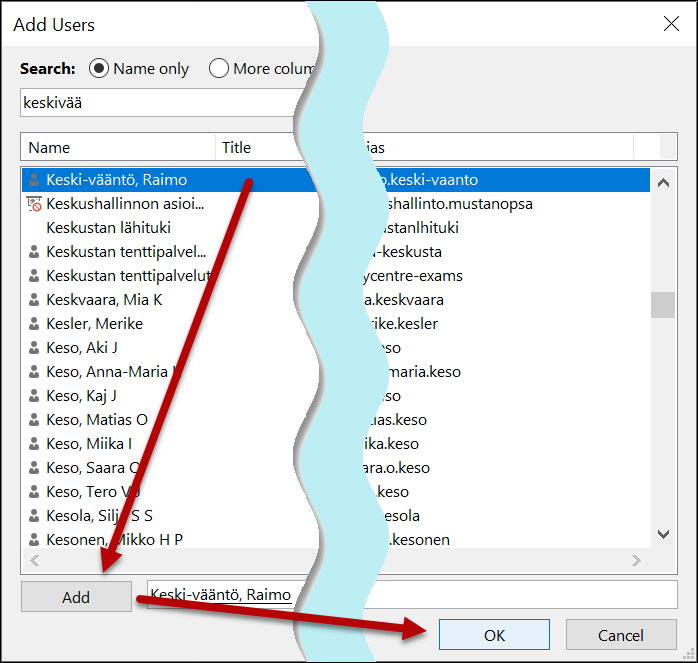
- Find the person to whom you want to give the permission to see the contents of your folder.
- Click Add.
- Click OK when you have added all the persons you want to add.
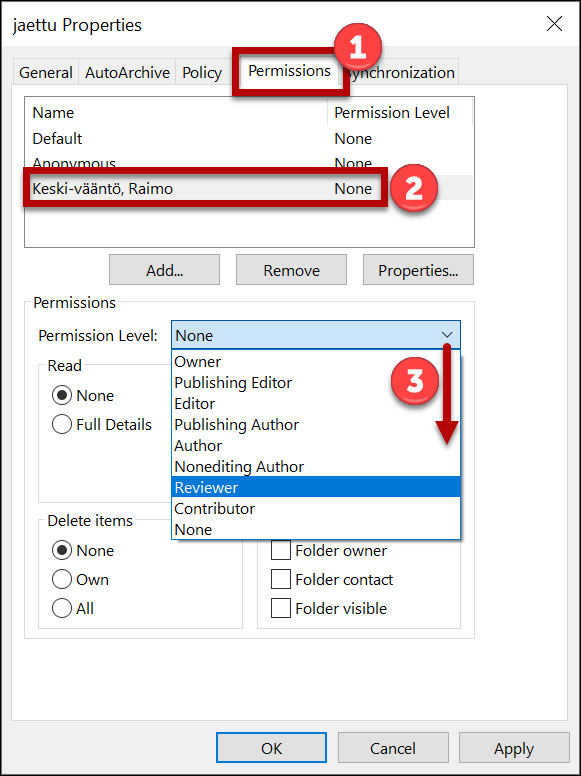
- Open the Permissions tab again (1).
- Choose the person whose permissions you want to modify (2).
- Choose the correct permission level (3).
- Click OK.
- Finally, grant the same persons read permissions to your own e-mail folder (firstname.lastname@helsinki.fi). Otherwise your sub-folders won't be visible to them either.
Reading a shared folder
A folder shared by someone else is not automatically shown in the folder list. You have to add it as follows:
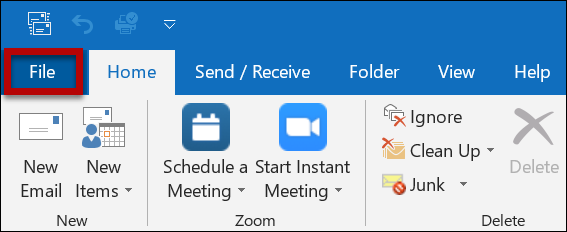
- Click File.
- Click Account Settings.
- Open Account Settings in the dropdown menu.
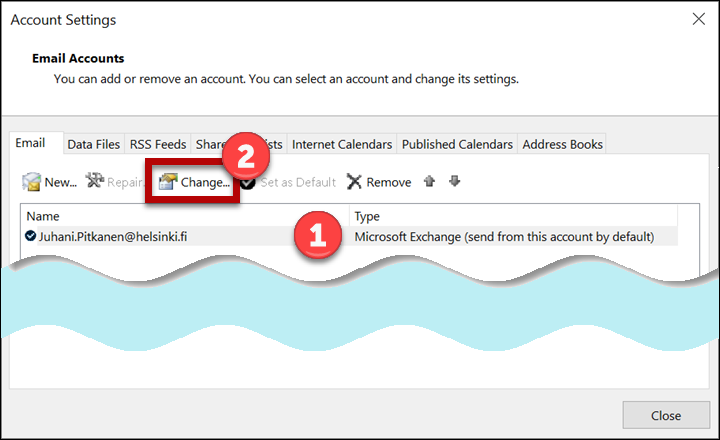
- Choose the correct mail account (1).
- Click Change (2).
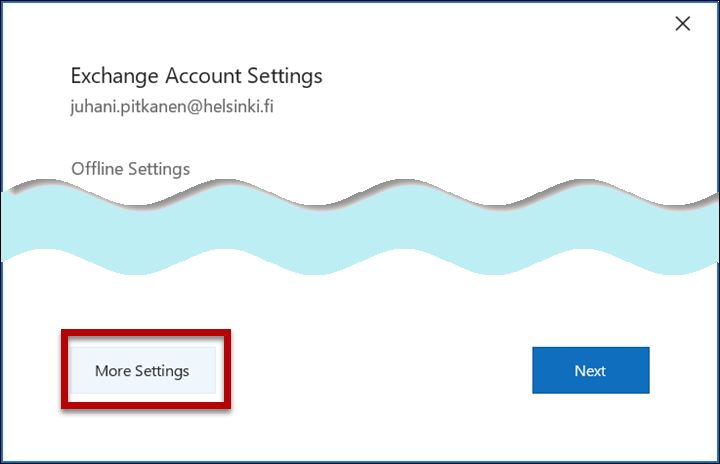
- Click More Settings.
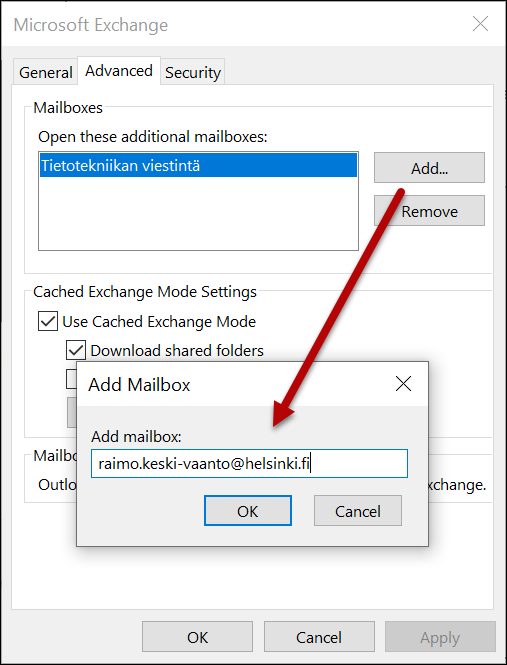
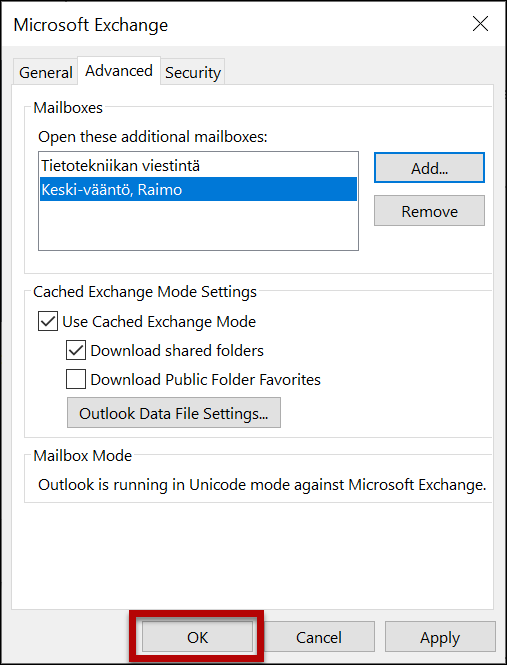
- Open the Advanced tab.
- Click Add.
- Type the name of the person sharing their mailbox in the window which opens.
- Click OK.
- Click OK.
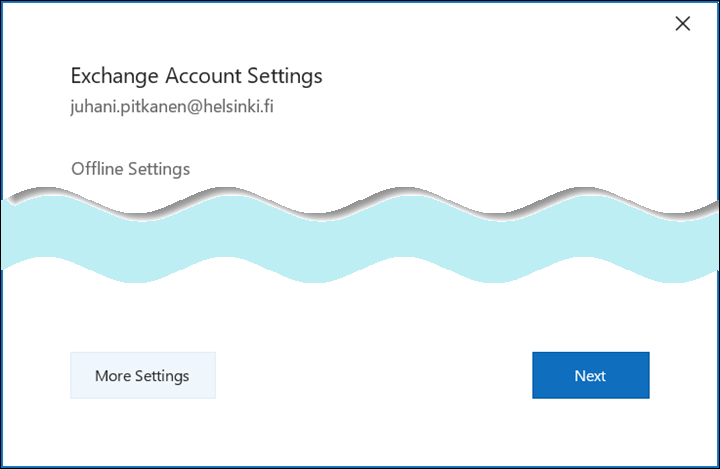
- Click Next.
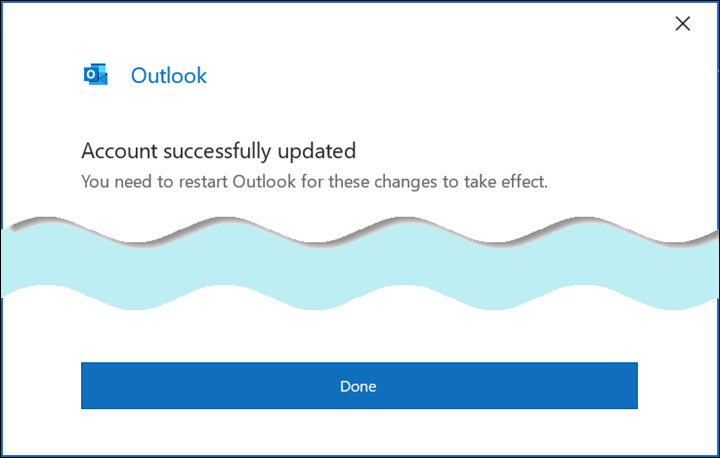
- Click Done.
- The shared folders are shown on the left side of the window amongst the other folders.

Video instruction
Give feedback
The instructions site of the University of Helsinki's IT Helpdesk helps you with IT-related issues related to your work. Let us know how we can improve our instructions. We greatly appreciate your feedback!
How would you improve these instructions?