
Canon multi-function printers are automatically installed on centrally administered Windows computers, so adopting it does not require measures from you. You can identify their queues by the names starting with Smartcard-PCL or Smartcard-PS.
You can install other Canon printers you need on your university work computer according to these instructions.
Quick help
You can install the new printer as follows:
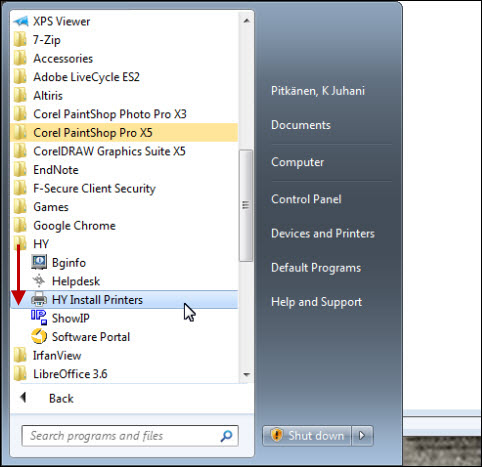
- Open HY Install Printers
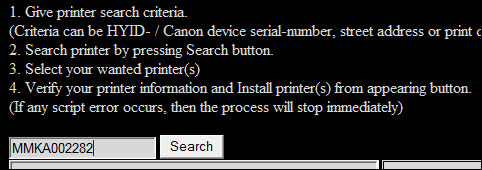
- You can look for printers in the window that opens on the basis of the serial number or location. You can see the serial number on the sticker attached to the printer.
- Enter the serial number of the printer in the search field.
- Click Search
- Select the printer(s) you like to install.
- NOTE: you can select a number of printers and install them at the same time.
- Click Install Printer(s).
See the Detailed help tab for instructions with pictures.
Detailed help
Table of contents
You can install the new printer as follows:
You can look for printers in the window that opens on the basis of the serial number or location. You can see the serial number on the sticker attached to the printer.
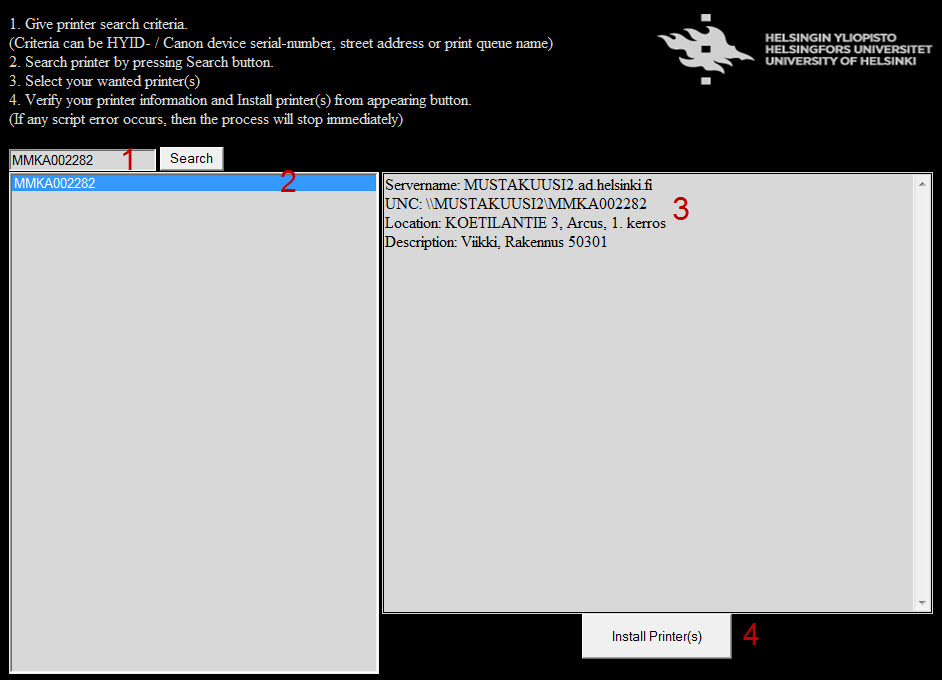
- Enter the serial number of the printer in the search field.
- Click Search
- Printers corresponding to the search criteria (1) are visible below the search field in area (2)
- The more detailed features of the printers are visible in field (3).
- Finally, click Install Printer(s) (4).
- NOTE: you can select a number of printers and install them at the same time.

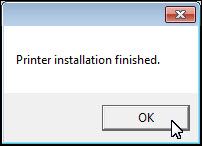
- You will receive a confirmation that the installation succeeded.
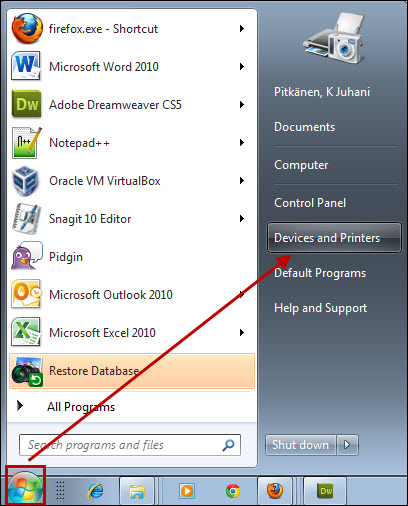
- Check at the end which of the printers installed on your computer is the default printer. Open Devices and Printers from the Start menu.
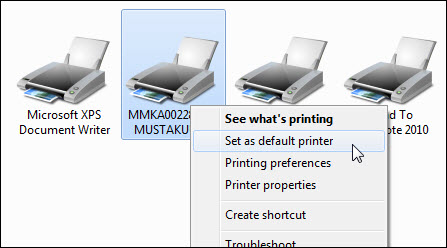
- If necessary, you can change the default printer.
- Click the printer with the secondary button of the mouse and select Set as default printer from the menu that opens.
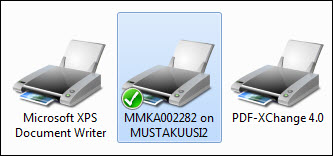
- The default printer is marked with a small green OK. All print jobs are directed to the selected printer if you do not change the target yourself from the print menus of the programs.
Video instruction
Give feedback
The instructions site of the University of Helsinki's IT Helpdesk helps you with IT-related issues related to your work. Let us know how we can improve our instructions. We greatly appreciate your feedback!
How would you improve these instructions?