
Canon multifunction printers are automatically installed on centrally administered Windows computers, so their deployment does not require you to take any measures. You can identify the device queues by the names starting with Smartcard-PCL or Smartcard-PS. The jobs sent to these printers can be printed as described in these instructions.
- If using a Windows computer, select Smartcard-PCL driver.
- If using a Mac computer, select Smartcard-PS driver.
Quick help
You can register the following cards as a print card:
- University ID-card
- Unigrafia card
- New Lyyra cards, which have a contactless payment feature
- HSL travelcards
Jobs will automatically exit the queue after four hours if they are not printed.
See the Detailed Guide tab for more detailed instructions
Detailed help
Register the card
Identification is possible with the following means:
- Staff ID card
- Unigrafia cards
- New Lyyra cards which have a contactless payment feature
- HSL travel cards
When using a new card for the first time, you will have to register the card personally using your own university username and its password.
- Take the card to the read area.
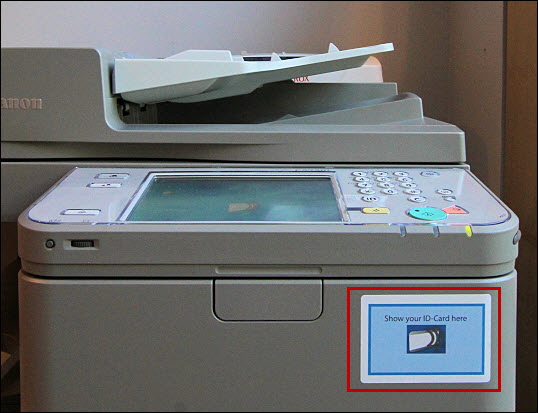
There are differences in the sensitivity of cards. For example, it is worthwhile taking the card out of the protective cover if the equipment does not otherwise identify the card.
- Touch the User Name text field on the display.
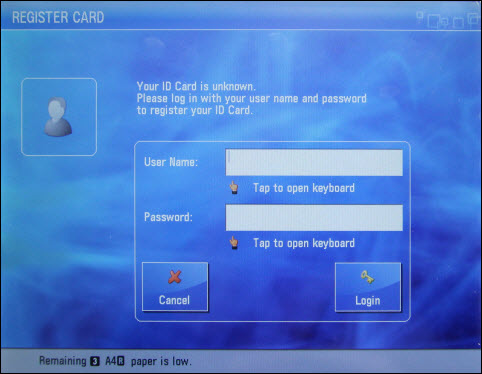
- Enter your username.
- Approve the username by touching OK.
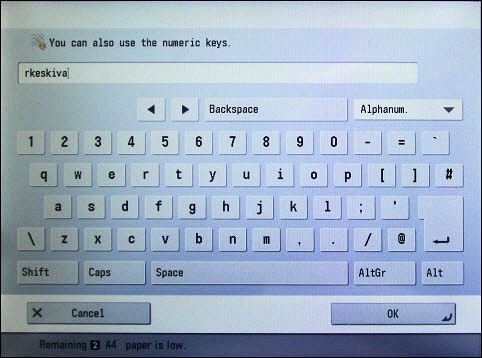
- Enter your password in a similar way.
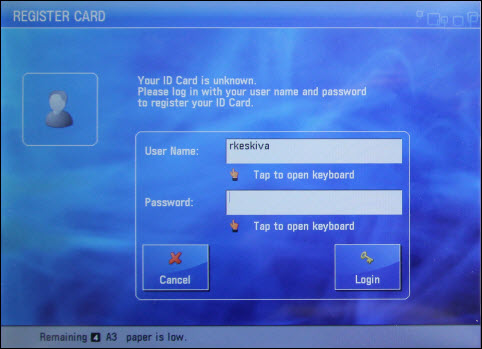
- Your username is now associated with the card and you can use it.
Only one card at a time may be associated with your username. If the card is lost, you can register a new card for yourself. After that, no-one can use the old card to print your jobs.
Releasing the print from the printer
Choose a printer with a name containing the word "Smartcard".
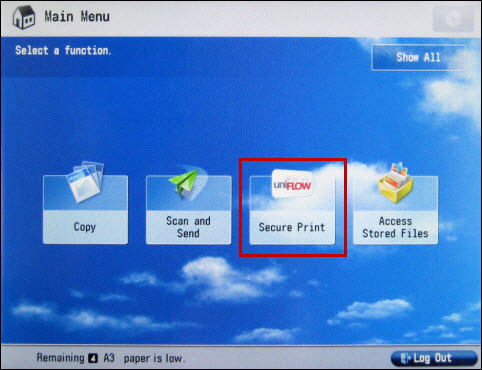
Go to the nearest Canon multi-function printer and do the following:
- Log in to the printer using your ID card.
- Select Secure Print.
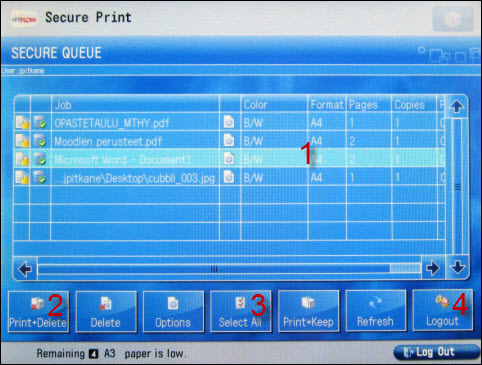
- Jobs in the queue are visible in the list (1). You can select individual jobs from the queue using the touch screen or all from the menu at the bottom (3).
- Print+Delete (2) prints the selected jobs and removes them from the queue.
- Remember to finally log out with button (4).
- Jobs will automatically be removed from the queue after four hours if they are not printed.
Wait until all pages have been printed. If you log off the multi-function printer while printing, printing will stop and not all pages will print.
Scanning to e-mail
Using the multi-function printers, it is possible to scan documents directly to e-mail. By default, scanned documents are sent as an attachment to your own e-mail, but you can change the recipient to another. However, it is recommended that you send the files first to your own e-mail where you can check and, if necessary, edit the message before sending it to others.
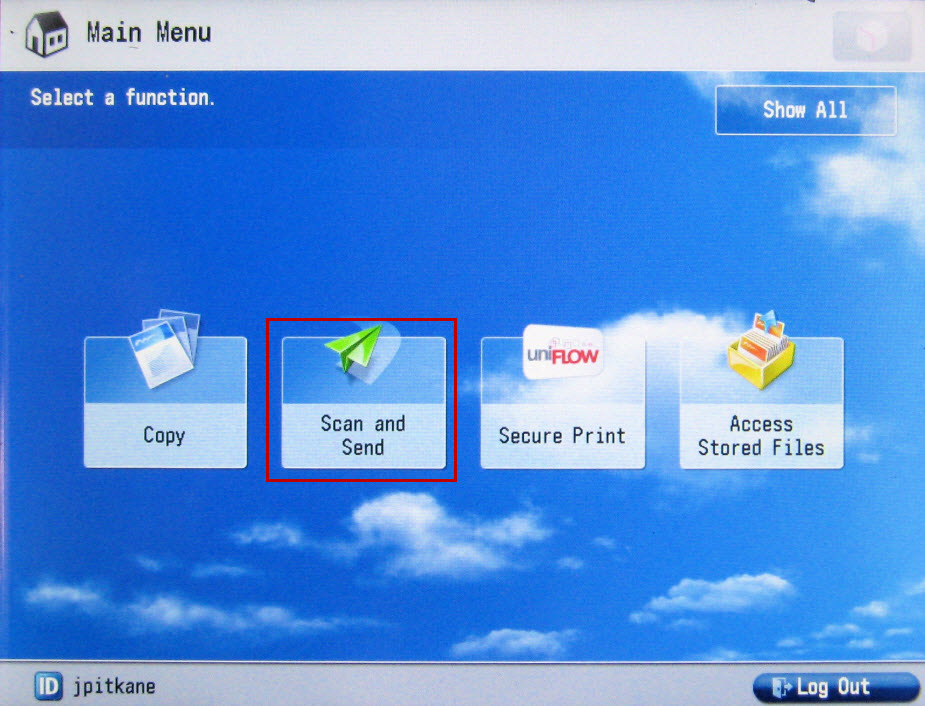
- Log in to the equipment using your ID card.
- Select Scan and Send from the main menu.
- Select Send to Myself
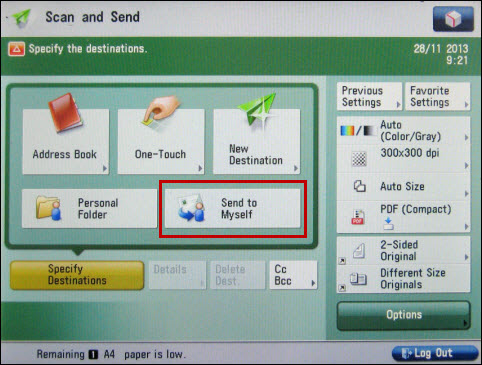
- The mail will be sent to your own helsinki.fi e-mail address. The equipment is ready to start scanning.
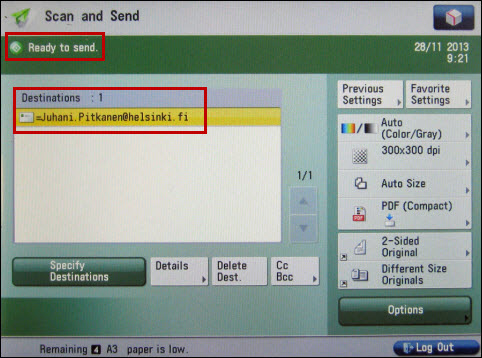
- Place the papers to be scanned in the feeder and press the green Copy button. Copying starts.

- After a short while there will be a message in your e-mail to which a pdf file containing the scanned pages is attached.
Video instruction
Give feedback
The instructions site of the University of Helsinki's IT Helpdesk helps you with IT-related issues related to your work. Let us know how we can improve our instructions. We greatly appreciate your feedback!
How would you improve these instructions?