
These instructions describe how to print mailing labels from Word 2019. When printing labels, for example for circulars, you should first save the recipients’ information in an Excel spreadsheet.
Quick help
Printing involves two stages
Kuvalliset ohjeet löydät Tarkka ohje -välilehdeltä
Detailed help
Table of contents
Label settings
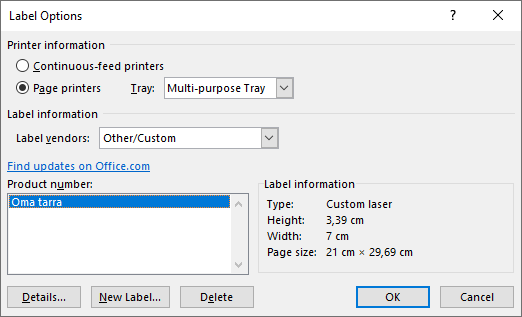
Start by checking the size of the labels you want to print:
- Open an empty Word file.
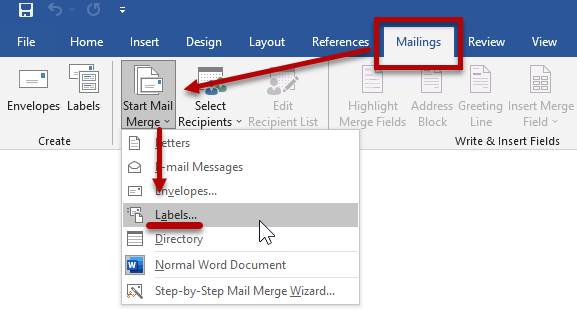
- Open Mailings > Start Mail Merge > Labels.
- Office has several ready label templates. Select the appropriate or most suitable option. The label package usually contains a code that allows you to select the correct template in Word.
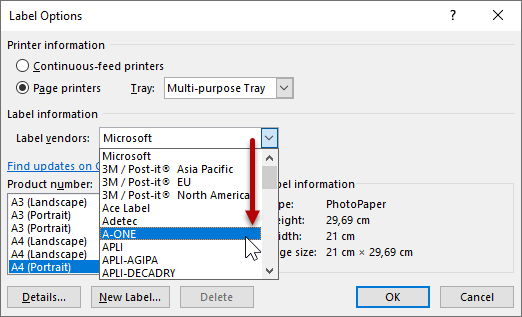
- Choose the label template that more or less meets your needs.
- In this example, none of the ready templates is suitable, so you have to modify the settings yourself.
- An A4-size template is selected as the starting point, and it is used to define a sheet with eight rows and three labels per row.
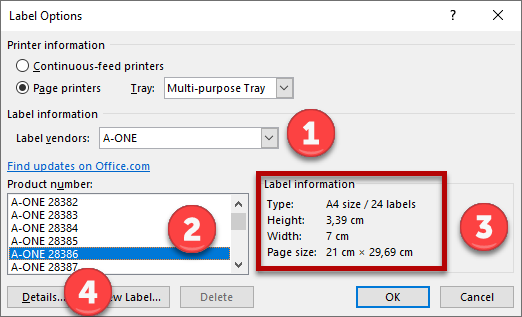
- Select Details... .
- Change the margins and width as required.
- Name the label so that you can find it later.
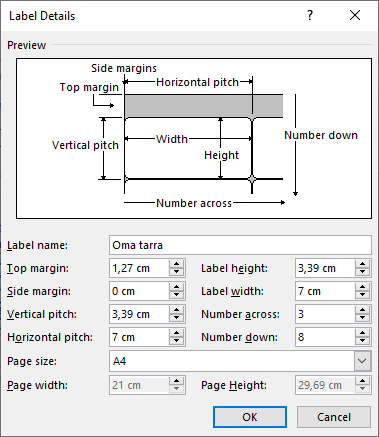
- Select OK.
You have now created the label template.
Importing addresses
Next, address information must be inserted in the label template. The easiest way to do this is to import the data from an Excel spreadsheet. In this example, four columns are needed. They should be named descriptively, for example First name, Last name, Address, PO box.
- Open Mailings > Start Mail Merge > Labels.
- Find the label template created in the previous step.
- Click on OK.
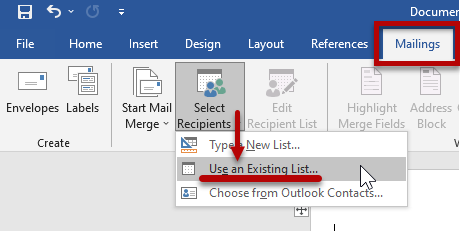
- Open Select Recipients > Use an Existing List.
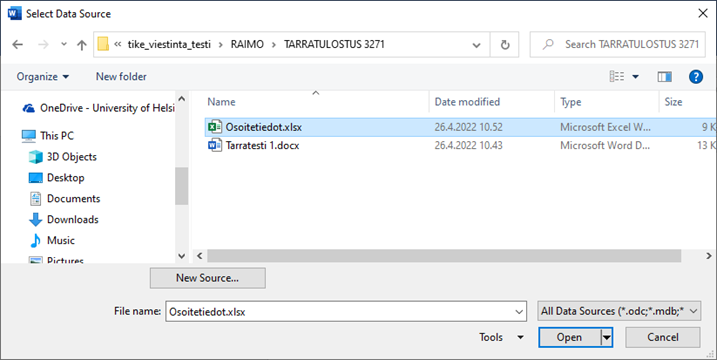
- Find the Excel table containing the address information.
- Click on Open.
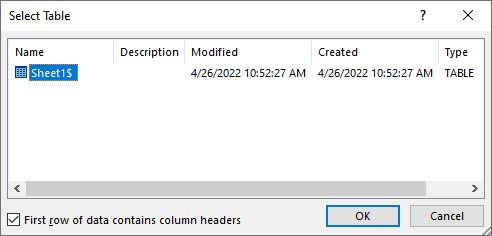
- Click on OK.
- Click on the first label.
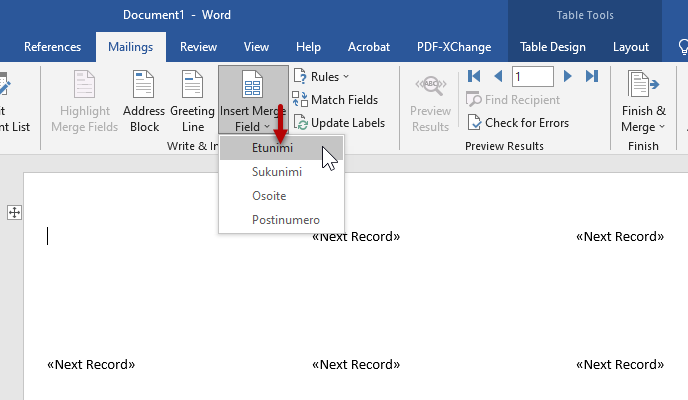
- Select Insert Merge Field.
- Select the information to insert in the label (in this case, First name).
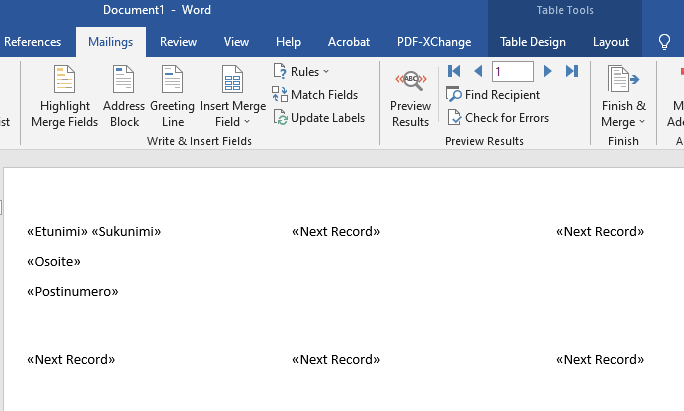
- Repeat until the address label contains all the required information. Remember to add spaces and line breaks.
- The first label contains the template according to which the labels will be printed, and the others are marked with Next Record.
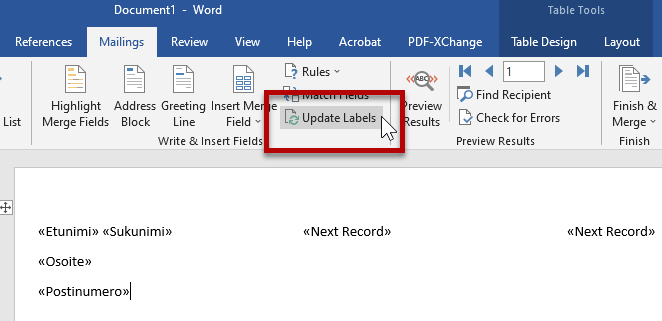
- Click on Update Labels.
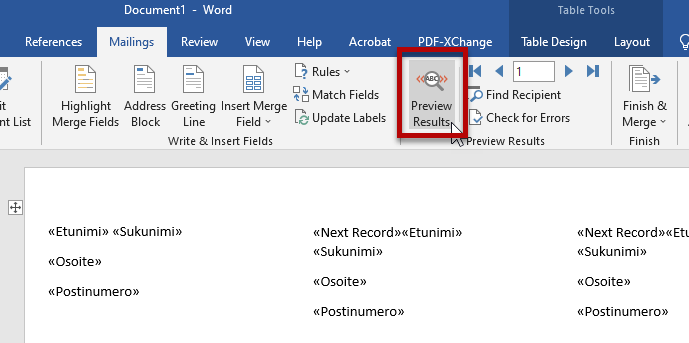
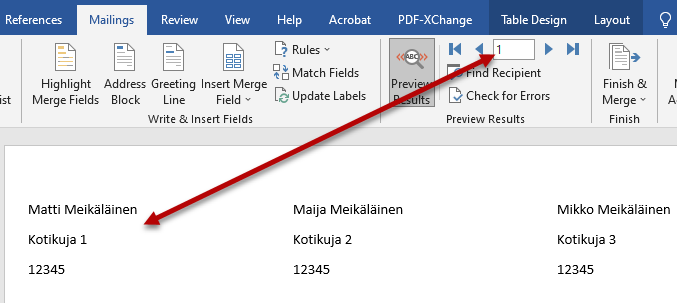
- Click on Preview Results.
- Use the arrow icons to move from one label to another.
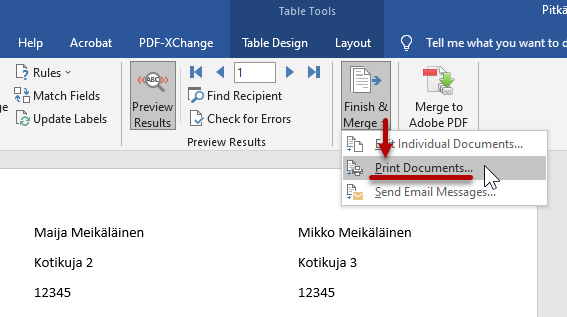
- When you are ready, click on Finish & Merge.
- Select Print Documents... .
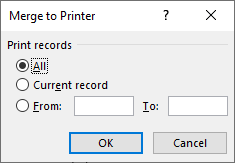
- You can print all or only some of the labels.
Video instruction
Give feedback
The instructions site of the University of Helsinki's IT Helpdesk helps you with IT-related issues related to your work. Let us know how we can improve our instructions. We greatly appreciate your feedback!
How would you improve these instructions?